
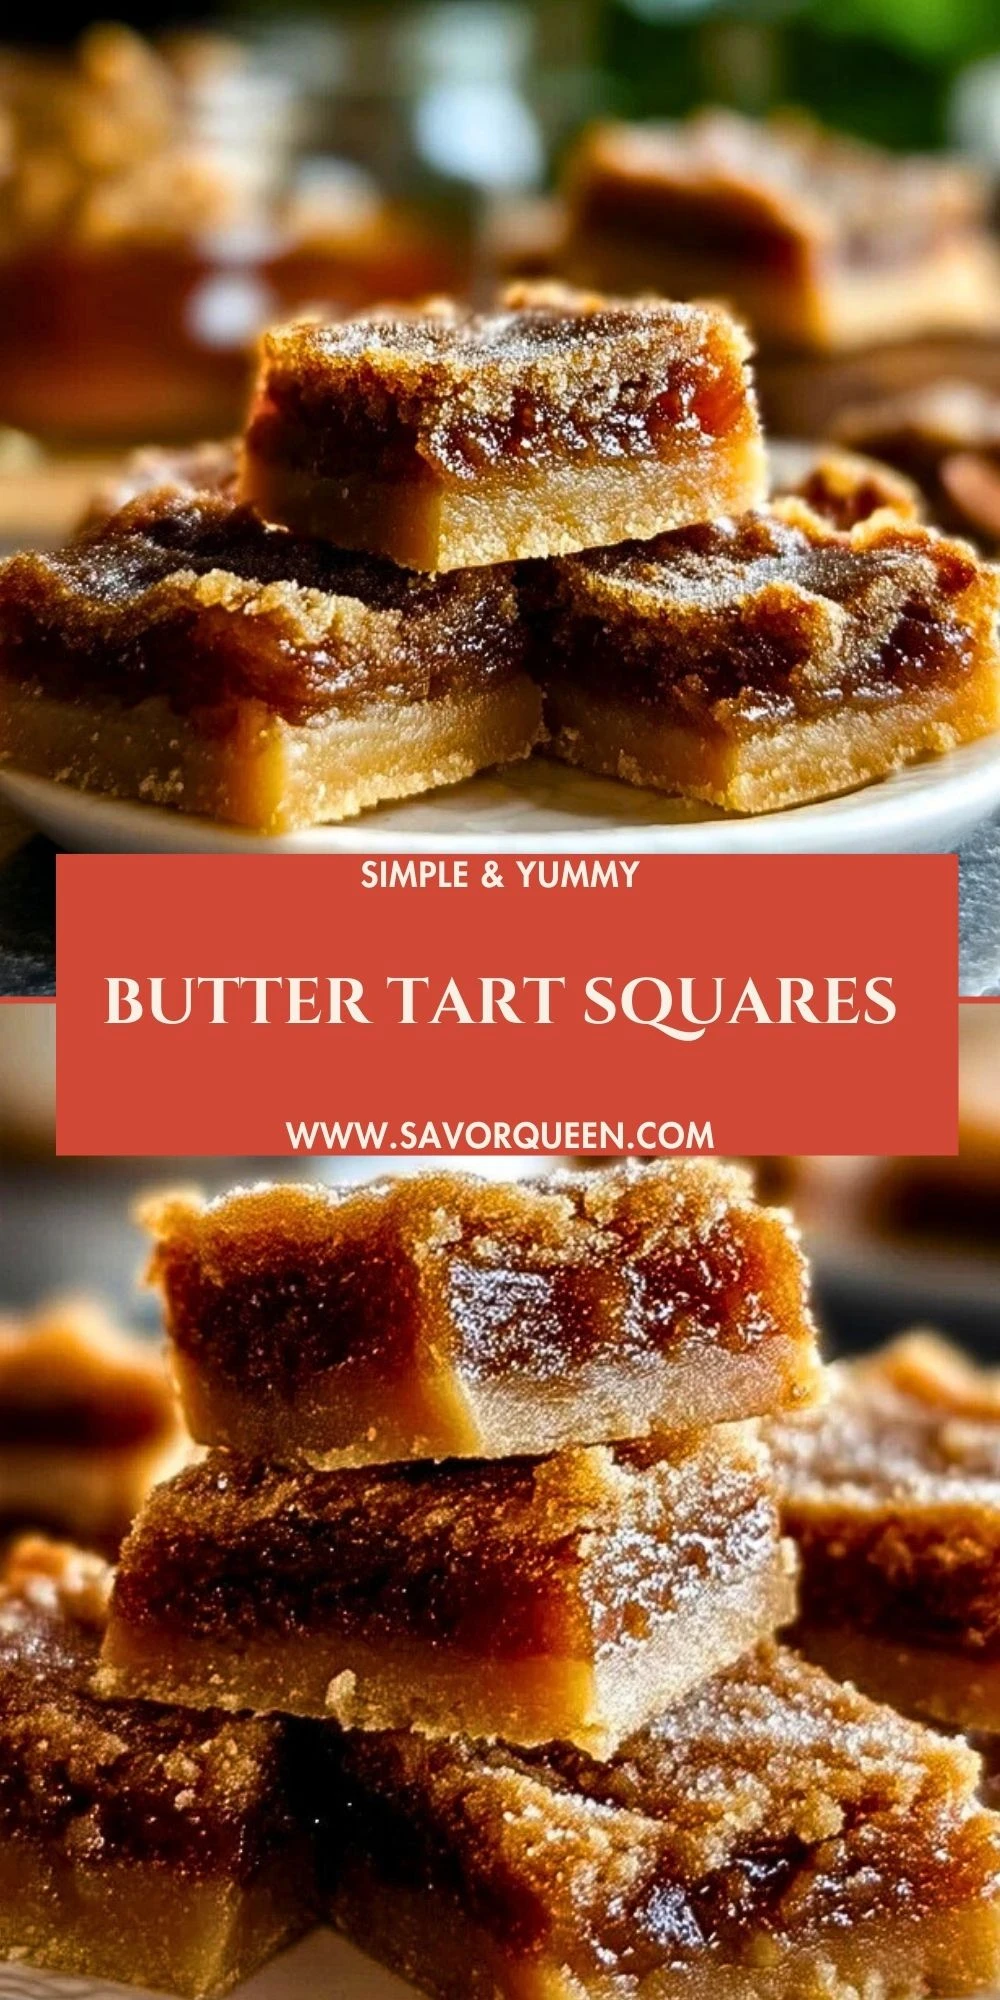
If you love gooey butter tarts but don’t always feel like fussing with pastry shells, these Butter Tart Squares are going to be your new favorite dessert. They’ve got all the sticky, caramelized goodness of classic butter tarts, but baked in one easy pan and cut into rich, chewy bars.

I make these whenever I need a crowd-pleasing sweet with minimal effort—think potlucks, holidays, bake sales, or a cozy weekend treat with coffee. The buttery shortbread base stays tender and crumbly, while the brown sugar filling bakes up into that perfect layer of goo—set around the edges and gloriously soft in the middle.
What Makes Butter Tart Squares So Irresistible?
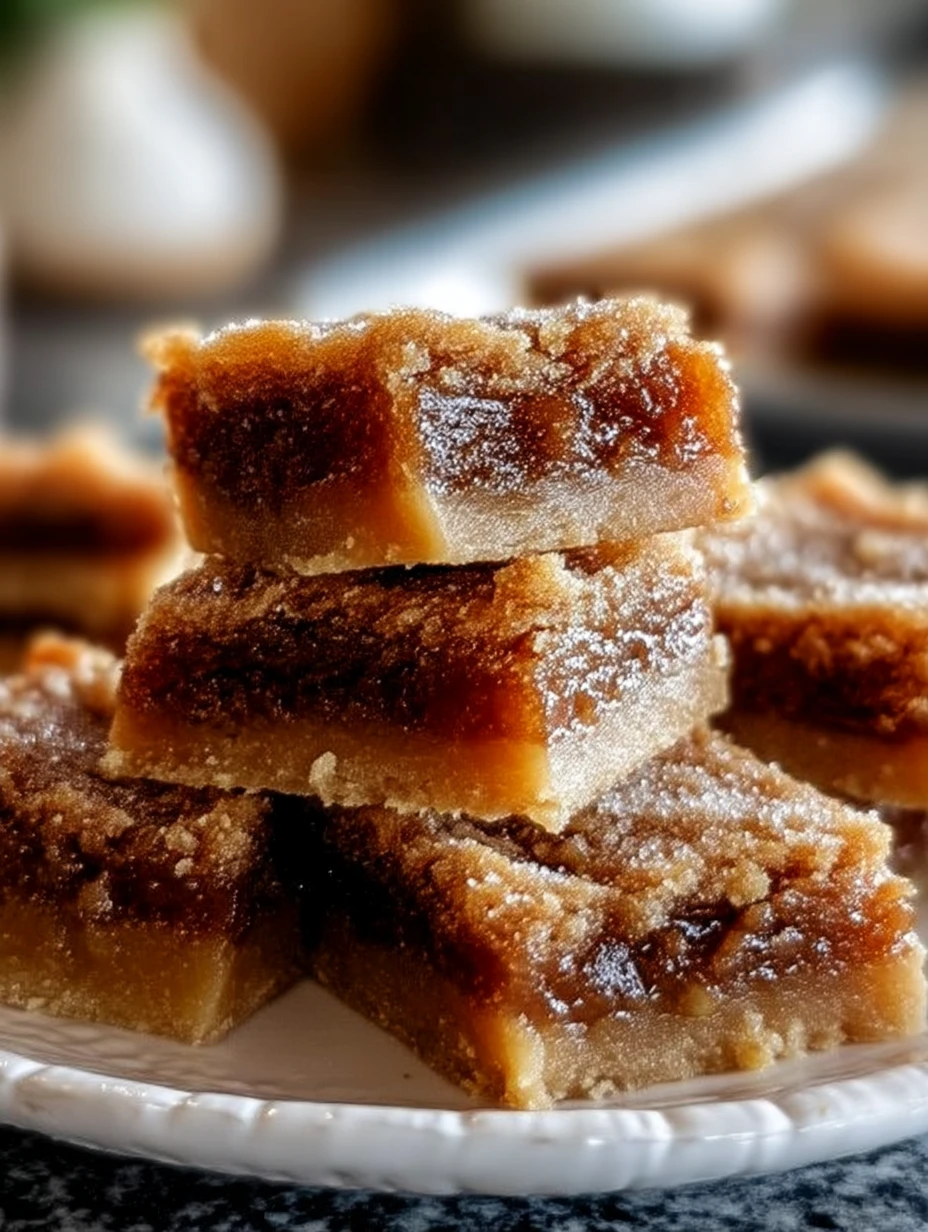
For me, it’s all about the contrast in textures. The bottom crust is like a simple, melt-in-your-mouth shortbread that holds everything together without being too sweet. On top, the filling bubbles up into this glossy, caramel-like layer that tastes like a cross between pecan pie and traditional butter tarts.
You also get the familiar butterscotch flavor from brown sugar, a hint of vanilla, and that little bit of salt that keeps everything from being overly sweet. You can leave them plain like I often do, or stir in raisins or pecans if you love a bit of chew or crunch.
Ingredients for Butter Tart Squares
Before we start baking, let’s talk about what each ingredient is doing in these bars. Even though the list is simple, every piece adds something important to the final texture and flavor.
Unsalted butter – Butter is the backbone of both the crust and the filling. It gives the base that tender, shortbread-style crumb and helps the filling stay rich and silky instead of dry or rubbery.
Granulated sugar – I only use this in the crust. It adds a bit of sweetness and helps the base hold together without becoming too dense.
All-purpose flour – Flour forms the structure of the crust so it slices cleanly and doesn’t crumble apart when you lift out a square.
Salt – Just a small amount keeps the bars from tasting flat or overly sugary. It sharpens all those caramel notes.
Brown sugar – This is the star of the filling. Brown sugar melts into a deep, buttery caramel layer with a hint of molasses, giving you that classic butter tart flavor.
Eggs – Eggs bind the filling so it bakes into a soft, custardy layer instead of a runny mess. They’re also what helps it puff slightly and then settle into that gooey texture as it cools.
Maple syrup – A splash of maple adds depth and a very gentle sweetness that complements the brown sugar and makes these bars feel extra cozy and Canadian.
Heavy cream or milk – A little cream keeps the filling soft and smooth, preventing it from crystalizing or becoming grainy.
Vanilla extract – Vanilla rounds out the sweetness and adds that warm bakery aroma that fills your kitchen while these bake.
Optional raisins or pecans – If you love traditional butter tarts with mix-ins, a handful of raisins or chopped pecans folded into the filling adds texture and interest. I sometimes do half the pan with and half without.
How To Make the Butter Tart Squares
These bars come together in two easy layers: a quick press-in crust and a pour-over filling. I like to bake the crust just until set before adding the filling so everything stays crisp on the bottom and perfectly gooey on top.
Step 1: Prepare the pan and preheat the oven
Line a 9×13-inch baking pan with parchment paper, leaving an overhang on the long sides to help lift the squares out later. Lightly grease the parchment and any exposed sides of the pan. Preheat your oven to 350°F (175°C) so it’s nice and hot when the crust goes in.
Step 2: Mix the buttery shortbread crust
In a mixing bowl, beat the softened unsalted butter with the granulated sugar until creamy and slightly fluffy. Add the flour and salt and mix just until the dough comes together and looks crumbly but moist. It should hold when you press it between your fingers.
Step 3: Press and prebake the crust
Tip the crust mixture into the prepared pan and press it firmly into an even layer using your fingertips or the bottom of a measuring cup. Make sure you get right into the corners. Bake the crust for about 15 minutes, or until it looks set and just barely golden around the edges. While it bakes, you can start on the filling.
Step 4: Whisk together the gooey filling
In a large bowl, whisk the melted butter with the brown sugar until it looks glossy and smooth. Add the eggs one at a time, whisking well after each so they’re fully incorporated. Stir in the maple syrup, cream or milk, vanilla, and salt. If you’re using raisins or chopped pecans, fold them in at the end.
Step 5: Combine crust and filling
Once the crust has finished its initial bake, pull it from the oven and give it a moment to stop bubbling. Pour the filling evenly over the hot crust, gently tilting the pan if needed so it reaches all the corners without disturbing the base.
Step 6: Bake until puffed and just set
Return the pan to the oven and bake for 25–30 minutes, or until the top is evenly golden, the edges are set, and the center still has a slight jiggle when you nudge the pan. The filling will firm up more as it cools, so don’t overbake or you’ll lose that lovely gooey texture.
Step 7: Cool, chill, and cut into squares
Let the pan cool completely at room temperature, then transfer it to the fridge for at least 2 hours. Chilling makes it much easier to cut clean squares. Use the parchment overhang to lift the slab onto a cutting board and slice into small bars or bigger dessert squares—whatever suits the occasion.
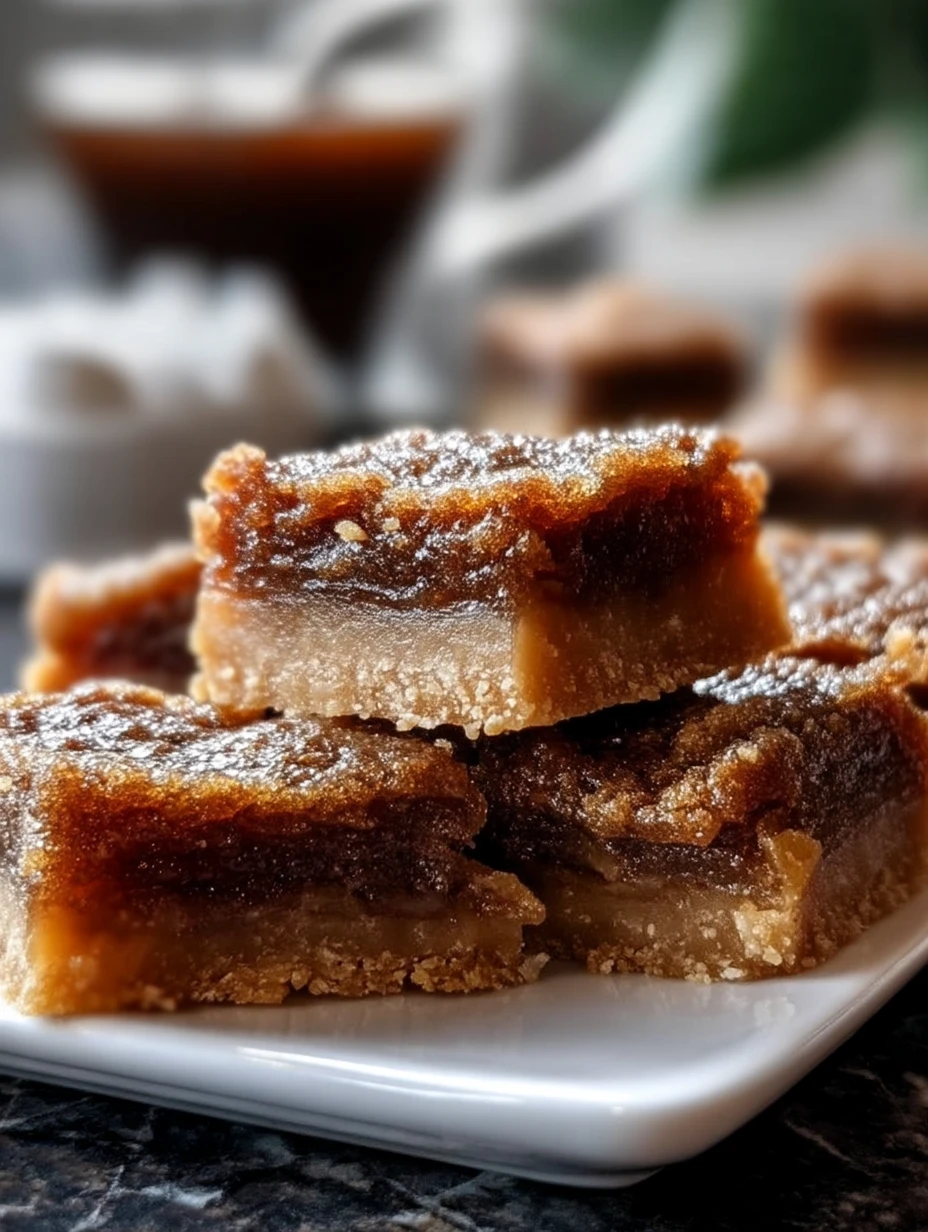
How to Serve and Store Butter Tart Squares
I like to serve these butter tart squares slightly chilled or at cool room temperature so the layers hold together but the filling is still soft when you bite into it. A little dusting of powdered sugar on top looks pretty, but they’re honestly delicious just as they are.
For storing, keep the squares in an airtight container with parchment or wax paper between layers so they don’t stick together. They’ll keep at room temperature for about 2 days, but I prefer to refrigerate them where they stay fresh for up to 5 days. You can also freeze the bars (well wrapped) for up to 2 months—just thaw them overnight in the fridge before serving.
If you’re baking ahead for the holidays, this recipe is a lifesaver. I often make a batch, freeze the cut squares, and then pull out a few at a time to add to dessert trays or tuck into lunchboxes.
What to Serve With Butter Tart Squares?
Coffee or espresso
A cup of hot coffee or a shot of espresso is my favorite pairing with these rich bars. The bitterness of the coffee cuts through the sweetness and makes each bite feel perfectly balanced.
Vanilla ice cream
For a plated dessert, serve a warm or room-temperature square with a small scoop of vanilla ice cream on the side. The combination of cold, creamy ice cream and buttery, gooey bar is pure comfort.
Fresh berries
A handful of fresh raspberries or strawberries adds a bright, juicy contrast that lightens the richness of the filling. It’s also a pretty way to dress them up for guests.
Light, salty snacks
If you’re putting together a snack board, pair these bars with salty nuts, pretzels, or even a little cheese. That sweet-and-salty mix is always a hit.
Whipped cream and toasted nuts
Top each square with a dollop of softly whipped cream and a sprinkle of toasted pecans or walnuts for a little extra flair. It turns a simple bar into a dinner-party-worthy dessert.
Want More Dessert Bar Ideas?
If you’re as obsessed with buttery, caramel-y treats as I am, you’ll probably fall in love with these other sweet bakes from the blog:
- Brown Sugar Caramel Pound Cake for an ultra-moist loaf that’s drenched in caramel flavor.
- Strawberry Cheesecake Dump Cake when you want something fruity, creamy, and ridiculously easy.
- No-Bake Chocolate Eclair Cake for those days when you don’t even want to turn on the oven.
- Mint Magic Bars if you’re craving a cool, chocolatey bar with a fresh mint twist.
Save This Pin For Later
Save this buttery little indulgence to your favorite Pinterest board so it’s easy to find the next time you need a quick dessert for company—or just a sweet treat for yourself.
Tried it with a twist? Maybe you added pecans, swapped in raisins, or drizzled the top with extra caramel? I’d love to hear how your Butter Tart Squares turned out, so feel free to share your tips and questions in the comments.
Need more inspiration? Explore my daily kitchen creations on SavorQueen.com on Pinterest. Your next favorite dessert bar might be waiting there.
Print Butter Tart Squares
- Total Time: 65
- Yield: 24
- Diet: Vegetarian
Description
Craving something rich, gooey, and impossible to resist? These Butter Tart Squares deliver all the flavor of classic butter tarts without the fuss of individual pastry shells. A buttery shortbread base is topped with a thick, caramel-like brown sugar and maple filling that bakes up chewy around the edges and luxuriously soft in the center. They’re perfect for dessert ideas, sweet snacks, potlucks, bake sales, or when you just want an easy recipe that feels special. Whether you’re usually hunting for quick breakfast treats, easy dinner options, healthy snack inspiration, or general food ideas, this simple bar cookie dessert is a delicious way to round out any menu of breakfast ideas or dinner ideas.
Ingredients
1 cup unsalted butter softened
1/2 cup granulated sugar
2 cups all-purpose flour
1/4 teaspoon salt
1/2 cup unsalted butter melted
2 1/4 cups packed brown sugar
4 large eggs room temperature
1/3 cup maple syrup
2 tablespoons heavy cream
2 teaspoons vanilla extract
1/4 teaspoon salt
1 cup raisins or chopped pecans optional
Instructions
1. Preheat the oven to 350°F (175°C). Line a 9×13 inch baking pan with parchment paper, leaving an overhang on the long sides, and lightly grease the parchment and exposed pan.
2. In a mixing bowl, beat the softened 1 cup butter and granulated sugar together until creamy and slightly fluffy.
3. Add the flour and 1/4 teaspoon salt to the bowl and mix just until a soft, crumbly dough forms and holds together when pressed.
4. Press the dough evenly into the prepared pan, smoothing it into a firm, level layer all the way to the corners.
5. Bake the crust for about 15 minutes, or until it looks set and just lightly golden around the edges. Remove from the oven and set aside while you prepare the filling.
6. In a large bowl, whisk the melted 1/2 cup butter and brown sugar together until glossy and well combined.
7. Add the eggs one at a time, whisking well after each addition so the mixture is smooth and slightly thickened.
8. Whisk in the maple syrup, heavy cream, vanilla extract, and remaining 1/4 teaspoon salt until the filling is smooth.
9. Fold in the raisins or chopped pecans if using, distributing them evenly through the filling.
10. Pour the filling over the hot, prebaked crust, tilting the pan gently if needed so it reaches all the corners without disturbing the base.
11. Return the pan to the oven and bake for 25–30 minutes, or until the top is golden, the edges are set, and the center still has a slight jiggle when gently shaken.
12. Allow the pan to cool completely at room temperature, then chill in the refrigerator for at least 2 hours so the filling can fully set.
13. Use the parchment overhang to lift the slab from the pan onto a cutting board and slice into squares or bars of your desired size before serving.
Notes
For the best gooey texture, avoid overbaking—pull the bars from the oven while the center still has a gentle wobble, as the filling will continue to set as it cools and chills.
- Prep Time: 20
- Cook Time: 45
- Category: Dessert
- Method: Baking
- Cuisine: Canadian
Nutrition
- Serving Size: 1 square
- Calories: 320
- Sugar: 32
- Sodium: 160
- Fat: 17
- Saturated Fat: 10
- Unsaturated Fat: 6
- Trans Fat: 0
- Carbohydrates: 39
- Fiber: 0
- Protein: 3
- Cholesterol: 80
Keywords: butter tart squares, butter tart bars, Canadian dessert, dessert ideas, easy recipe, sweet snack, potluck dessert