
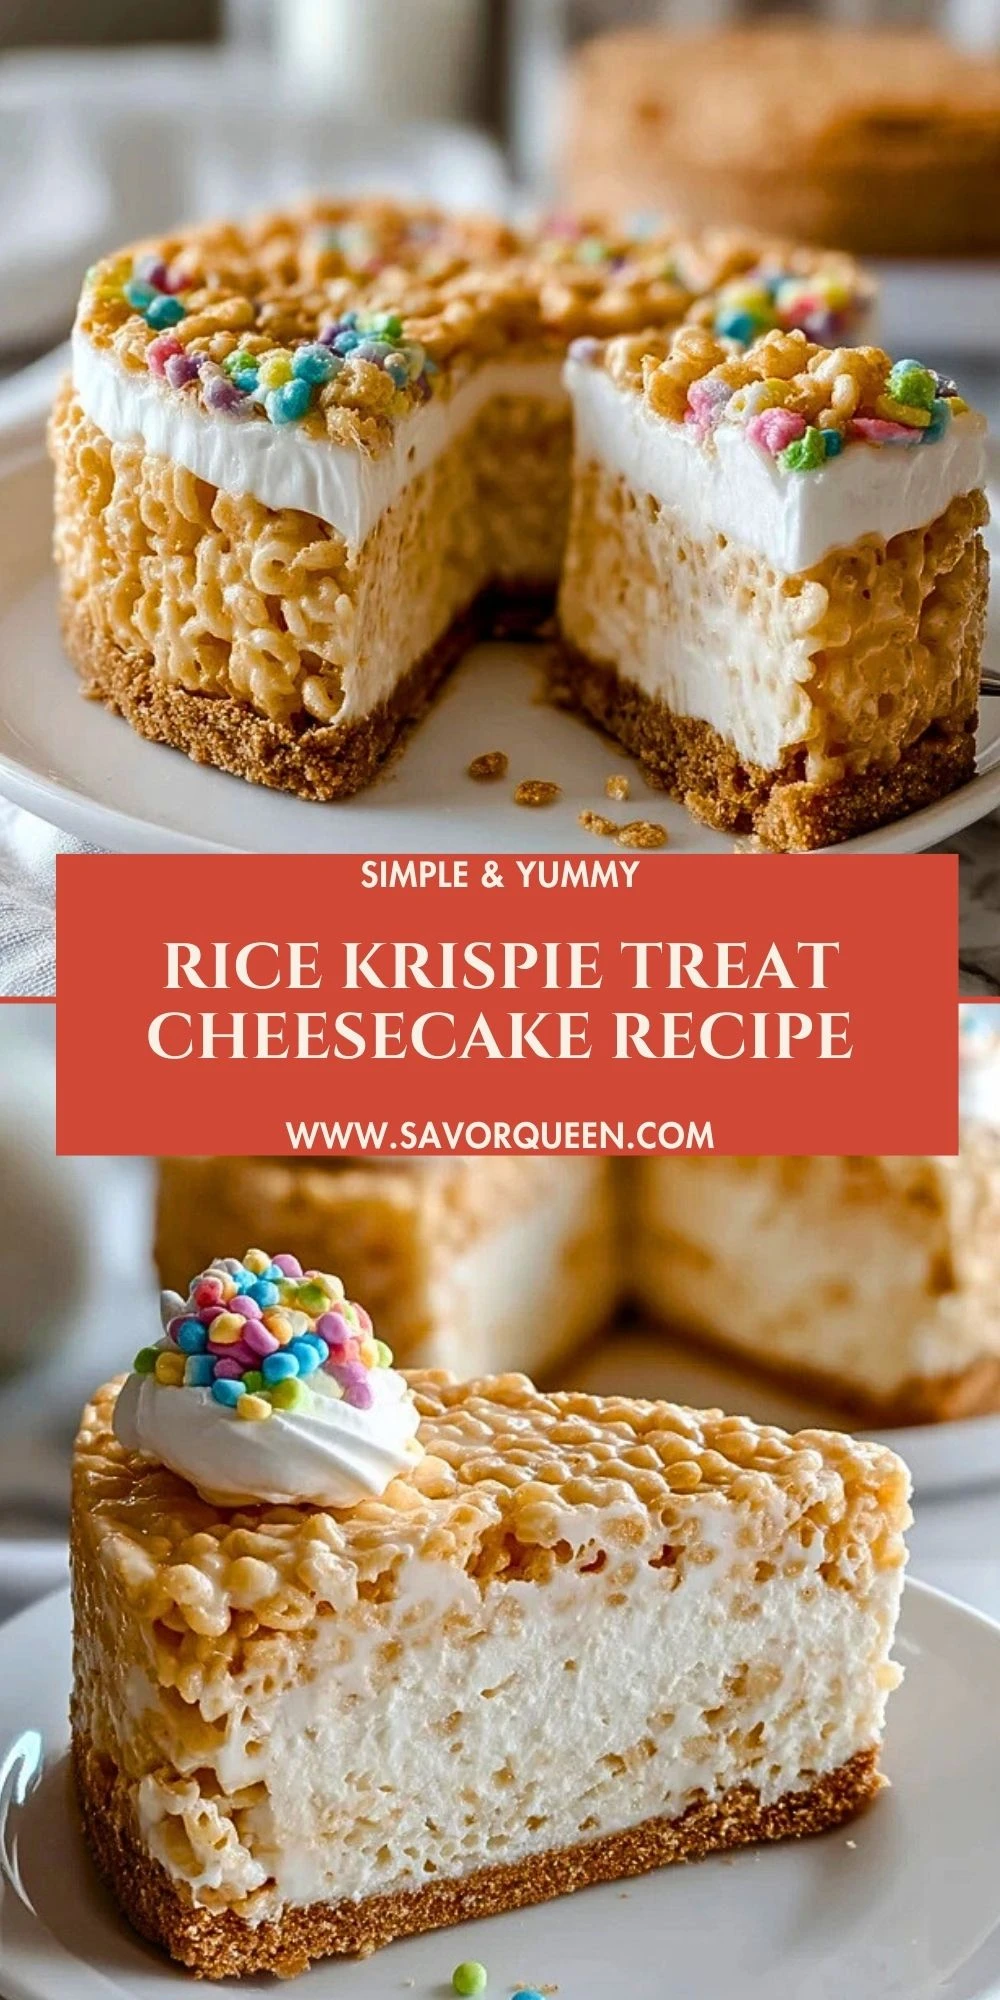
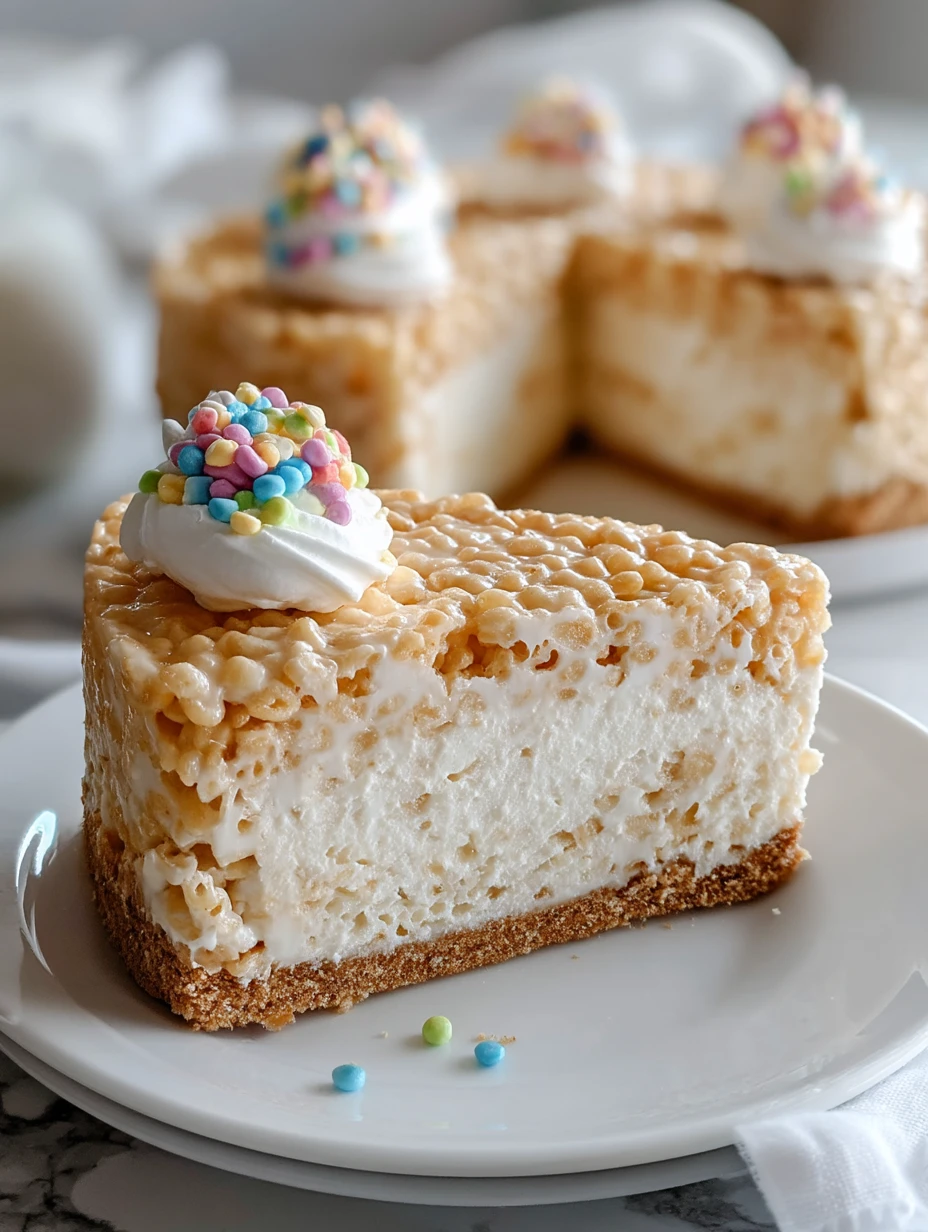
If a classic rice krispie treat and a creamy no‑bake cheesecake had a bakery baby, this would be it. This Rice Krispie Treat Cheesecake has a buttery graham cracker crust, a thick layer of marshmallow‑studded cheesecake filling with colorful sprinkles, and a chewy caramel‑kissed rice krispie topping.

I love serving this when I want something playful and nostalgic that still feels a little special. It slices like a cheesecake, eats like the world’s best cereal bar, and disappears faster than anything else on the dessert table.
What Makes This Rice Krispie Treat Cheesecake So Fun?
For me, this dessert is all about texture. You get the crunch of the graham cracker base, the cool, silky cheesecake center, and the gooey, stretchy rice krispie layer on top. It’s no‑bake, easy to prep ahead, and it turns every day into a little celebration thanks to those funfetti sprinkles.
Because everything sets in the fridge, it’s a fantastic make‑ahead dessert for birthdays, potlucks, cookouts, or any night when you want a quick treat but don’t want to turn on the oven for hours.
Ingredients for the Rice Krispie Treat Cheesecake
Before I start, I like to line my springform pan with parchment and grab all my ingredients so this comes together in one smooth flow.
- Graham cracker crumbs – These build a sweet, slightly salty base that tastes like a classic cheesecake crust.
- Granulated sugar – A bit of sugar in the crust helps it hold together and adds sweetness without making it too rich.
- Unsalted butter – Melted butter binds the crumbs and gives that irresistible, buttery crunch.
- Cream cheese – The star of the cheesecake layer. It needs to be softened so it whips up creamy and lump‑free.
- Powdered sugar – Sweetens the filling while keeping it ultra smooth and light.
- Vanilla extract – Adds warm, bakery‑style flavor to both the filling and the topping.
- Heavy whipping cream – Whipped to soft peaks, it lightens the cheesecake layer so it’s fluffy instead of dense.
- Mini marshmallows – Melt into the cereal for the topping and also fold into the cheesecake layer for that “treat” flavor throughout.
- Rice Krispies cereal – Brings the signature crunch and chew we all love from childhood cereal bars.
- Light brown sugar – Gives the topping a caramel note that makes this taste like a fancy bakery treat.
- Light corn syrup – Helps the topping stay glossy, soft, and sliceable instead of hard and brittle.
- Salt – Just a pinch keeps the sweetness in check and brightens the flavors.
- Rainbow sprinkles – Optional but highly encouraged for a birthday‑cake vibe that makes every slice feel festive.
How To Make the Rice Krispie Treat Cheesecake
This is one of those desserts that looks like it took all afternoon, but each step is quick and simple. I like to start with the crust, move to the cheesecake layer, and finish with the rice krispie topping once everything is ready.
Step 1: Build the buttery graham cracker crust
Spray a 9‑inch springform pan with nonstick spray and line the bottom with parchment. In a medium bowl, stir together the graham cracker crumbs, granulated sugar, and melted butter until the mixture looks like wet sand.
Press the crumbs firmly into the bottom of the pan, going right up to the edges so the base is even and compact. I usually use the bottom of a measuring cup to really tamp it down. Pop the crust in the fridge while you work on the filling so it can set.
Step 2: Whip the no‑bake cheesecake filling
In a large mixing bowl, beat the softened cream cheese with an electric mixer until completely smooth and fluffy. Add the powdered sugar and vanilla and keep mixing until everything is silky and well combined.
In a separate chilled bowl, whip the heavy cream to soft peaks. Gently fold the whipped cream into the cream cheese mixture in two additions so you don’t deflate all that lovely air.
Fold in a handful of mini marshmallows and the rainbow sprinkles until they’re evenly scattered throughout the filling. It should look like funfetti cheesecake.
Step 3: Assemble the cheesecake base
Spread the cheesecake filling over the chilled crust, smoothing the top with an offset spatula or the back of a spoon. Make sure you press it right to the edges of the pan so there are no air pockets.
Place the pan back in the fridge so the filling can begin to firm up while you prepare the rice krispie topping.
Step 4: Make the caramel marshmallow rice krispie mixture
Add the butter, brown sugar, corn syrup, and salt to a large saucepan set over medium heat. Cook, stirring, until the butter melts and the mixture comes to a gentle bubble.
Turn the heat to low and add the mini marshmallows, stirring until they are completely melted and the mixture is smooth and glossy. Remove the pan from the heat and stir in the vanilla.
Immediately add the Rice Krispies cereal and stir until every piece is coated in the warm marshmallow caramel mixture.
Step 5: Finish and chill
Let the cereal mixture cool for just a few minutes so it’s warm but not piping hot (you don’t want it to melt the cheesecake layer). Gently spoon it over the chilled cheesecake, pressing lightly with greased hands or a spatula to create an even layer.
If you like, sprinkle a few extra rainbow sprinkles over the top for color.
Cover the pan and chill the Rice Krispie Treat Cheesecake for at least 4 hours, or overnight, until completely set and easy to slice.
Step 6: Slice and serve
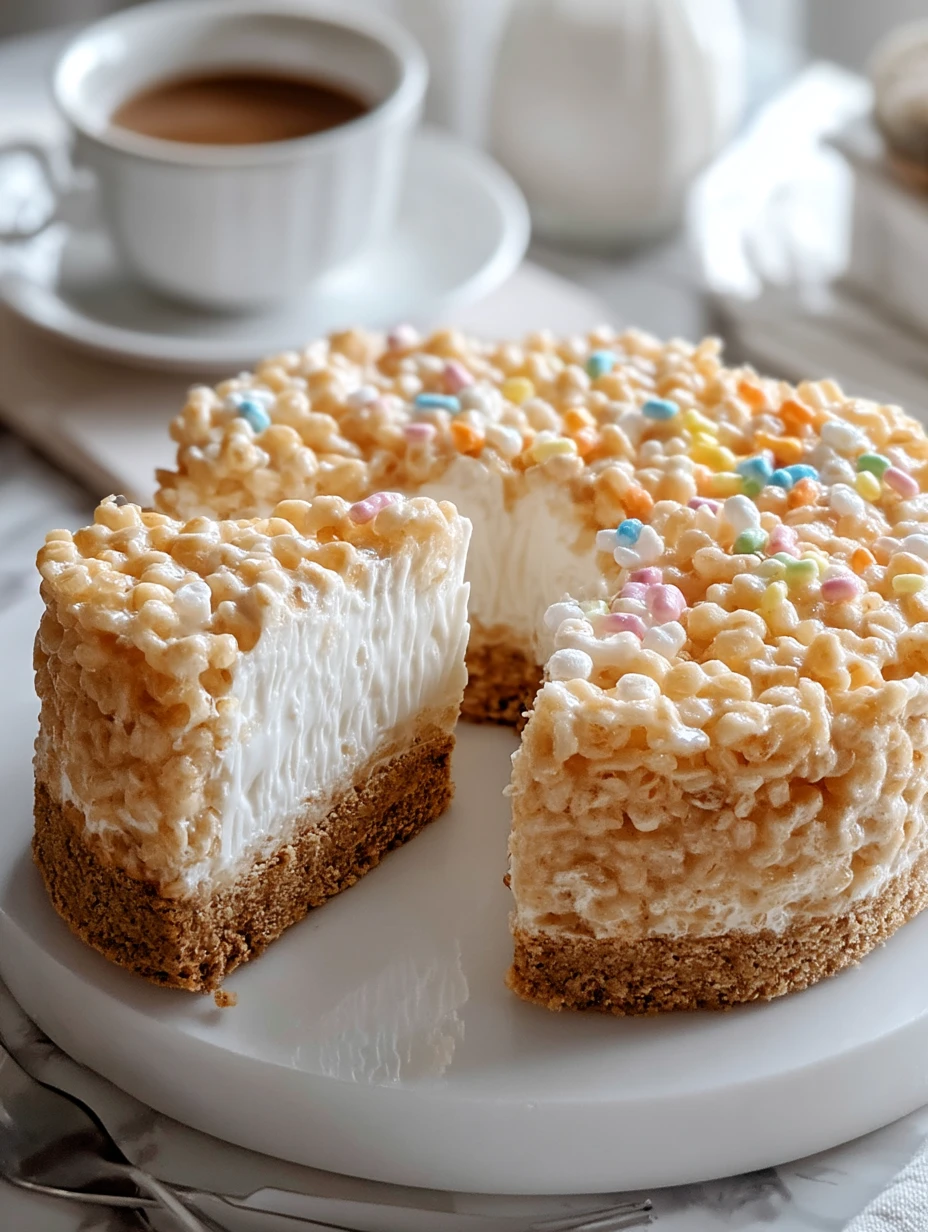
When you’re ready to serve, run a thin knife around the inside edge of the pan and release the springform. Use a sharp knife to cut neat wedges, wiping the blade between cuts for the cleanest slices.
Serving and Storing Rice Krispie Treat Cheesecake
I love serving this cheesecake slightly chilled so the layers stay defined but the topping still has a little bend and chew. If it’s been in the fridge overnight, I’ll usually let it sit at room temperature for about 10–15 minutes before slicing.
Leftovers keep beautifully. Cover the pan tightly or transfer slices to an airtight container and refrigerate for up to 4 days. For longer storage, you can freeze individual slices: wrap each one well in plastic wrap and foil, then freeze for up to 2 months. Thaw in the fridge before serving.
Because of the rice krispie topping, I don’t recommend leaving this cheesecake out at room temperature for more than 2 hours, especially on warm days, or the cereal can lose some of its crunch.
What to Serve With Rice Krispie Treat Cheesecake?
This dessert is rich, playful, and sweet, so I like to pair it with lighter, refreshing flavors and simple sides.
Fresh berries
A bowl of fresh strawberries, raspberries, or blueberries on the side adds a bright, juicy contrast to the creamy, marshmallow‑y slices.
Vanilla or caramel ice cream
If you’re going all‑in, a scoop of vanilla bean or caramel ice cream next to a slice of Rice Krispie Treat Cheesecake is pure dessert heaven.
Hot coffee or iced latte
A strong cup of coffee (hot or iced) balances all that sweetness and makes this feel like a coffee‑shop treat at home.
Sparkling water with citrus
For something lighter, serve this with bubbly water and a squeeze of lemon or lime. The acidity cuts through the richness nicely.
A simple salty snack
If you’re putting together a party spread, add a bowl of salty pretzels or mixed nuts. That salty crunch next to the sweet cheesecake is so satisfying.
Want More No‑Bake Dessert Ideas?
If this Rice Krispie Treat Cheesecake made you smile, I think you’ll love some of these other easy desserts from the blog:
- Pecan Pie Cheesecake for a decadent, Southern‑inspired twist on classic cheesecake.
- Strawberry Cheesecake Dump Cake when you’re craving a fruity, bubbly dessert that practically makes itself.
- Rice Krispie Chocolate Chip Cookies if you love the crunchy cereal texture and want it in cookie form.
- Strawberry Shortcake Cheesecake Rolls for a handheld cheesecake treat that’s perfect for parties and brunch tables.
Save This Pin For Later
Save this Rice Krispie Treat Cheesecake to your favorite Pinterest dessert board so it’s right there the next time you need a fun no‑bake treat.
Try it exactly as written or give it your own twist with flavored marshmallows, different cereals, or extra toppings. If you do, come back and tell me how it went—I absolutely love hearing what you’re baking in your kitchen.
Need more inspiration? Explore my daily kitchen creations on SavorQueen.com on Pinterest. Your next favorite dessert might be waiting there.
Print Rice Krispie Treat Cheesecake
- Total Time: 35
- Yield: 12 slices
- Diet: Vegetarian
Description
Turn your favorite childhood cereal bar into a show-stopping dessert with this Rice Krispie Treat Cheesecake—layers of buttery graham cracker crust, fluffy no-bake marshmallow cheesecake, and a caramel-coated Rice Krispie topping. It’s an easy recipe that’s perfect for parties, birthdays, or whenever you need fun dessert ideas that feel both nostalgic and special. This sweet, crunchy, creamy mash-up is a delicious option for quick dessert cravings, potluck food ideas, or playful dinner ideas when you want a crowd-pleasing treat without turning on the oven for hours.
Ingredients
2 cups graham cracker crumbs
1/2 cup unsalted butter melted
1/4 cup packed light brown sugar
8 ounces cream cheese softened
1 cup powdered sugar
1 teaspoon vanilla extract
1/2 cup heavy cream cold
5 cups mini marshmallows divided
5 cups Rice Krispies cereal divided
1/4 cup rainbow sprinkles
3 tablespoons unsalted butter
1/3 cup thick caramel sauce
Pinch fine sea salt
Instructions
1. Line the bottom of a 9-inch springform pan with parchment paper and lightly grease the sides.
2. In a bowl, stir together the graham cracker crumbs, 1/2 cup melted unsalted butter, and brown sugar until the mixture looks like wet sand and clumps together when pressed.
3. Press the crumb mixture firmly into the bottom of the pan in an even layer using the bottom of a measuring cup. Refrigerate while you prepare the filling.
4. In a large mixing bowl, beat the softened cream cheese until smooth and creamy.
5. Add the powdered sugar and vanilla extract to the cream cheese and beat again until smooth and well combined.
6. In a separate bowl, whip the cold heavy cream to soft peaks, then gently fold it into the cream cheese mixture to keep it light and fluffy.
7. In a microwave-safe bowl, combine 2 1/2 cups mini marshmallows with 1 tablespoon butter and heat in 20-second bursts, stirring between each, until melted and smooth.
8. Quickly stir the melted marshmallow mixture into the cheesecake filling until evenly incorporated.
9. Fold in 3 cups Rice Krispies cereal and the rainbow sprinkles, mixing just until the cereal is coated but still crisp.
10. Spoon the cheesecake mixture over the chilled crust and spread into an even layer, smoothing the top. Refrigerate while you make the topping.
11. In a clean saucepan, melt the remaining 2 tablespoons butter over low heat. Add the remaining 2 1/2 cups mini marshmallows and cook, stirring, until completely melted.
12. Stir in the caramel sauce and a pinch of fine sea salt until the mixture is smooth and glossy.
13. Remove from the heat and quickly fold in the remaining 2 cups Rice Krispies cereal until all the cereal is coated in the caramel mixture.
14. Gently spoon the warm caramel Rice Krispie mixture over the chilled cheesecake layer, pressing lightly to create an even topping without squashing the filling.
15. Cover the pan and refrigerate for at least 4 hours, or until the cheesecake layer is fully set and firm.
16. When ready to serve, run a thin knife around the edge of the pan, release the springform ring, and slice the cheesecake into 10–12 wedges.
Notes
Don’t overheat the marshmallows for the filling or topping—if they get too hot, they can turn stiff and make it harder to spread the layers smoothly. Warm and melty is perfect; bubbling is too far.
- Prep Time: 25
- Cook Time: 10
- Category: Dessert
- Method: No-Bake
- Cuisine: American
Nutrition
- Serving Size: 1 slice
- Calories: 520
- Sugar: 48
- Sodium: 380
- Fat: 26
- Saturated Fat: 16
- Unsaturated Fat: 8
- Trans Fat: 0
- Carbohydrates: 67
- Fiber: 1
- Protein: 6
- Cholesterol: 65
Keywords: rice krispie treat cheesecake, no bake cheesecake, marshmallow dessert, easy dessert, party dessert, kid friendly dessert