A textured tote bag is one of those handmade pieces that works as hard as it looks good. This crochet design pairs a rich stitch texture with a clean, roomy silhouette and a striking three-tone colour block, making it a bag you can carry to the market, the office, or a weekend outing without a second thought.
In this post
The Textured Tote Bag at a Glance
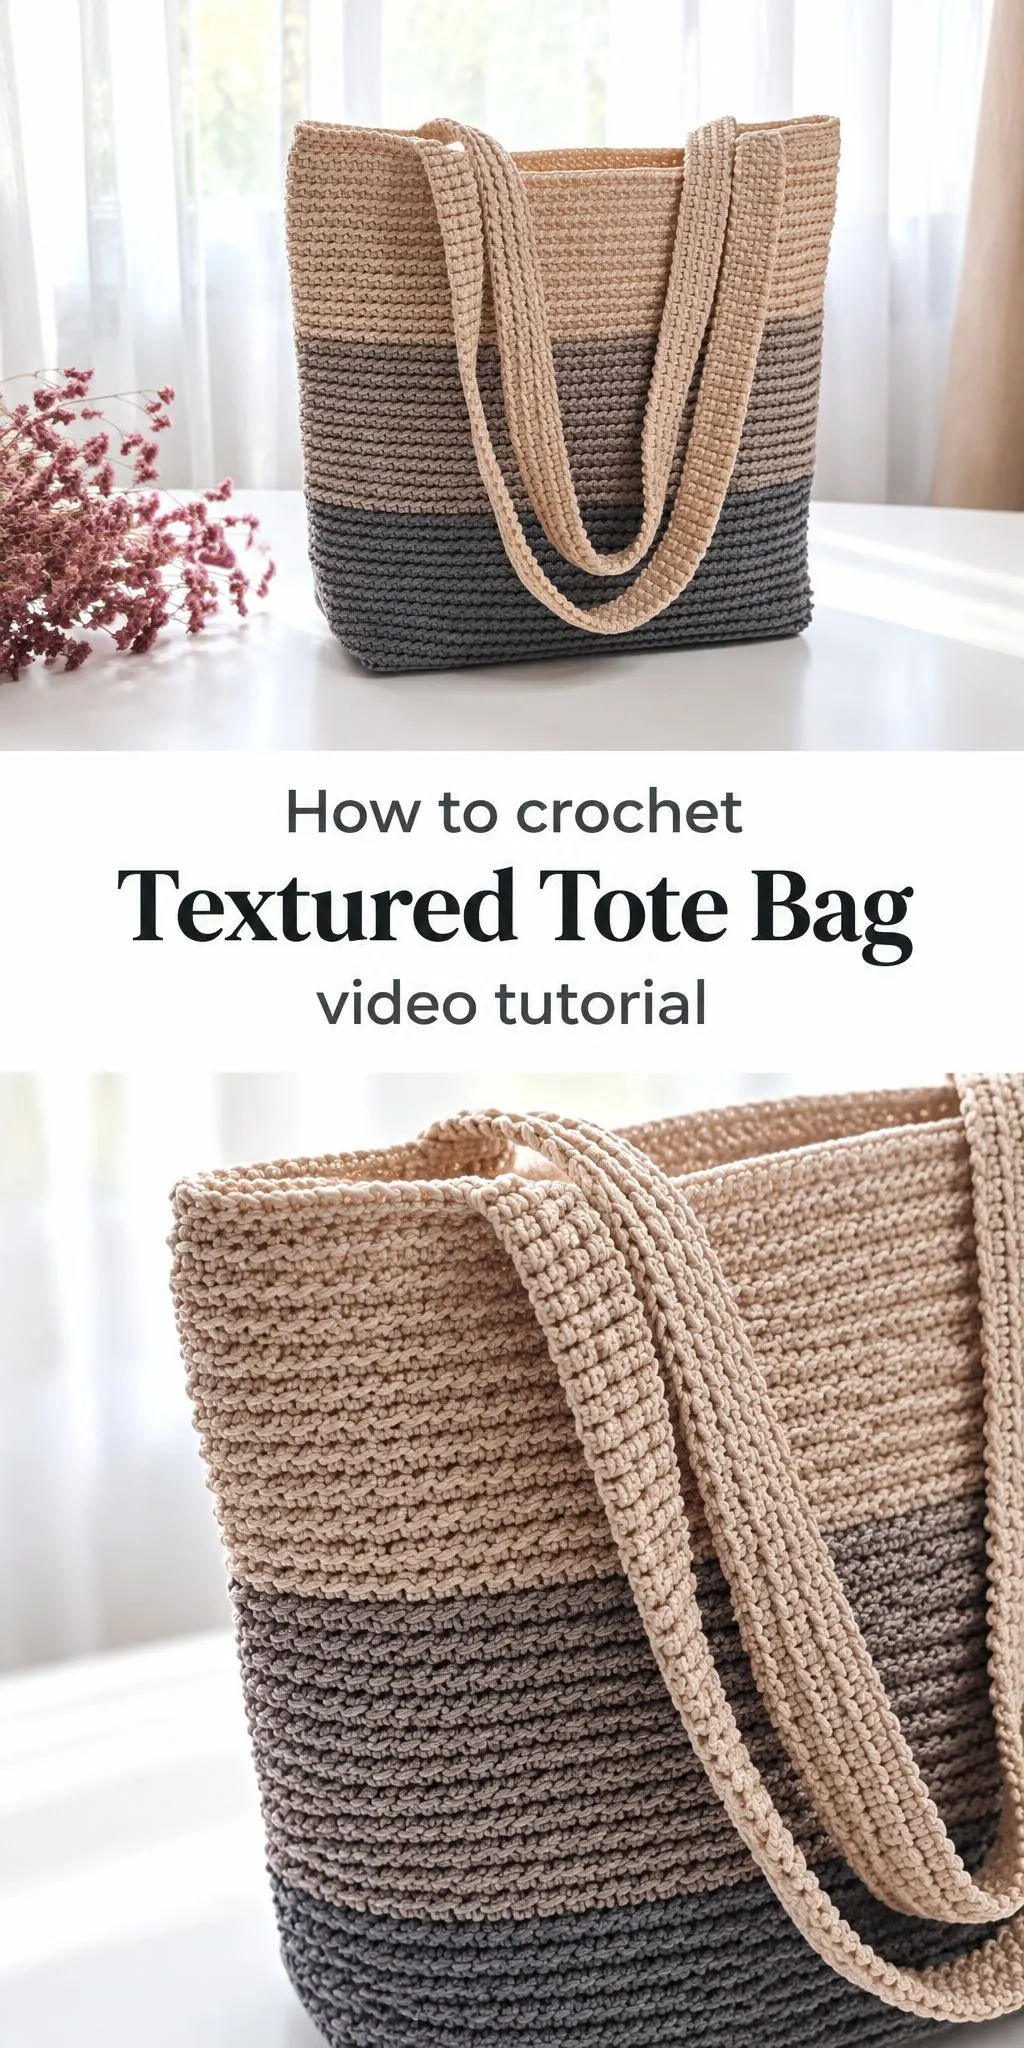
The first thing you notice about this bag is its horizontal banding. Three distinct zones of colour, a soft sand at the top, a warm taupe through the middle, and a deep charcoal grey at the base, divide the body into clear stripes. The colour shifts give the bag a grounded, almost architectural quality, while the stitch texture running through each band keeps the surface from feeling flat.
The silhouette is straightforward and practical. The body rises from a sturdy, slightly weighted base to a wide open mouth, creating a generous interior that suits everyday essentials. Long, sturdy handles sit comfortably on the shoulder, and the overall proportion avoids looking bulky. It is the kind of shape that holds its form when filled, which is exactly what a good tote needs to do.
Why a Tote Bag Is a Rewarding Project
Tote bags are a fine choice for crocheters who want a project that is both useful and satisfying to watch take shape. Because the body is worked in rounds or rows of consistent fabric, the progress is easy to track, and each colour change becomes a visible milestone. Many makers find that a tote offers more creative room than a simple scarf, while still being far less demanding than a fitted garment.
The bag also suits a wide range of users. Its neutral palette fits almost any wardrobe, and the open top makes it easy to grab keys, a water bottle, or a book. Once you understand the basic construction, the same approach can be adapted to different heights, widths, or colour sequences, so the pattern becomes a foundation rather than a single-use plan.
Materials
For a bag of this kind, you might choose a cotton or cotton blend yarn with some structure and a little sheen. Mercerised cotton, cotton-acrylic blends, and sturdy polyester cords all hold stitch definition well and resist stretching under the weight of a full bag. A slightly firm yarn is preferable to a very soft one, because it keeps the sides upright and the texture crisp.
Choose a crochet hook that suits your yarn and the fabric you want. A slightly smaller hook produces a denser, more durable surface, which helps a tote hold its shape. Keep a tapestry needle and stitch markers at hand for finishing and for tracking rounds, along with scissors for trimming ends. Three coordinating yarn colours are needed to recreate the banded look.
Understanding the Texture and Colour Blocks
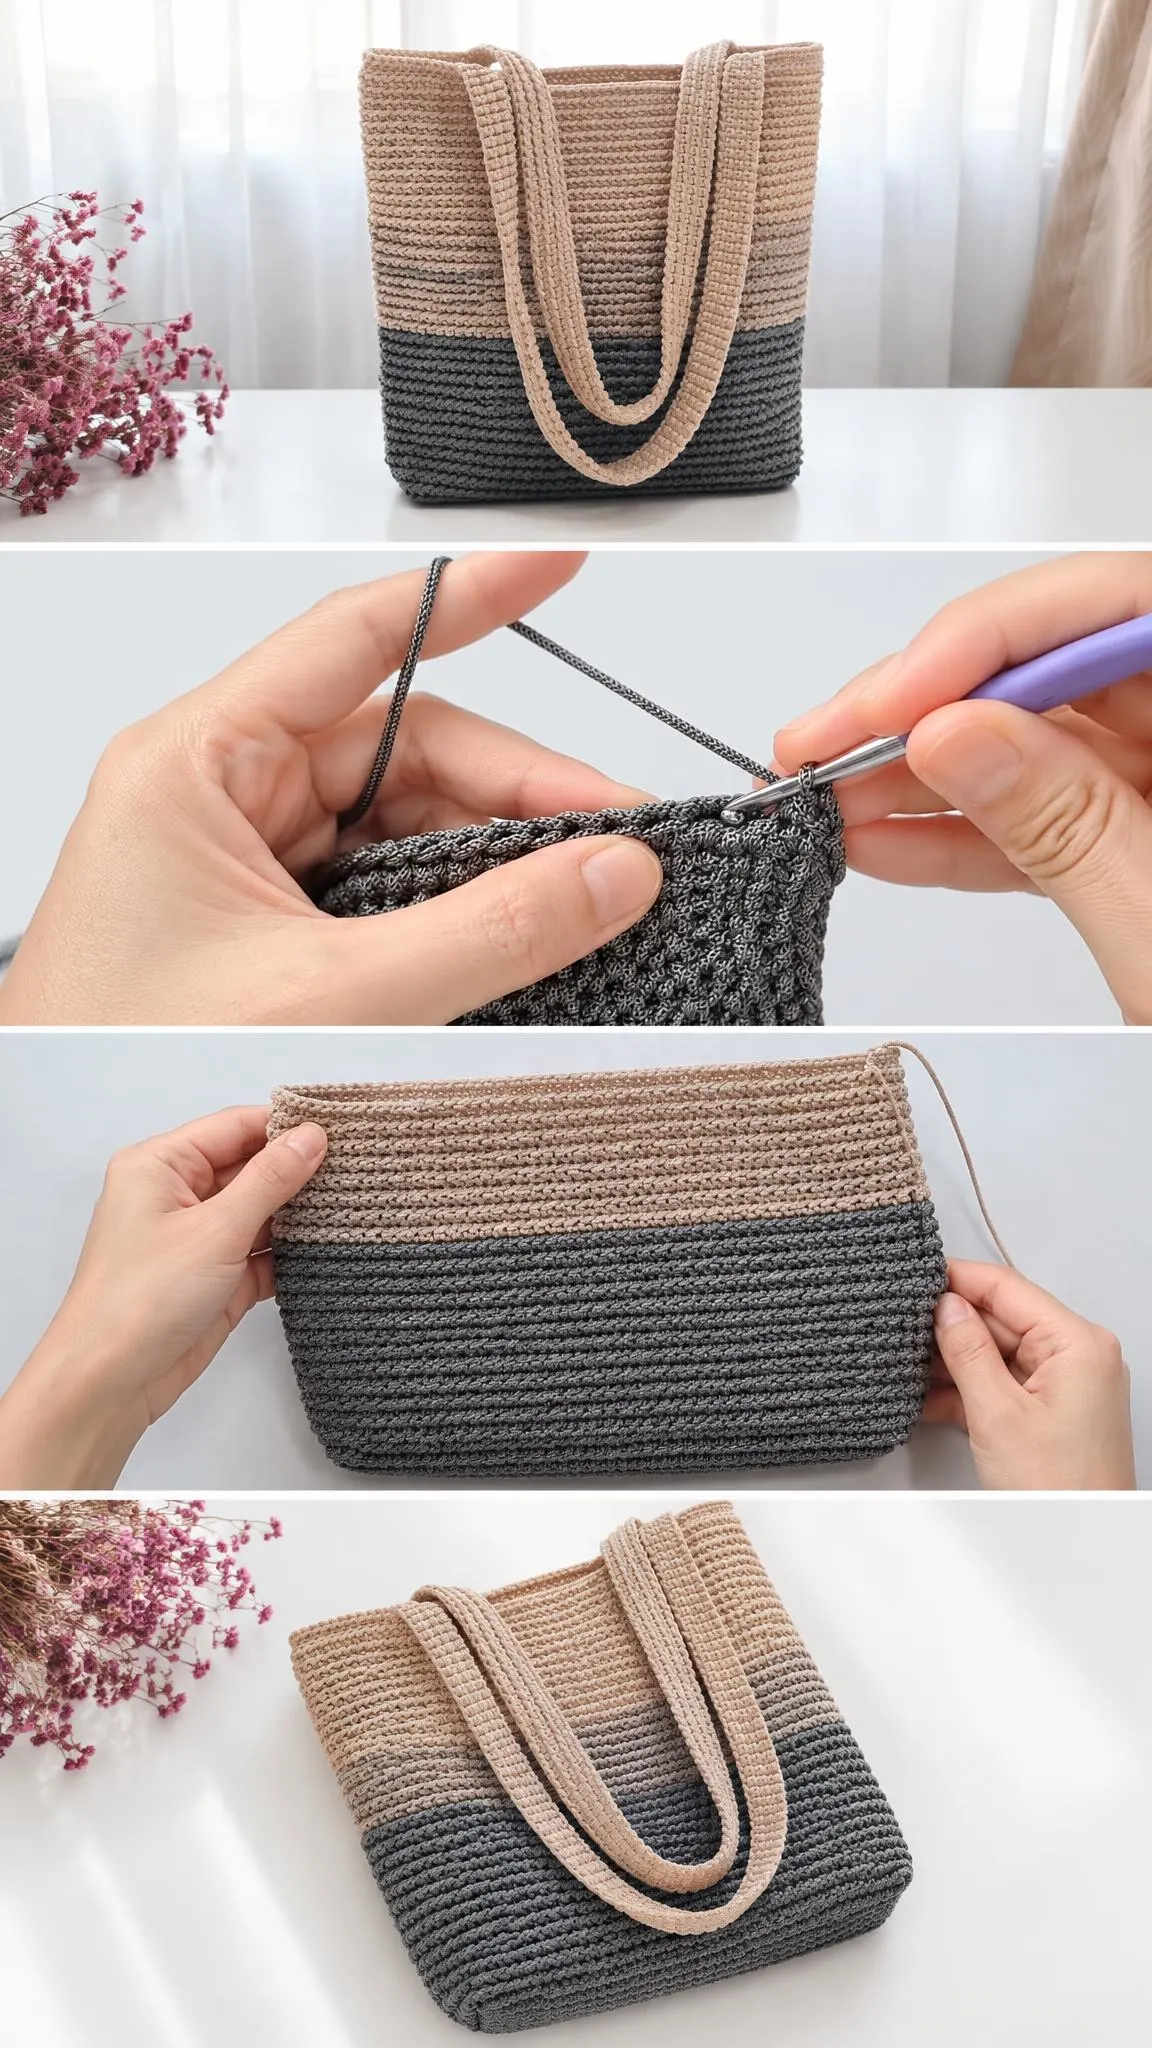
The textured appearance comes from the stitch choice and how it is worked through the body. Stitches that sit close together and use the back loops of the previous row create raised ridges and a ribbed rhythm. This gives the fabric depth, catches the light, and hides small inconsistencies in tension, which is helpful for a project that will see daily wear.
Working Clean Colour Changes
Where one colour meets another, a neat join keeps the bands crisp. Change colour at the end of a round, fasten off or carry the yarn carefully up the inside, and keep the tension consistent so the transition does not puckered. A slight tug on the new yarn before the first stitch can prevent a loose step at the seam.
Shaping, Base, and Handles
A tote lives or dies by its base. A solid, evenly worked bottom keeps the bag stable on the floor and prevents items from pressing through. Work the base firmly, then build the walls with steady, even rounds so the sides rise straight. Measuring as you go helps you keep the bag balanced from one side to the other.
The handles deserve equal attention. Long straps should be sturdy enough to carry a heavy load without stretching, and attaching them securely at the rim is essential. Reinforcing the join with extra stitches or neat sewing ensures the strap will not pull loose over time. Handles worked in the same texture as the body tie the design together visually.
Styling and Everyday Use
This bag pairs easily with neutral clothing. Try it with a cream linen dress and tan sandals for a relaxed summer look, or with charcoal trousers and a white shirt for a polished daytime outfit. Its grey base adds weight to lighter outfits, while the sand top brightens darker ones.
For practical days, use the bag as a market carrier, a beach companion, or a daily work tote. Its open top suits quick access, and its sturdy build handles groceries and notebooks alike. Keep it in a visible spot near the door so it becomes the natural thing to grab on the way out.
Finishing and Care Tips
Once the bag is complete, weave in every end securely and trim neatly. Loose ends can work through the fabric with use, so take time over them. Check that both handles sit evenly and that the rim is level before you consider the project finished.
For cleaning, gentle hand washing in cool water is usually the safest choice, followed by laying the bag flat to dry so it keeps its shape. Always match care methods to the yarn you chose. Some fibres stretch or fade under heat or agitation, so test a small area first if you are unsure.
Finally, take a moment to admire the bands of colour and the rhythm of the texture as they come together. Those details are what make this tote feel special, and they reward patience at every stage.
When you are ready to begin, follow the video below and pause whenever you need to. Complex stitch sequences become much easier when you can watch them slowly, so take your time and enjoy the process.
A well-made tote is a companion for years, and this one is built to be exactly that.
Follow us on Pinterest and subscribe to the Newsletter so you don’t miss a thing!
Tutorial and photos of this textured tote bag by: Chompu Handicrafts.