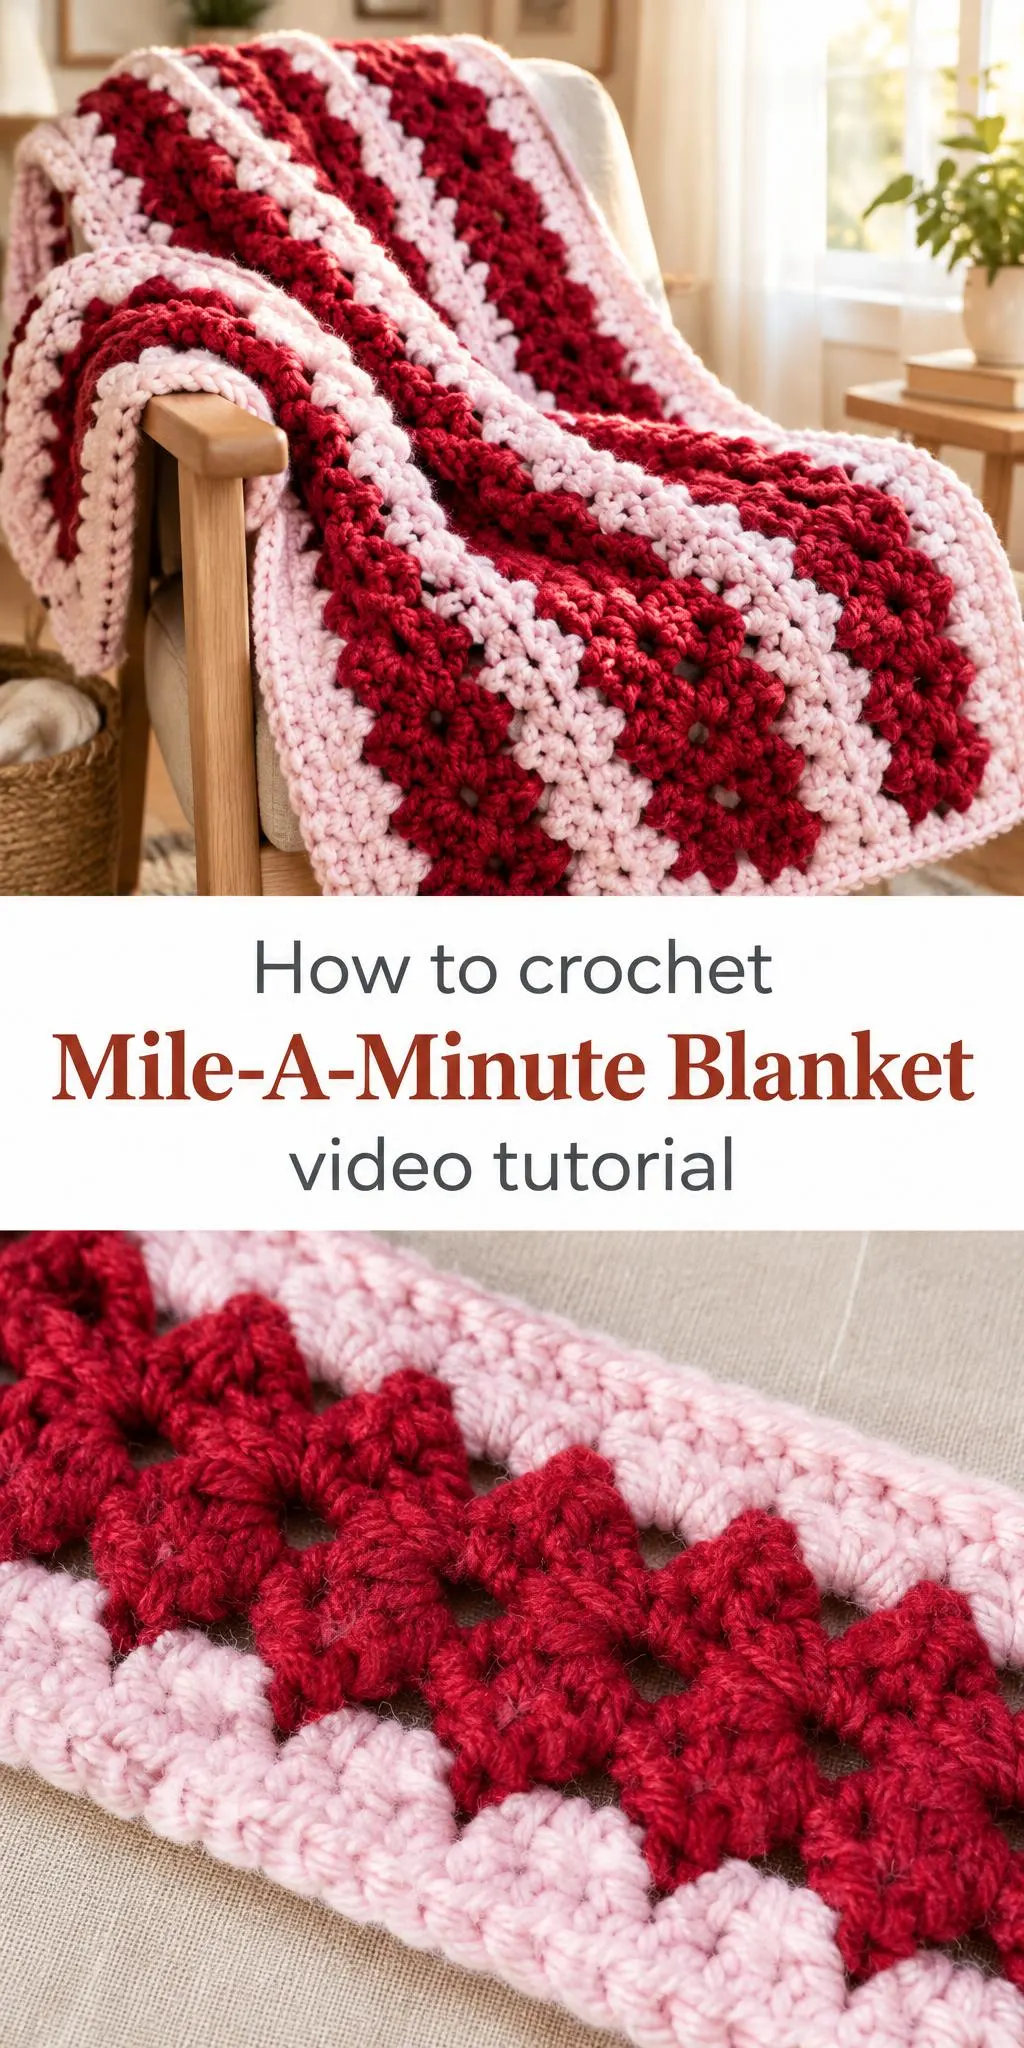
The Mile-A-Minute Blanket is a striking crochet project that pairs bold red stitching with a crisp pale pink border, creating a cozy piece with real visual punch. Its open, textured body makes it a satisfying choice for anyone who enjoys both fast progress and a handmade look that stands out.
In this post
Mile-A-Minute Blanket: A Project With Character
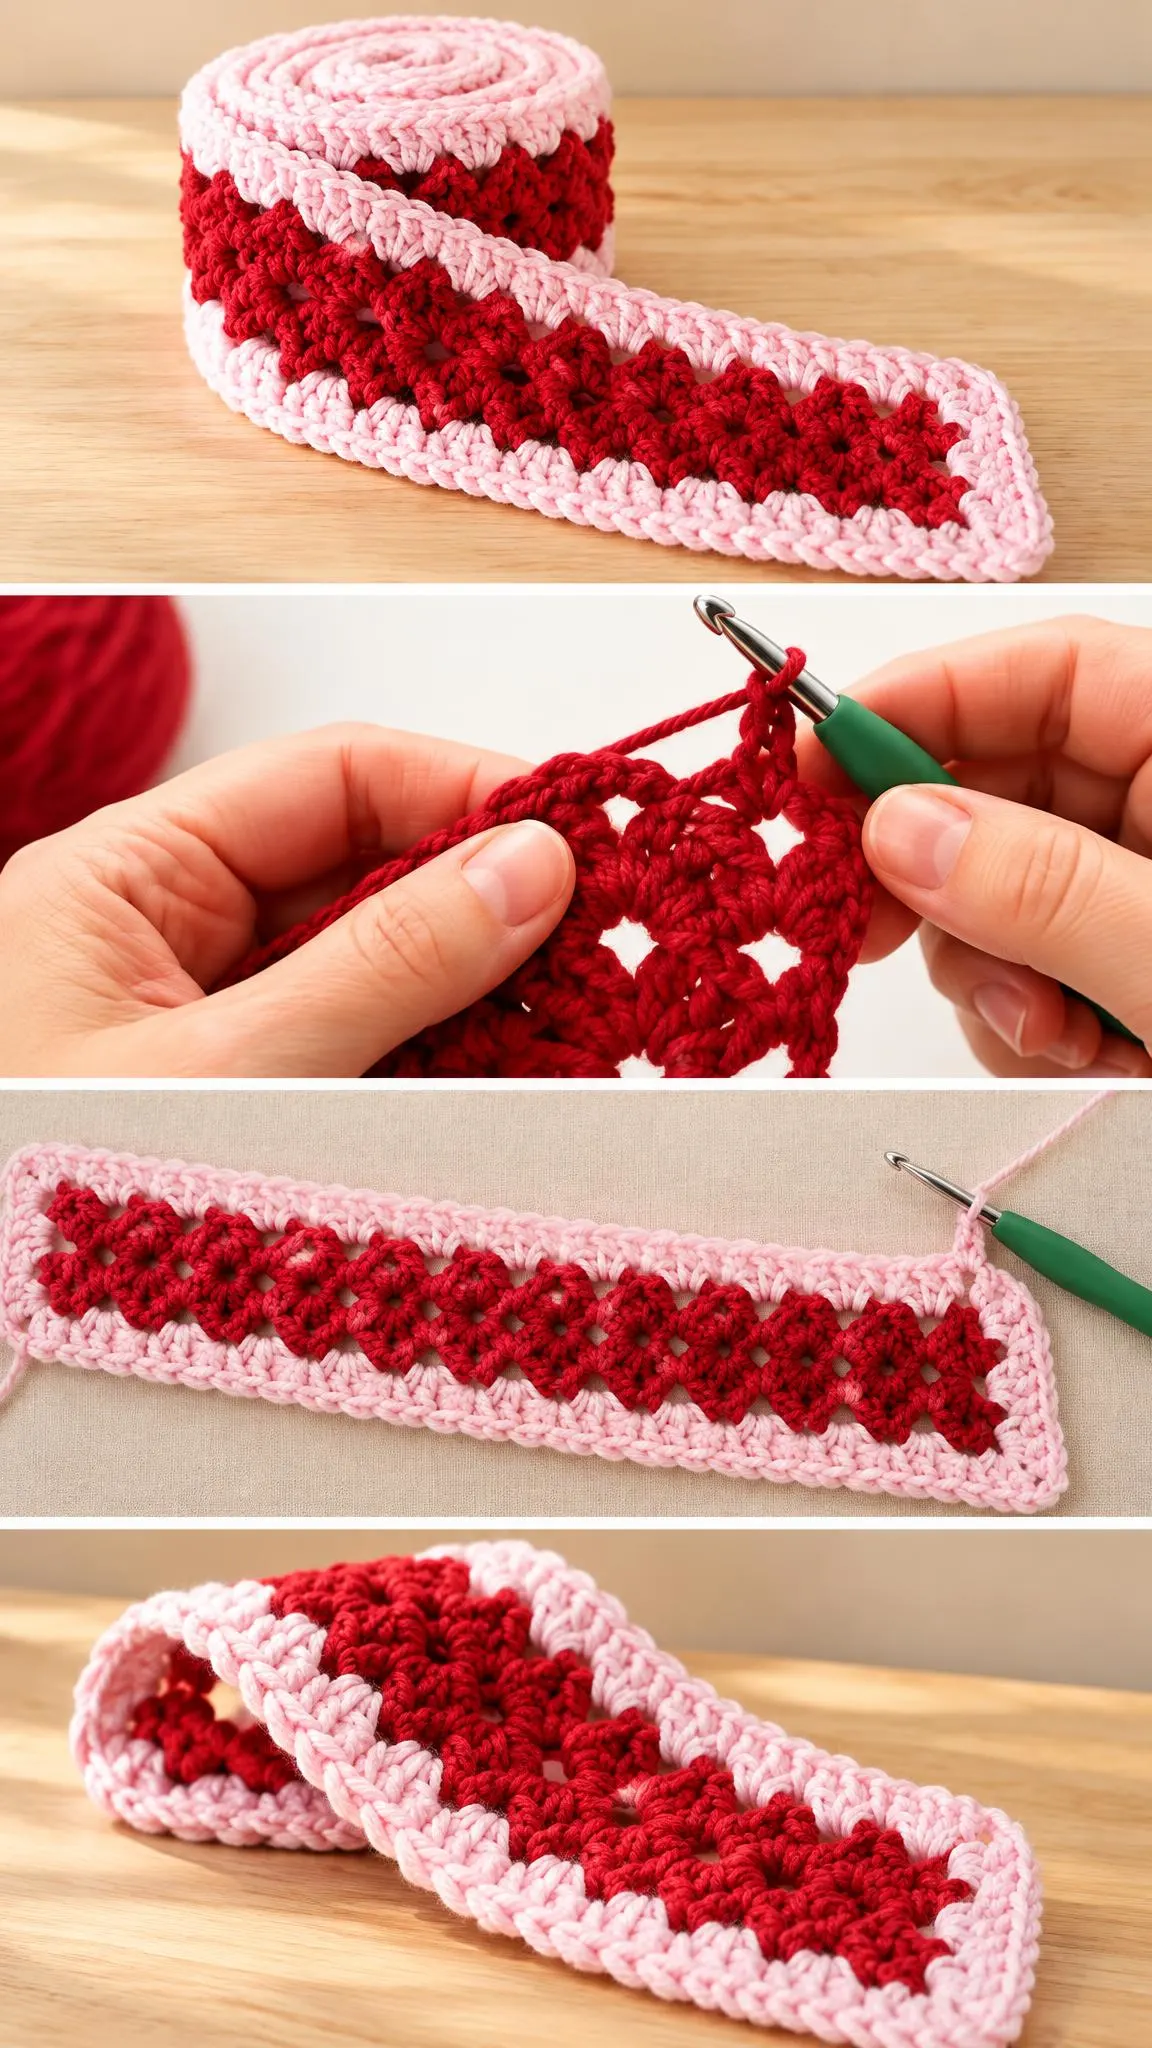
The Mile-A-Minute Blanket is worked as a long, rolled strip rather than a small square, and that shape is part of its charm. The central band is built from a deep crimson yarn that forms a lacy, openwork pattern. Small holes sit between clusters of stitches, giving the fabric a light, airy quality while still holding a clear structure. Framing that center is a pale pink edge that outlines the strip cleanly and makes the red panel look almost jewel-like.
Because the project is built as a continuous strip, it adapts easily to many uses. You can keep it as a throw across the foot of a bed, lay it over the back of a sofa, or wrap it around a chair arm for a cheerful accent. Its open texture also means it works well in warmer rooms where a heavy blanket would feel too much. Many crocheters enjoy projects like this because the rhythm of repeating a simple motif creates steady progress, which is where the name’s promise of quick results comes from.
Mile-A-Minute Blanket Related Posts:
- Crochet Tunic Blouse: A Chic and Airy Handmade Staple
- Crochet Textured Tote Bag: A Stylish Handmade Staple
Choosing Materials for Your Strip
For a project with this kind of open texture, a medium-weight acrylic or an acrylic-wool blend is a practical starting point. These fibers hold stitch definition well, so the lacy holes stay visible rather than closing up. Choose a smooth, lightly plied yarn if you want crisp edges, or a softer, slightly fuzzy one if you prefer a cozier finish. Keep your red and pink yarns in the same weight so the strip lies flat and the border sits evenly against the body.
Select a hook size that gives you a fabric you like to handle. Smaller hooks produce a denser, firmer strip that resists stretching, while larger hooks open the lace further and create a softer drape. Test a short sample before committing to a long length, and compare how the openwork looks when you lightly stretch it. Pay attention to whether the pink border lies flat or ripples, since tension differences between the two colors can change the final shape.
Understanding the Lacy Center
The red center is the feature that gives the piece its personality. It relies on a repeating cluster-and-space pattern, where groups of stitches are gathered together and separated by small open spaces. This arrangement creates the textured, almost ribbed look visible across the strip. If you are learning the motif, work slowly at first and count your repeats so the spacing stays even from end to end.
Consistency matters more than speed in this section. Uneven clusters can make one part of the strip look bunched while another looks stretched. Try to keep each repeat the same height and width, and let the stitches sit naturally on the hook rather than pulling them tight. When the pattern is regular, the open holes line up neatly and the entire strip reads as one clean design.
Keeping the Holes Open
The openwork spaces are easy to lose if the stitches around them are worked too firmly. Relaxed tension helps the lace hold its shape without collapsing. Blocking after you finish can also open the spaces further and even out the overall tension.
The Pink Border and Edge Finish
The pale pink border does more than decorate. It defines the outline of the strip, stabilizes the edges that might otherwise curl, and frames the red center so the eye moves smoothly along the length. Choosing a contrasting shade gives the piece a bright, candy-like appearance, while a closer tone would create a more subtle, understated effect. Consider how the border will look against your room or wardrobe before you settle on the color.
Work the border with an even hand so the edges lie flat. Border rounds that are worked too tightly can pull the strip into a wave, while loose rounds can make the edge look wobbly. Count stitches along each side and aim for matching numbers at both ends. This small attention pays off when the finished strip is laid out or rolled.
Styling and Using Your Finished Strip
Think of the finished piece as a flexible accent. A red-and-pink strip can brighten a neutral bedroom when draped across the end of the bed, or it can add a warm note to a reading corner when folded over a chair. Pairing it with cream, grey, or soft white bedding lets the colors stand out without competing. For a more playful look, add a few pastel cushions or a patterned rug to echo the pink border.
The strip also suits gifting. Roll it loosely, tie it with a ribbon, and present it as a seasonal or housewarming gift. Because it can be used in many settings, it feels thoughtful without requiring the recipient to match it to a specific room. You might also drape it across a bench at the foot of a bed or over a bookshelf, where its length gives you flexibility in how it sits.
Finishing Touches and Care
Before using your strip, weave in all loose ends carefully. Run each tail through several stitches on the wrong side and trim close, so nothing catches or unravels in use. Pay special attention to where the border meets the center, since these joins receive regular handling.
Blocking helps the lace open and the edges settle. Lightly dampen the strip, pin the edges to a flat surface, and allow it to dry fully before removing the pins. Check the fiber label before washing, because acrylic blends often handle gentle washing well, while some natural fibers need more careful treatment. Lay the strip flat to dry rather than hanging it, which can stretch the length.
Every long project rewards patience, and the Mile-A-Minute Blanket is no exception. Take breaks when your hands feel tired, and count your repeats to keep your place. For the exact stitch sequence, row instructions, and fine details of the pattern, follow the video below and pause or rewind whenever a step needs a second look.
The Mile-A-Minute Blanket rewards careful work with a bold, cheerful piece that is equally at home on a bed or a sofa. Its red lace, pink border, and flexible length make it a project worth keeping close.
Follow us on Pinterest and subscribe to the Newsletter so you don’t miss a thing!
Tutorial and photos of this mile-a-minute blanket by: Jayda InStitches.