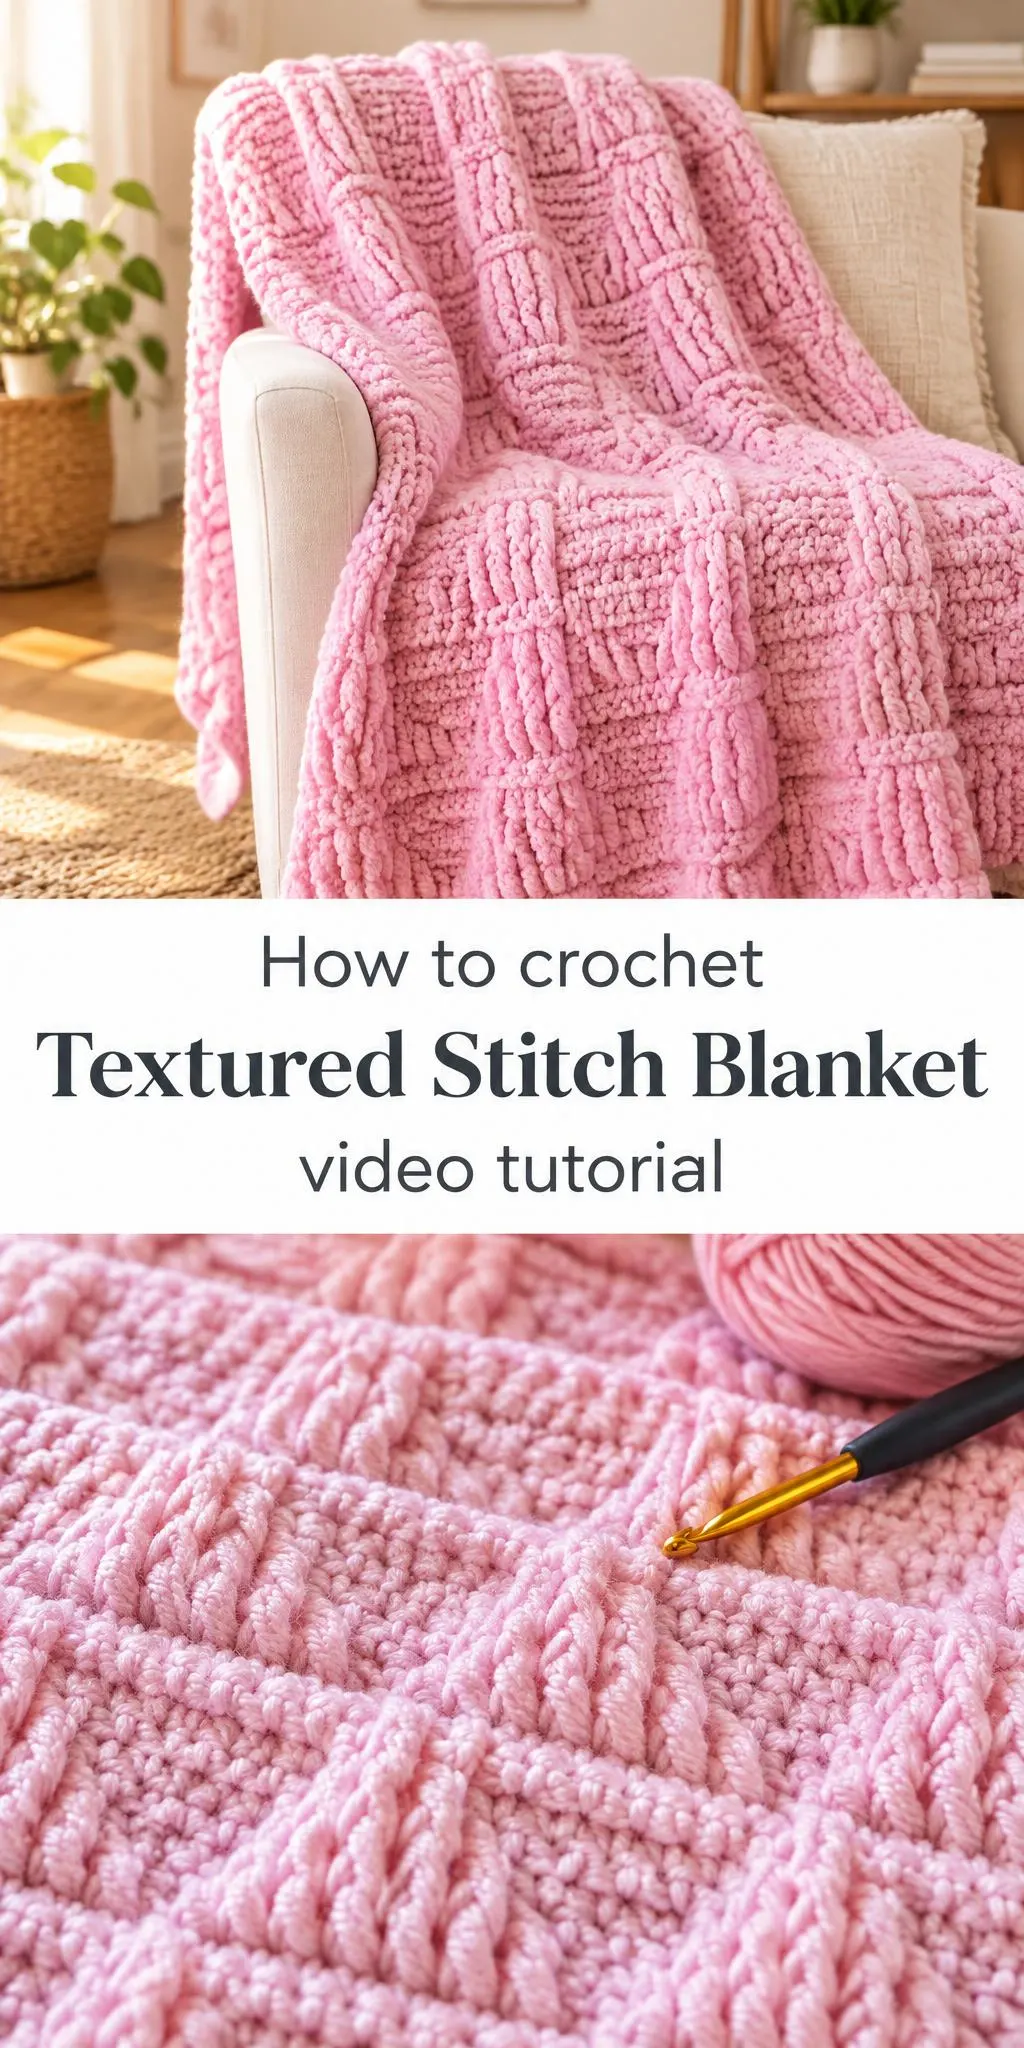
A textured stitch blanket turns simple single crochet into a surface full of rhythm and depth. Its raised vertical ribs and recessed panels make the fabric feel alive, and the result is cozy enough to drape over a sofa or wrap around a newborn.
In this post
Why the Textured Stitch Blanket Stands Out
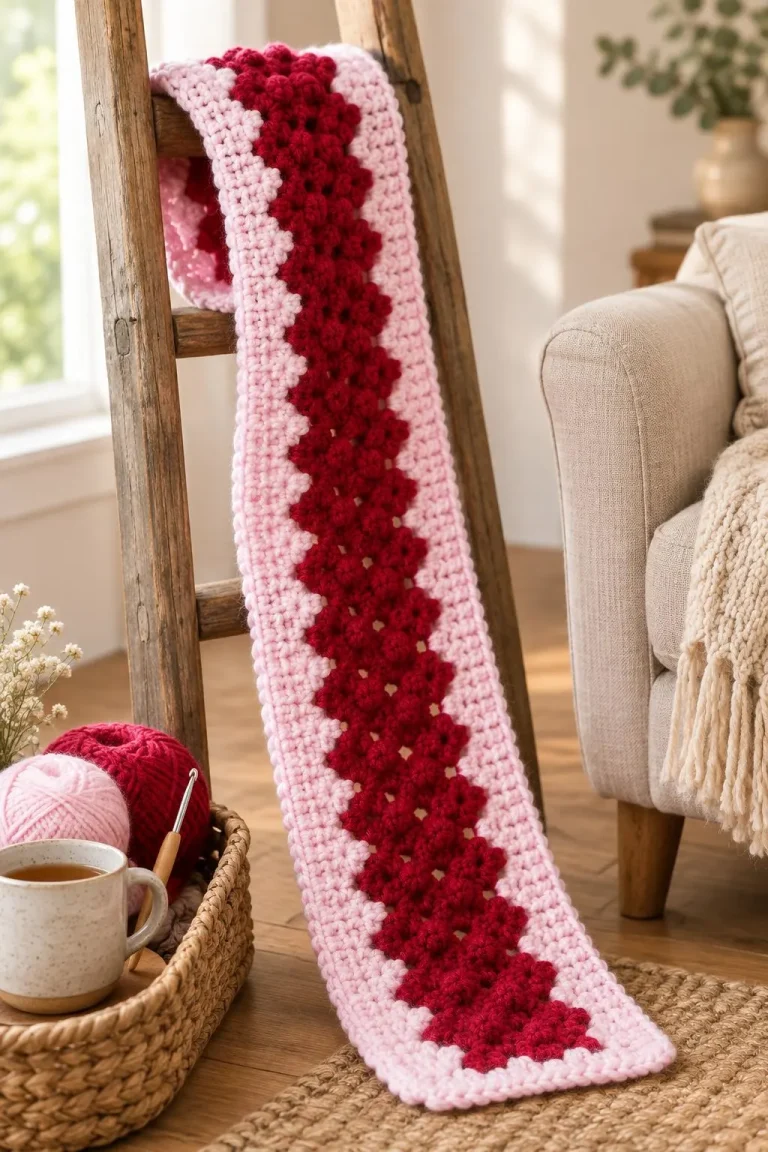
Look closely at this design and you will notice how the fabric alternates between flat, dense bands and tall, raised columns. The raised sections stand up from the surface like twisted ribs, while the calmer areas between them create a quieter backdrop. This contrast gives the blanket a sense of movement, even though every stitch is worked in a similar way.
The soft pink tone enhances that effect. A single shade lets the eye follow the ridges and valleys without distraction, so the texture becomes the star. Lighter colors like this one tend to reveal stitch definition beautifully, while darker shades can make the same pattern feel more dramatic and sculptural.
Beyond its looks, the blanket is wonderfully practical. The dense yet textured fabric traps warmth without feeling heavy, and the raised ridges add a pleasant tactile quality that many people find soothing. It works equally well as a nursery throw, a lap blanket for reading, or a layer on a chilly couch.
Stitch Blanket Related Posts:
- Crochet Textured Tote Bag: A Stylish Handmade Staple
- Crochet Tunic Blouse: A Chic and Airy Handmade Staple
Materials
For a project like this, you might choose a soft acrylic or a cotton blend. Acrylic offers softness, washability, and a bright, even color that suits baby blankets well. Cotton blends give a crisper stitch definition and a slightly heavier drape, which can help the ridges hold their shape over time. A smooth, lightly plied yarn usually shows texture more clearly than a fuzzy or novelty yarn.
Choose a hook that suits your yarn and the fabric you want. A hook a size or so smaller than the label suggests often produces a firmer, more structured surface, which helps the raised columns look crisp. Keep a stitch marker, a yarn needle for weaving in ends, and a measuring tape nearby. Those few tools make a noticeable difference to the finished look.
Understanding the Textured Design
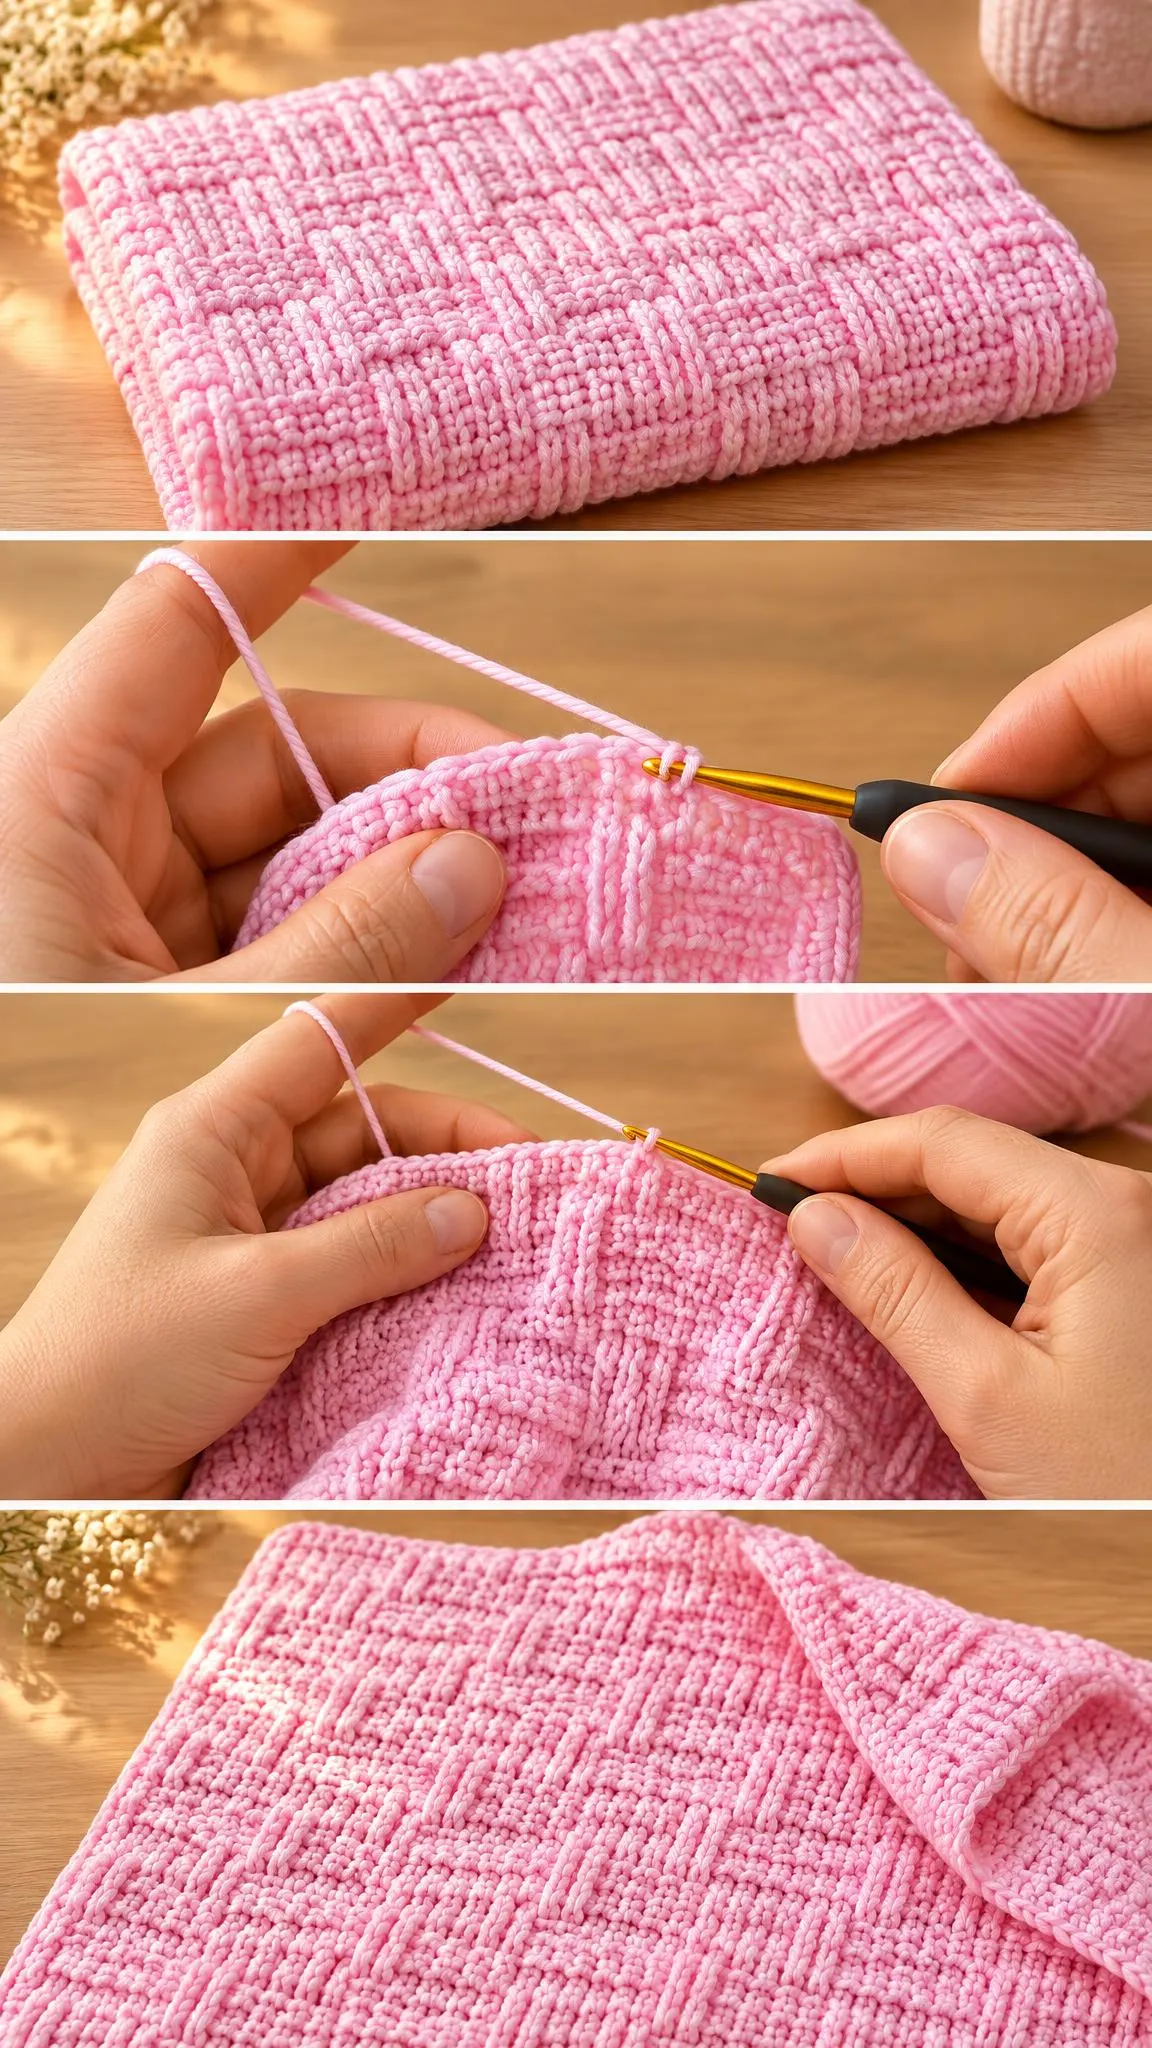
The defining feature here is the pattern of raised columns set against flatter panels. Achieving this effect generally relies on working some stitches around the posts of stitches in earlier rows rather than through the top loops. When you insert the hook around a post and work it either front or back, the stitch is pulled forward or backward, creating the ribbed relief you see.
Balance is the key to a successful result. Each raised column needs enough neighboring flat stitches to frame it, otherwise the texture can look crowded or uneven. Working the flat rows with consistent tension keeps the valleys neat and gives the ridges room to stand out.
Keeping Tension Consistent
Textured work punishes uneven tension more than plain fabric. If your flat stitches are tight and your raised ones are loose, the columns may lean or sag. Try to keep every stitch the same height, and pause at the end of each row to smooth the fabric and check that the ridges sit where you expect them.
Creating a Balanced Layout
Think about the placement of the raised columns across the whole blanket. Staggering them from one row band to the next produces a woven, basket-like effect, while stacking them vertically gives a more linear, ribbed appearance. Both are attractive, so choose according to the mood you want.
Border choice also shapes the final impression. A simple single-crochet edging keeps the focus on the texture, while a slightly contrasting border frames the piece and makes it feel finished. Test a small swatch first to see which option suits your palette best.
Using and Styling the Blanket
This blanket adapts to many settings. In a nursery, fold it across the foot of a crib or drape it over a glider for a soft, textured accent. On an adult bed, it can sit at the end as a layer that adds warmth and visual interest without overwhelming pillows or bedding.
Pair it with simple textiles so the stitch pattern remains the focal point. Plain cotton sheets, a neutral throw pillow, or a pale wooden frame let the pink ridges shine. For gifting, a blanket of this kind pairs beautifully with a small stuffed toy or a matching hat tucked into the folds.
Finishing with Care
Weave in all ends neatly along the back of the fabric so they do not work loose. Because the surface relies on crisp ridges, a gentle blocking can help even out the stitches, but check your yarn label first, since some acrylics respond better to light steaming than to soaking.
When washing, use a mild detergent and a gentle cycle or hand wash, then lay the blanket flat to dry. Reshape the raised columns with your fingers while the fabric is still damp. This simple step keeps the texture looking fresh through many washes.
Enjoy the process of building this textured fabric one row at a time. Pause to admire how the ridges emerge, and revisit any tricky section as often as you need. Follow the video below to see the technique in motion, and let your own color choice bring a personal touch to this cozy classic.
Follow us on Pinterest and subscribe to the Newsletter so you don’t miss a thing!
Tutorial and photos of this textured stitch blanket by: AYŞENİN ÖRGÜLERİ.