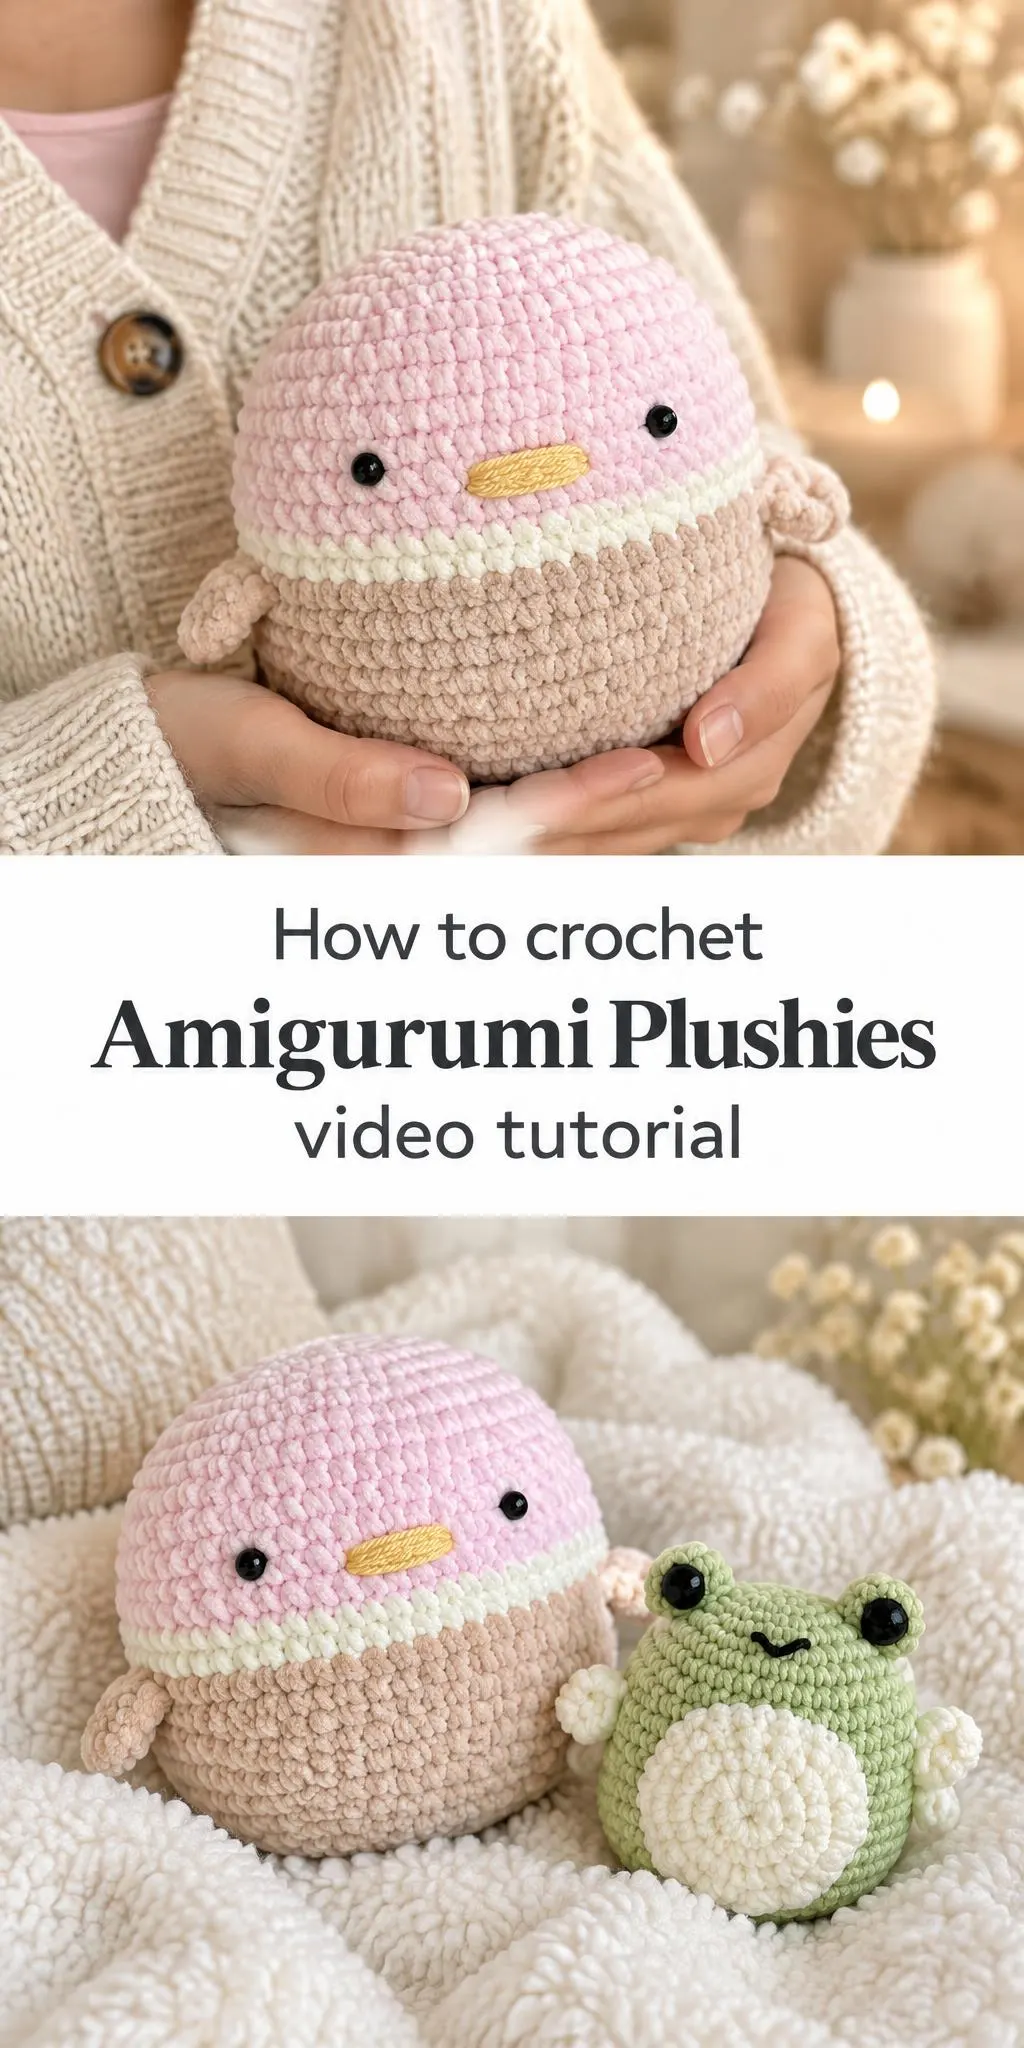
Crochet amigurumi plushies are small, huggable characters worked in the round, and this guide focuses on the soft, rounded companions shown in the reference photos: a pastel pink-and-cream duck with bright black eyes and a golden beak, and a sage-green frog with a cream belly, dark eyes, and little ruffled fins. Both are cute, simple to recognize, and satisfying to make.
In this post
Meet the Crochet Amigurumi Plushie
Amigurumi is the Japanese art of crocheting small stuffed figures, and the appeal lies in how much personality a few simple shapes can carry. The duck in the photos sits on a gently domed body with a cream band across its middle, which gives it a soft, contained silhouette. The frog takes a similar round form but adds a pale belly, raised eyes, and flat side flaps that suggest its limbs without adding bulk.
These pieces work well as desk companions, bedside friends, or gifts for anyone who enjoys something small and cheerful. Their size means they can be finished in a single afternoon, which makes them a good choice when you want a complete project rather than a long-term one. They also sit comfortably in the hand, so they are as pleasant to hold as they are to look at.
Amigurumi Plushies Related Posts:
- Crochet Tunic Blouse: A Chic and Airy Handmade Staple
- Crochet Textured Tote Bag: A Stylish Handmade Staple
- Crochet Textured Stitch Blanket: A Cozy and Timeless Classic
- Crochet Mile-A-Minute Blanket: A Cozy and Charming Handmade Keepsake
Materials
For plushies with this kind of soft, rounded look, a chenille or plush-style yarn is a popular choice because it creates a dense, velvety surface that hides stitch lines. A smooth cotton or acrylic yarn, by contrast, will show every stitch clearly and give a tidier, more defined outline. Either option can work, so choose based on the finish you want. Pastel shades such as blush pink, cream, and soft sage suit the look of these designs.
You will also need a hook sized to your yarn, a tapestry needle for joining and embroidery, fiberfill for stuffing, and stitch markers to keep track of rounds. Safety eyes or embroidered eyes are both used; embroidered eyes are a good option for plushies intended for very young children. Keep your hook a size or so smaller than the label suggests if you want a firm fabric that holds stuffing well without gaps.
Shaping the Body: Why Rounds Matter
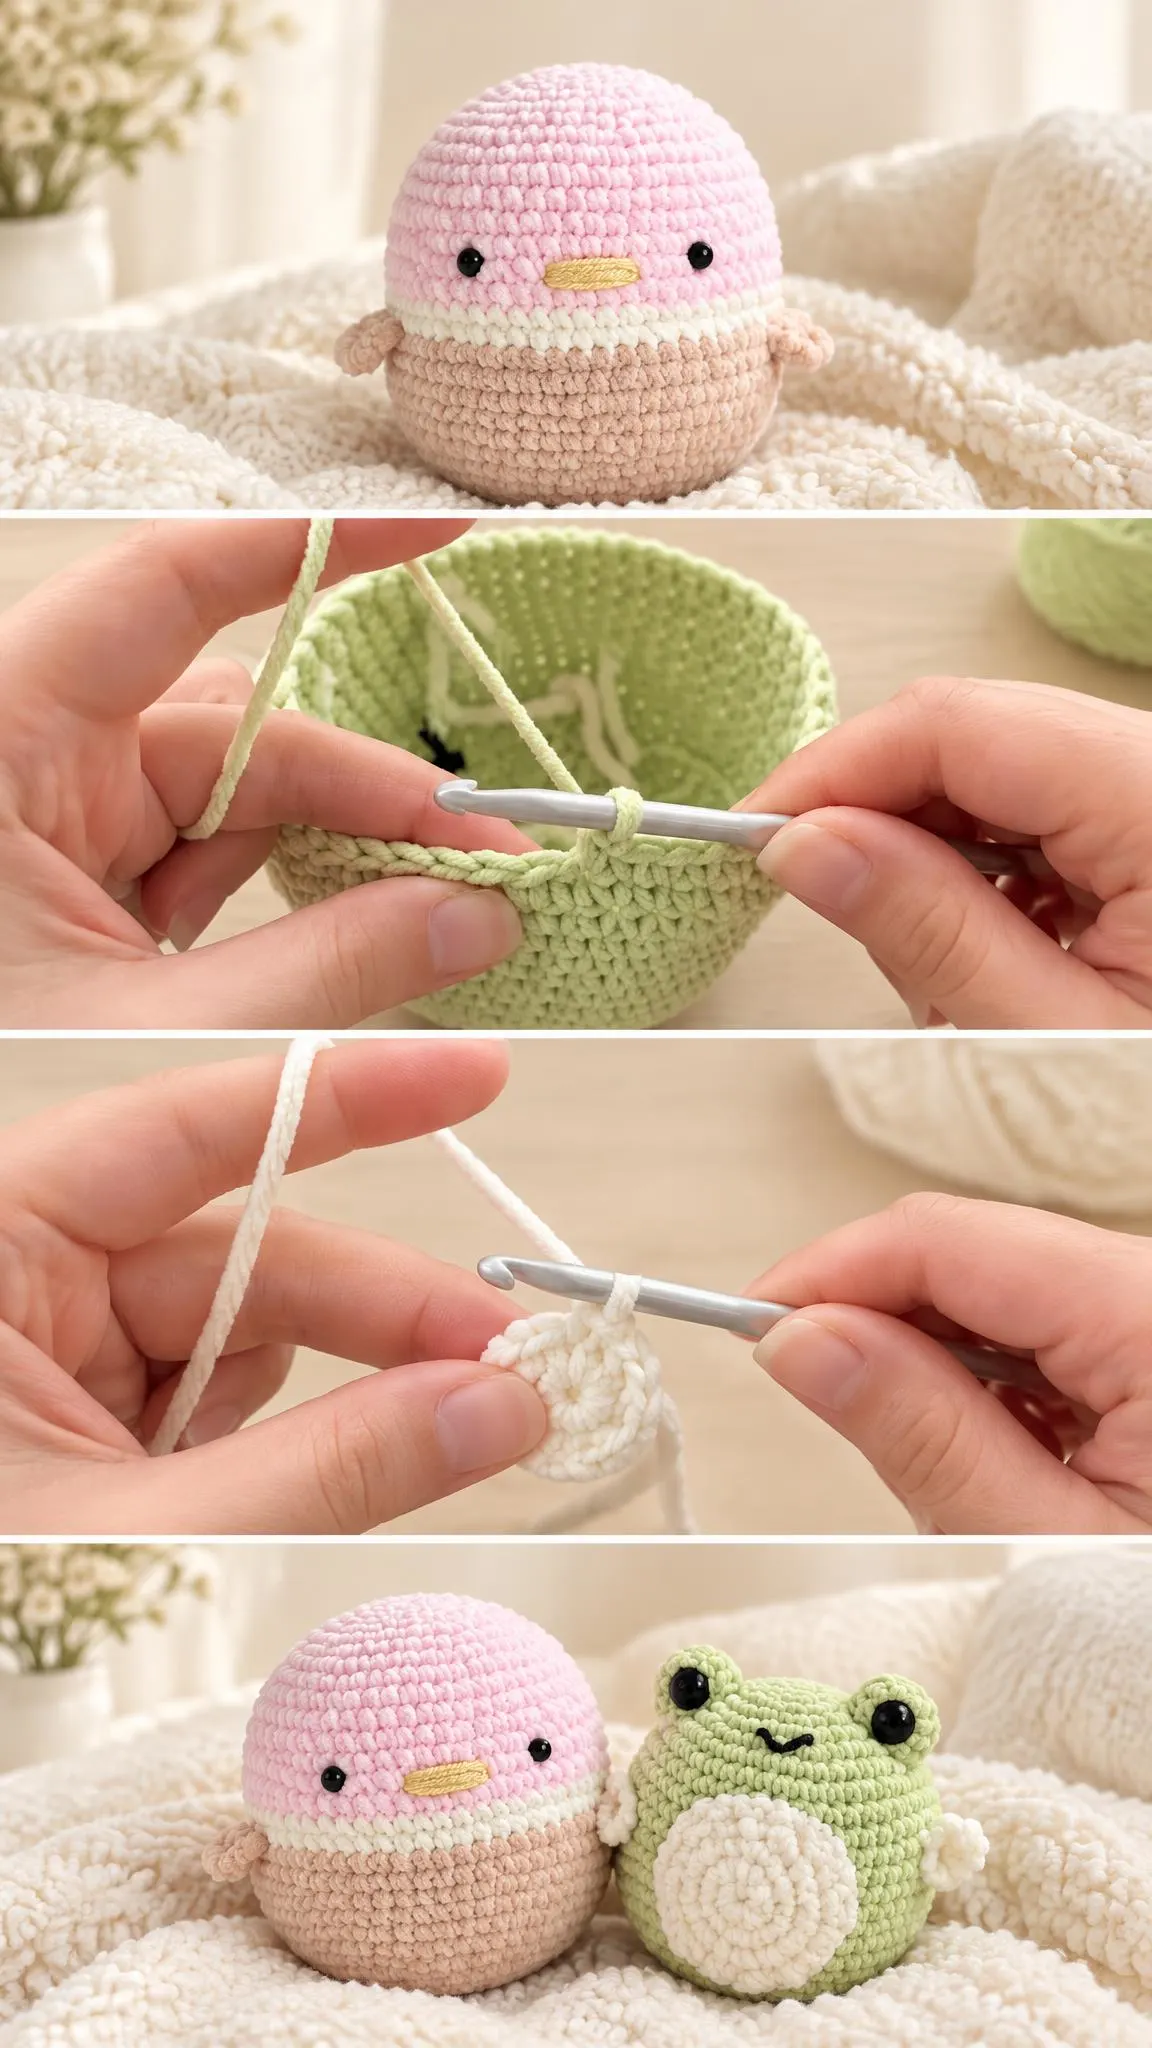
The body of each plushie is built from a spiral of single crochet worked in continuous rounds. Increases widen the base, and the slow, even addition of stitches creates the smooth dome. Working your increases evenly around the circle is what keeps the form balanced instead of lopsided. If one side grows faster than the other, the body will tilt, so counting stitches at the end of each round is worth the extra moment.
Decreases bring the top back in to close the shape. Pay attention to where they sit, because spacing them evenly produces a rounded crown rather than a flat or pointed one. Stuffing as you go helps you judge the shape before you finish, and firm, evenly distributed stuffing prevents the body from sagging.
Creating the Two-Tone Look
The duck’s pink top and cream band show how color changes can define a plushie’s character. Switching yarn at a chosen round creates a clean horizontal line, and carrying the unused color neatly up the inside of the work keeps the surface smooth. Many crocheters prefer to fasten off and rejoin rather than carry yarn over long distances, since this avoids bulk and puckering along the join.
Think about proportion when you plan color blocks. A narrow band of cream looks like a delicate accent, while a wide one changes the whole impression of the piece. The frog’s cream belly demonstrates the opposite effect: a large pale patch against green draws the eye to the center of the body and makes the character read as soft and friendly.
Faces, Beaks, and Limbs
Small details carry most of the expression. The duck’s two round black eyes and rectangular golden beak are placed on the same row, which gives a calm, sweet look. Spacing the eyes wider apart makes a plushie seem younger; placing them closer together tends to make it appear more focused. The beak can be embroidered with a few straight stitches or worked as a small flat shape, depending on how defined you want it.
The frog’s raised eyes and curved smile create a different mood entirely. Attaching eyes to the top of the head, rather than the front, suggests a frog’s natural pose. Limbs and fins are usually worked separately and sewn on after the body is closed. Attach them securely with the tail of the yarn, and check their placement from several angles before fastening, since they change the silhouette more than they first appear to.
Keeping Features Secure
Eyes and small embellishments take the most wear, so attach them firmly. Use the full length of your yarn tail to pass through the body several times before tying off, and pull the stitches snug so features do not wobble. If you use safety eyes, lock them firmly in place before stuffing the area beneath them.
Using and Displaying Your Plushie
Amigurumi plushies earn their place by being used. The duck works well as a bedside companion or as a small gift tucked beside a pillow, where its soft pink surface reads as cosy against neutral bedding. The frog pairs nicely with greenery, plant pots, or a sunny windowsill, where its sage tones blend into a natural setting. Both are light enough to sit on a shelf without needing support.
Consider the occasion as well. A plushie in pastel colors suits baby showers, birthdays, or a thoughtful gift for a friend who loves small, cute things. Because the pieces are compact, they can be packed easily and presented with a simple ribbon or a handwritten card.
Finishing Touches for a Polished Plushie
Before stuffing is complete, check the body for lumps and adjust the fiberfill so the form is even. Overstuffing can stretch the stitches and make them look strained, while understuffing leaves the plushie floppy. Aim for a firm but gently yielding feel. Once the opening is closed, use the tapestry needle to hide yarn ends inside the body so they do not unravel.
Gently blocking the finished piece can smooth the surface and help the shape settle. Treat it carefully, however, and check the care recommendations for your chosen yarn first. A quick comb of the fibers with your fingers can also lift a plush-style surface, leaving it soft and even.
A Companion Worth Making
Crochet amigurumi plushies combine simple techniques with a lot of charm. Whether you choose the pastel duck, the sage-green frog, or your own idea, the result is a small, lasting object that brings warmth to a room. Each round you complete brings the character closer to life, and that quiet satisfaction is part of the pleasure.
If you want to follow the steps in full, the video below walks through the process. Pause or rewind whenever a section needs a closer look, and enjoy building your own cheerful friend one stitch at a time.
Follow us on Pinterest and subscribe to the Newsletter so you don’t miss a thing!
Tutorial and photos of this amigurumi plushies by: mahum 🎀.