A crochet book cover with a picture frame is one of those projects that feels both practical and personal. It protects a favorite book while giving you a space to display a photo, a quote, or a favorite card, and the soft texture of the yarn makes it a pleasure to hold.
In this post
A Cozy Way to Dress Up Your Reading
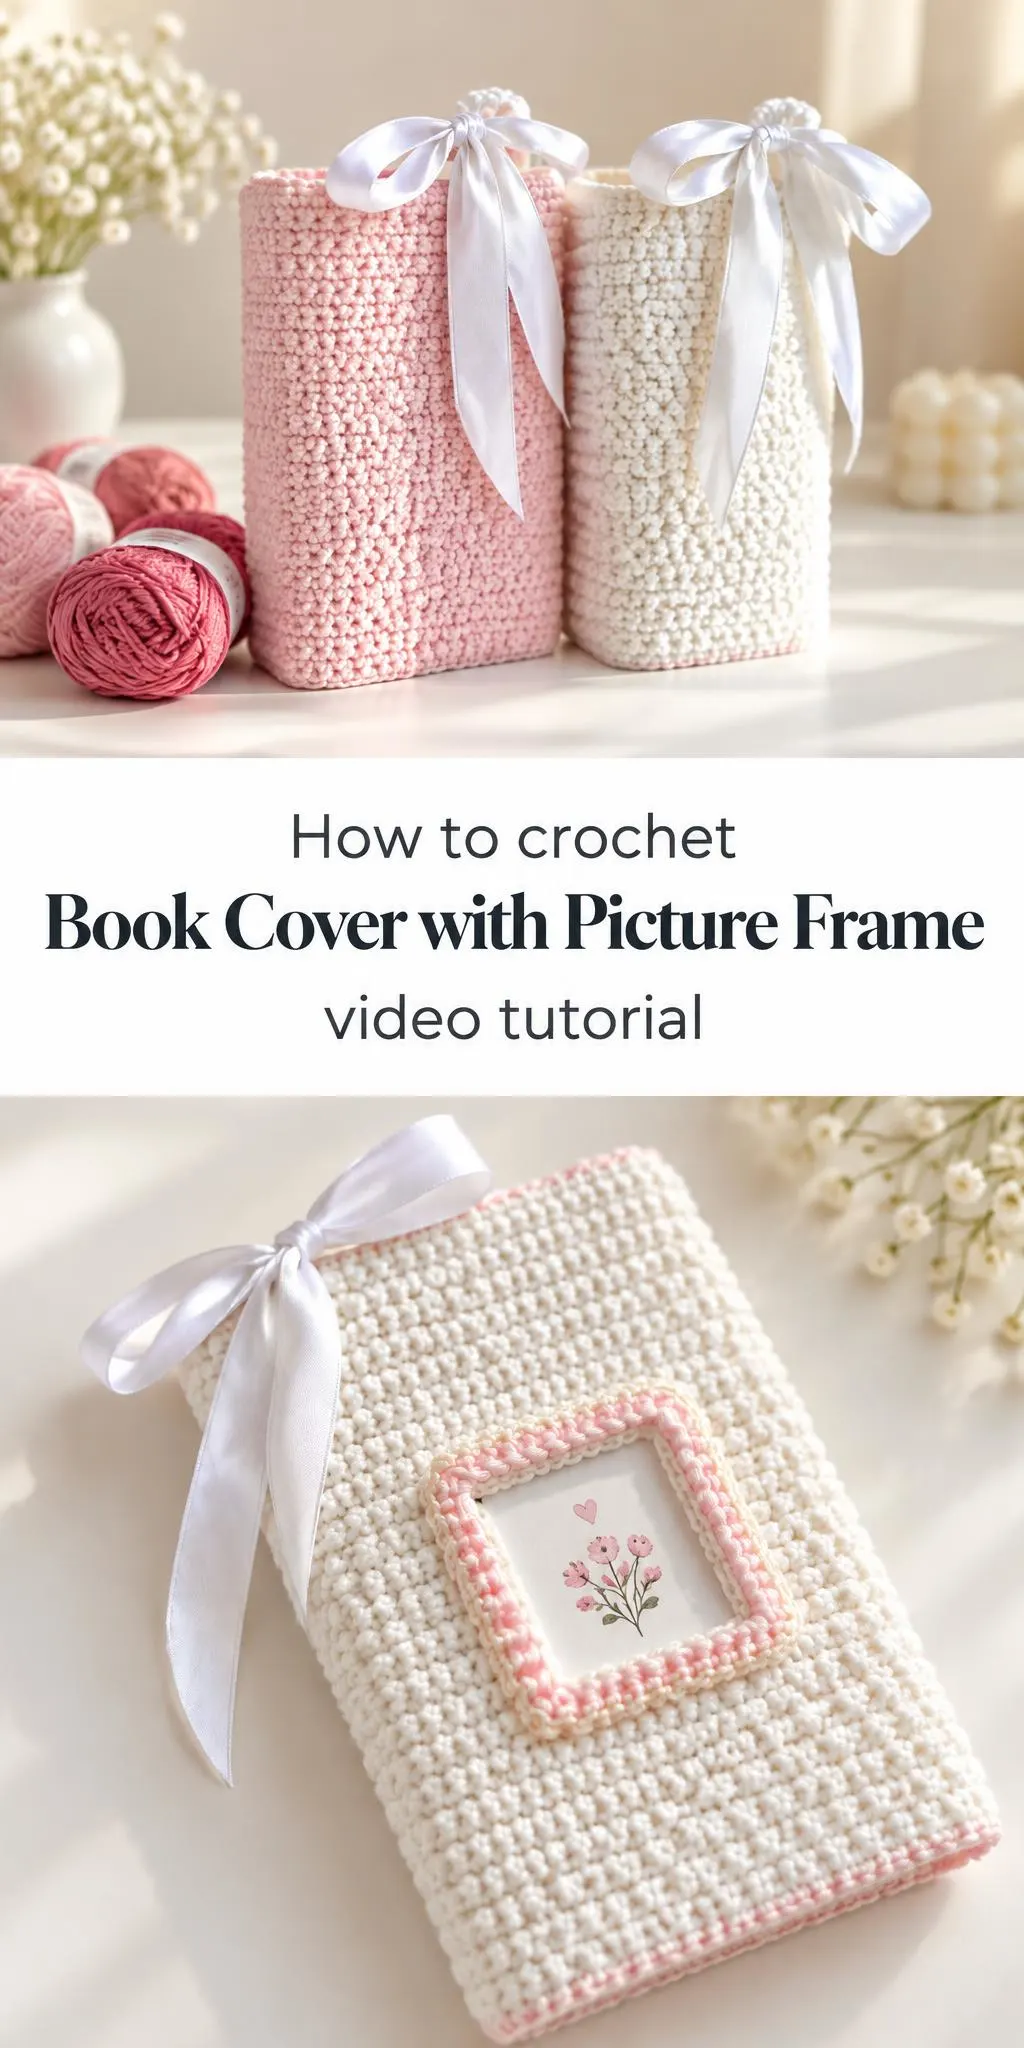
The finished piece presents two faces to the world. On one side, a sleeve wraps around the spine and covers the cover boards in a dense, textured fabric. The stitch pattern creates a bumpy, slightly raised surface that catches the light and looks soft even before you touch it. Pale pink and creamy white work especially well together, giving the cover a gentle, romantic character.
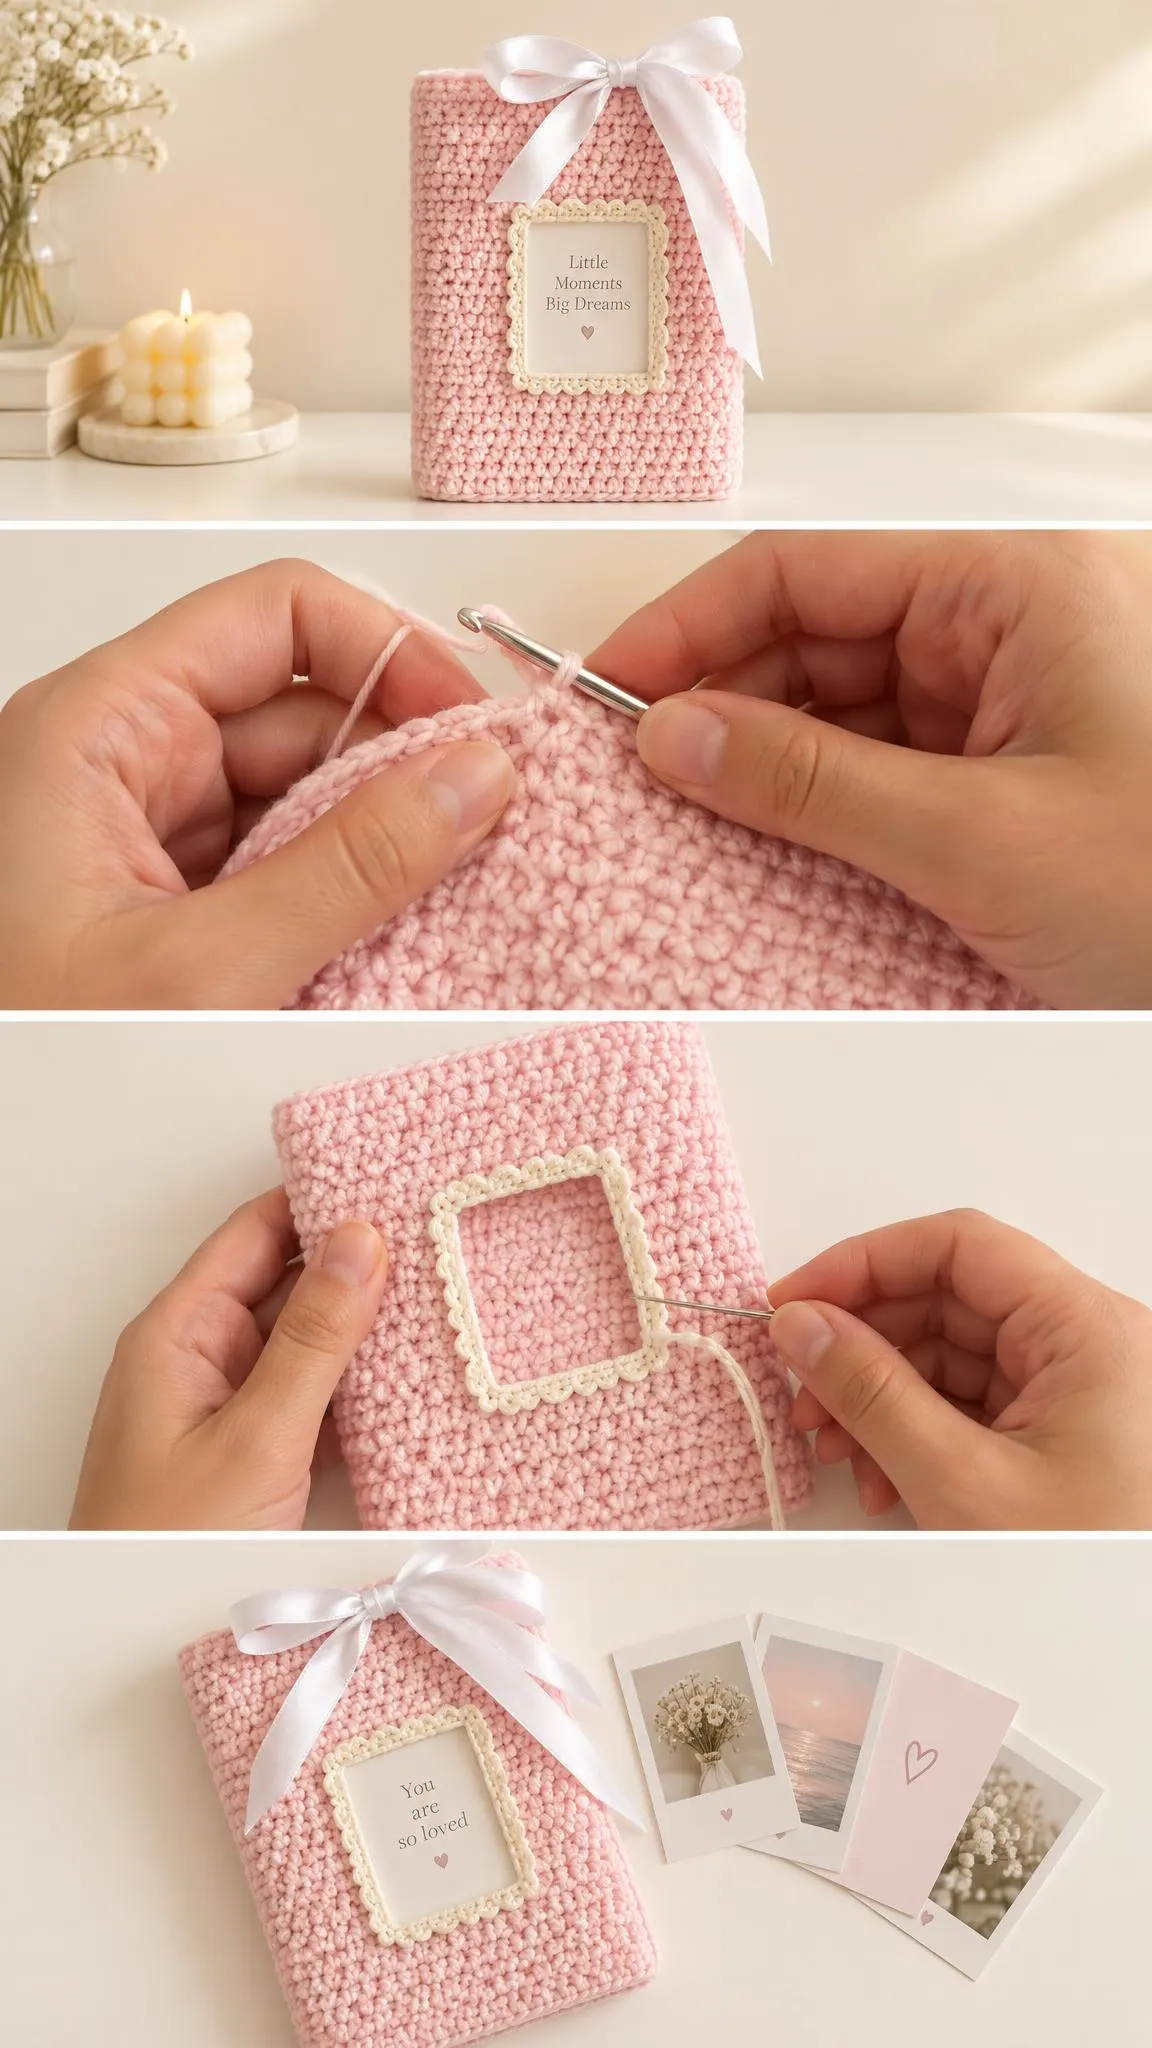
The second face is where the design becomes distinctive. A square frame is worked into the front panel, bordered with a contrasting band of color that draws the eye straight to the centre. Behind a clear window, you can slip in a photograph, a printed quote, or a bookmark-sized illustration, and change it whenever your mood shifts. A ribbon tied at the spine adds a finishing touch and doubles as a bookmark.
Picture Frame Related Posts:
- Crochet Textured Stitch Blanket: A Cozy and Timeless Classic
- Crochet Textured Tote Bag: A Stylish Handmade Staple
- Crochet Tunic Blouse: A Chic and Airy Handmade Staple
- Crochet Mile-A-Minute Blanket: A Cozy and Charming Handmade Keepsake
Materials
For a project like this, a smooth, mid-weight acrylic or cotton-blend yarn is a sensible choice. These fibres hold stitch definition well, so the texture stays crisp, and they resist stretching over time when the cover is repeatedly slipped on and off a book. Choose a colour palette you enjoy looking at every day, since the cover will sit in plain view on your shelf. A soft pink main colour paired with white or cream creates a calm, cohesive look, while deeper berry or red tones bring warmth and contrast.
You will also want a hook sized to suit your yarn, one that produces a fabric firm enough to hold the shape of the book without feeling stiff. A tapestry needle is useful for weaving in ends and for any finishing work along the edges. A satin or double-faced ribbon in white or a pale tone adds the decorative tie. If you plan to include a removable photo, a thin piece of clear plastic or acetate can serve as the window, keeping the image protected while still visible.
Understanding the Design Details
Building the Textured Body
The cover’s surface is the element that most rewards careful attention. A dense, all-over stitch in a tight arrangement produces that dimpled texture seen on the front and spine. Working with consistent tension matters here, because uneven stitches will show as patches of looseness or tightness across the fabric. If you find your work is drifting, pause and compare a few rows against the earlier ones.
Choosing a dense stitch also helps the cover keep its shape. A loose, airy fabric would sag around the edges of a book, while a firmer one stands up to handling. Many crocheters work the body slightly tighter than they would for a garment, which gives the piece the structure needed to fit snugly.
Shaping the Picture Frame
The frame is the feature that makes this project unusual, and it deserves patient work. Crocheting a square opening into a flat panel requires you to add stitches at the corners and decrease along the inner edge so the window lies flat rather than puckering. Stopping the frame at the correct point, then working a contrasting border around both the outer and inner edges, gives the frame its crisp, finished outline.
The contrasting border is more than decoration. It separates the frame from the body of the cover, so the window reads clearly as a deliberate feature. Keeping the border in a tone that complements the main colour, such as a cream edge around pink, makes the piece look coordinated rather than busy.
Using and Styling Your Book Cover
This cover works beautifully as a gift for a reader, a book club member, or someone who keeps a shelf of well-loved paperbacks. Pair it with a matching bookmark, a small candle, or a stack of coordinated books for a complete gift. Because the picture window can be swapped, it also makes a thoughtful way to present a photograph of the recipient or a favourite quote.
On a shelf, the cover adds warmth to a neutral room. Place it near a plant or a soft lamp so the stitches catch the light and the texture becomes visible. A pastel palette suits bedrooms and reading nooks, while a deeper berry shade can anchor a study or living room.
Finishing Touches for a Polished Result
Weave in your ends carefully along the inside of the cover, where they will be hidden once the book is inserted. Loose tails can work their way out with use, so take a few extra stitches through the fabric to secure them. Trim the ends neatly and check that the edges lie flat.
Attach the ribbon at the spine with a few small, tight stitches rather than relying on glue, which can stiffen the yarn and stain the fabric. Position the ribbon so it hangs naturally from the top edge and doubles as a bookmark when tied.
Before you finish, slide the cover on and off a book several times to confirm that the fit is comfortable and the frame sits centred. A quick test now prevents frustration later, and it lets you adjust the tension of the final rows if needed.
When the frame is complete and the photograph or card is tucked behind the window, the cover becomes more than a protective layer. It turns an ordinary book into a small, personal object worth keeping close.
For the exact stitch sequence, row counts, and frame measurements, follow the video below and pause whenever you need to match your work to each step. Enjoy the process, and let your chosen colours and photographs make the cover your own.
Follow us on Pinterest and subscribe to the Newsletter so you don’t miss a thing!
Tutorial and photos of this book cover with picture frame by: crochet daniela .