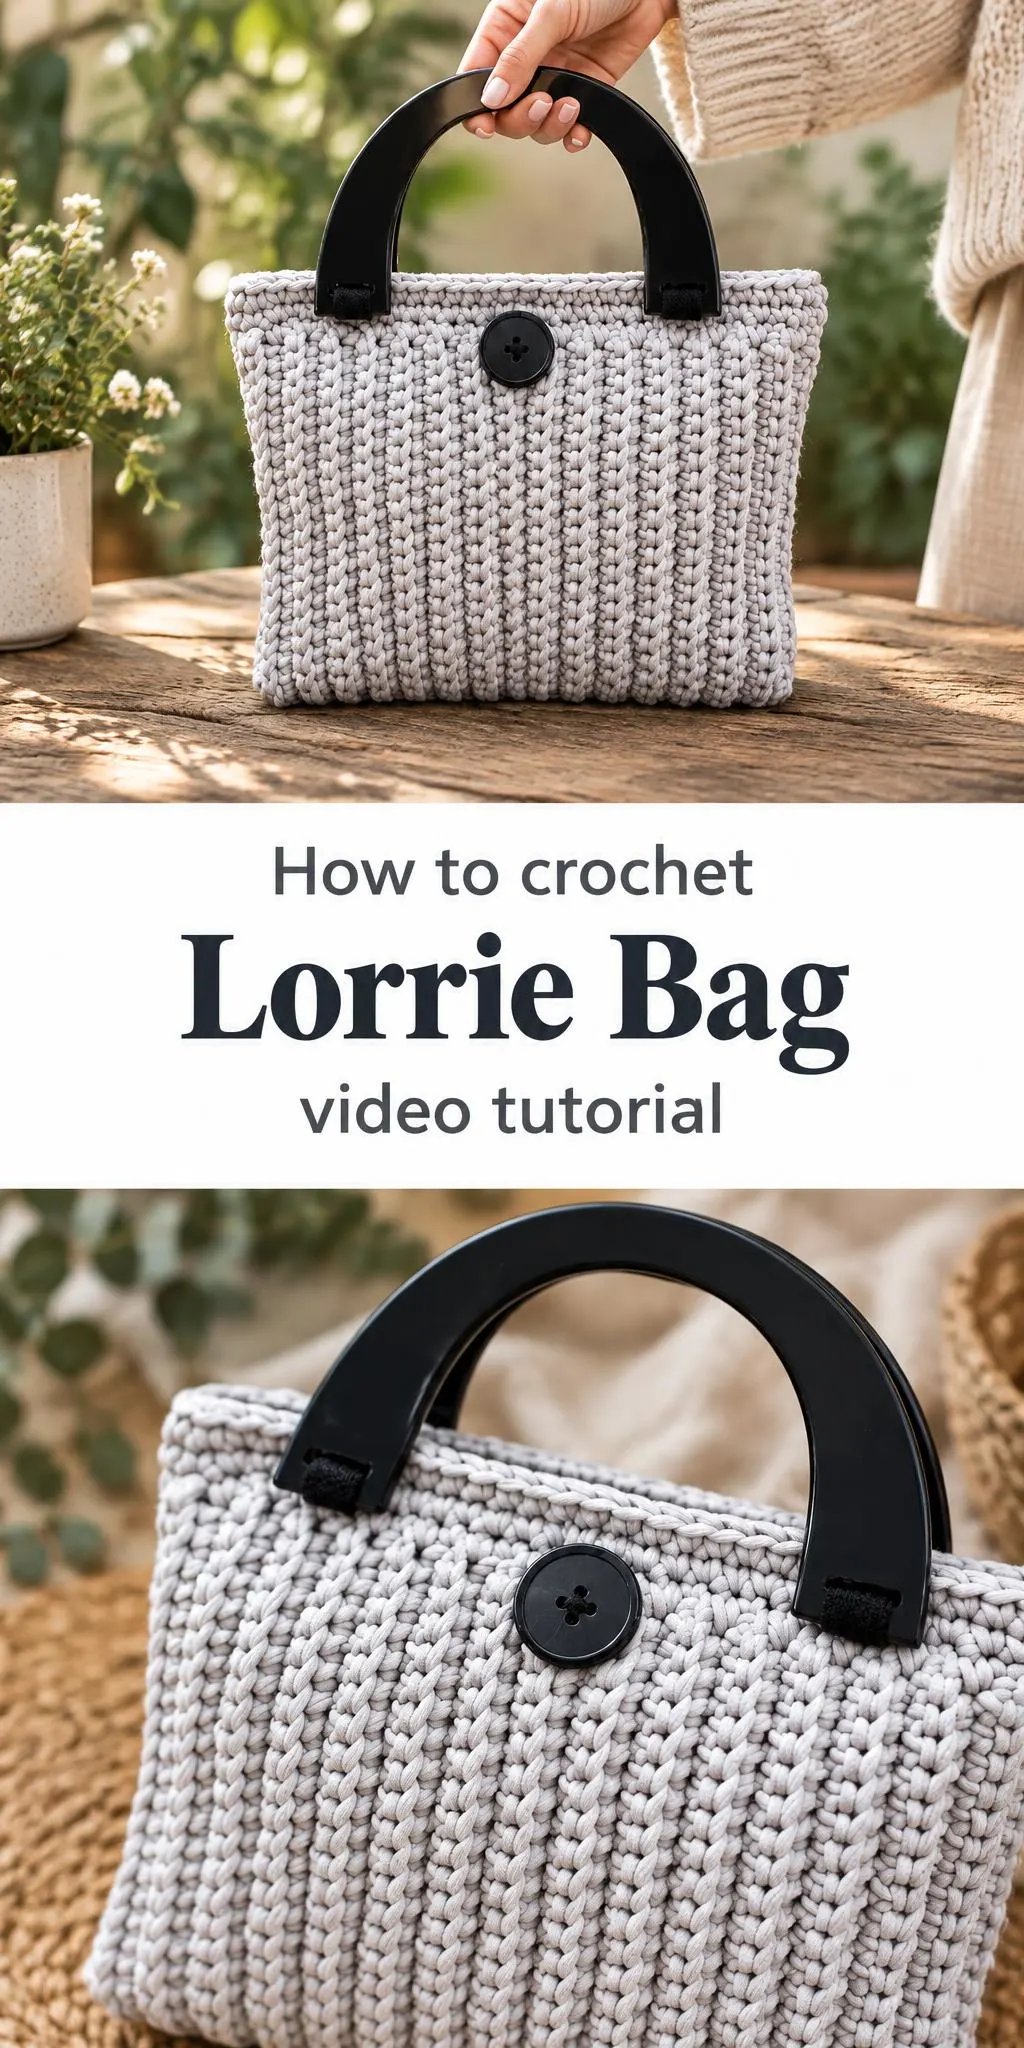
The Lorrie Bag is a crochet tote that pairs clean, structured lines with a textured ribbed body, making it a handsome choice for everyday errands and relaxed outings alike. Its sturdy build and sculpted surface give it presence without fuss.
In this post
Meet the Crochet Lorrie Bag
The Lorrie Bag has a classic tote silhouette: a squared body, straight sides, and a firm top edge that holds its shape when set down. Vertical ribbing runs the full height of the front, creating raised columns of stitches that catch the light and give the bag a tailored look. A single large button sits near the upper center, adding a graphic focal point that balances the softness of the fabric with a touch of structure.
The design works well because it is both attractive and practical. The ribbed surface is dense enough to protect contents from snagging and to keep the bag upright when it is partly filled. Because the form is simple and understated, it suits a wide range of wardrobes, from neutral workwear to casual weekend outfits. It is also a satisfying project to make, since the repeating texture builds up quickly and rewards steady progress.
Lorrie Bag Related Posts:
- Crochet Striped Tunisian Stitch Shawl: A Cozy and Elegant Essential
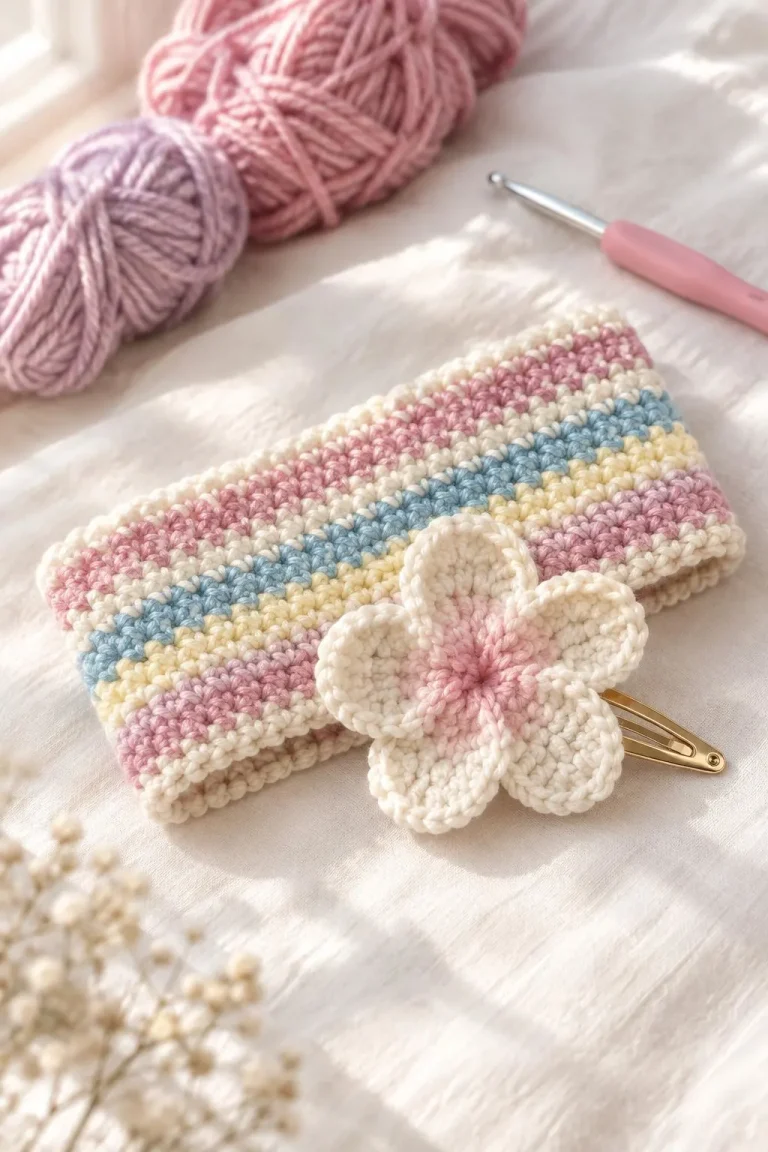
- Crochet Flower Hair Clip & Multicolor Headband: A Charming Handmade Accessory
- Crochet Butterfly Appliqué: A Cheerful and Colorful Handmade Accent
- Crochet Book Cover with Picture Frame: A Charming and Personalized Handmade Accessory
Materials
For a bag like this, you might choose a sturdy cotton or cotton-blend cord, sometimes sold as t-shirt yarn. These fibers have a smooth, slightly crisp hand and hold stitch definition well, which is essential for crisp ribbing. Cotton also tolerates regular use and gentle washing. A slightly heavier fiber will give a firmer walls-and-base structure, while a softer cord produces a more relaxed drape.
Beyond the yarn, you will need a crochet hook sized to produce a fabric that feels dense rather than loose. For a structured tote, many makers go down a size or two from the hook suggested on the yarn label, so the stitches sit tightly and the sides stand upright. You will also need a sturdy closure button, a tapestry needle for weaving in ends, and, if you want the classic look shown here, a pair of rigid handles. Choose handles with a matte finish in black, charcoal, or natural wood tones to echo the button.
Understanding the Ribbed Texture
The most distinctive feature of the Lorrie Bag is its vertical ribbing. Ribs are created by working stitches into the same area of the fabric in a consistent pattern, so that the stitches stack into raised columns. The effect is strongest when the tension stays even from row to row. Uneven tension can flatten the ribs or cause them to lean, so it helps to pause periodically and check that the columns are straight.
Keeping the Ribs Crisp
Working the front and back panels with the same stitch count and placement helps the ribs line up, especially at the seams. Counting stitches at the end of each row is a simple habit that prevents drift. If you notice the ribs curving, try adjusting your hook pressure rather than forcing the fabric. Gentle, consistent stitches will make the texture look professional.
Shaping the Body
A tote needs a base that lies flat and walls that rise straight. Increasing evenly at the corners and working the sides without shifting the stitch count keeps the box shape true. When the bag is complete, a light steam or a gentle block can encourage the walls to sit square, though you should always test a small area first to confirm your fiber tolerates heat.
Placing the Button and Handles
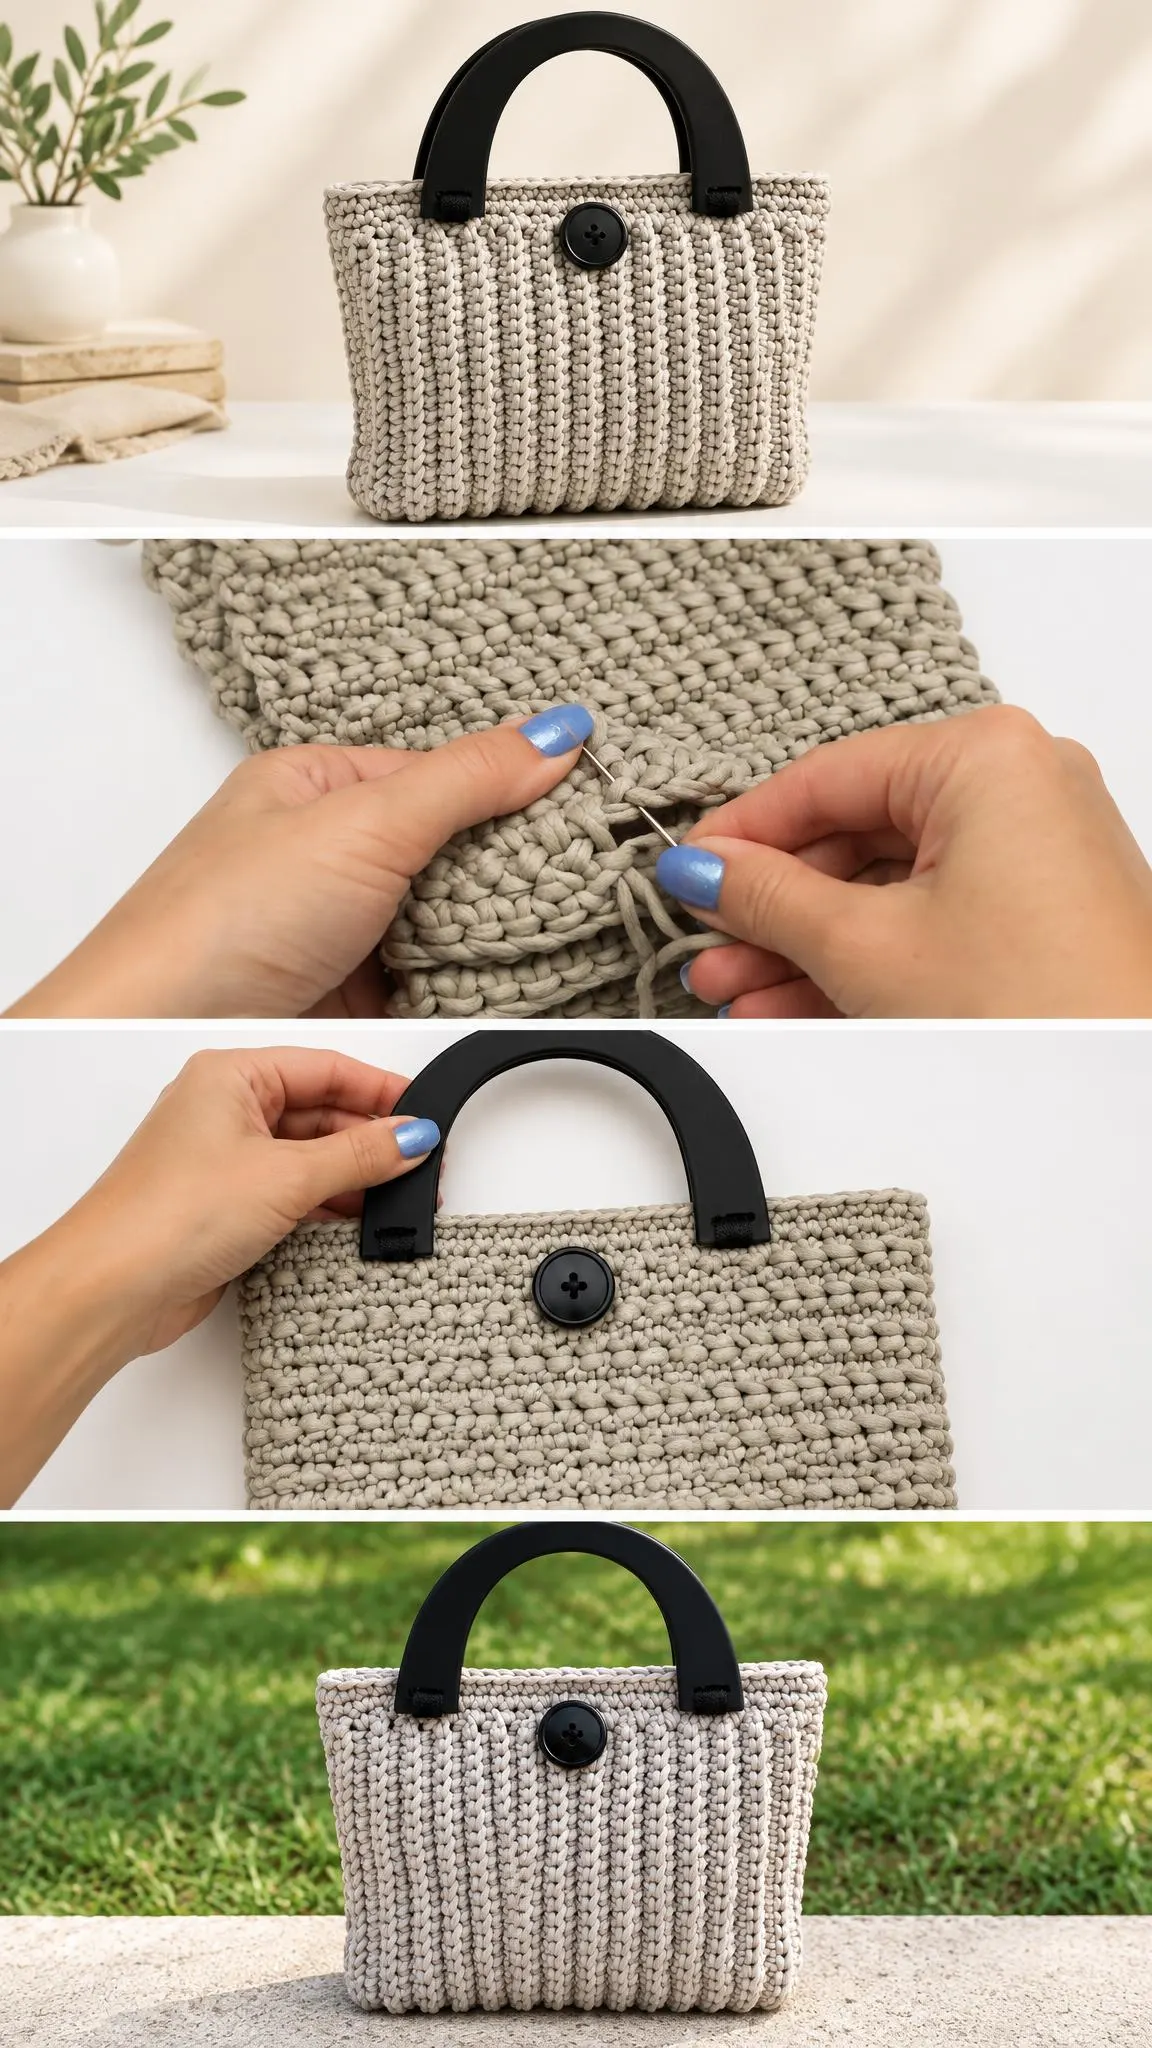
The large button is more than decoration. Positioned near the top center, it draws the eye to the front panel and visually anchors the ribbing. Sew it through the fabric using a strong thread, and consider adding a small backing stitch or sewing through both layers for security, since the bag will be handled often. Its color should contrast enough to be noticed but still relate to the rest of the palette.
Attaching handles requires thought as well. Rigid handles keep the bag open and make it easier to carry on the forearm. Position them evenly along the top edge, mark the placement before stitching, and reinforce the attachment points with extra thread so the weight is distributed rather than pulled into one spot. Secure, well-spaced handles are what turn a pretty bag into a dependable one.
Styling and Everyday Use
The Lorrie Bag’s neutral tones make it easy to pair. A gray or stone-colored version looks elegant with a navy or white shirt, straight-leg denim, and simple leather sandals. For a more polished look, try it with a camel coat and black boots, letting the black handles and button echo the footwear. The bag’s structure means it can carry a laptop, a notebook, and a water bottle without losing its outline.
For daily use, consider how you will carry it. Handles at the top suit hand or elbow carrying, while a longer strap could be added for shoulder wear if you prefer a hands-free option. The bag also works as a market tote for produce, a weekend bag for a folded layer and a book, or a tidy organizer by the front door for keys and sunglasses. Each use highlights a different strength of the design.
Finishing Touches for a Polished Bag
Clean finishing is what separates a homemade bag from a boutique piece. Weave in all yarn ends carefully, running them along the inside of the stitches rather than leaving them loose. Check that the top edge is even by laying the bag flat and measuring both sides. A neat edge, smooth seams, and secure hardware will help the bag keep its shape through many trips.
Care is equally important. Because cotton cord can shrink or lose shape if soaked in hot water, wash gently in cool water, reshape the bag while damp, and let it dry flat away from direct heat. Avoid wringing it, which can distort the ribs. With regular gentle care, your Lorrie Bag will keep its crisp texture and structured form for years of use.
Whether you are making one for yourself or preparing a thoughtful gift, the Lorrie Bag rewards careful attention to tension, shape, and finishing. Its ribbed surface, sturdy build, and clean lines make it a versatile companion for daily life. Follow the video below at your own pace, pausing whenever you need to recheck a section, and enjoy watching a simple tote take on a refined character.
Follow us on Pinterest and subscribe to the Newsletter so you don’t miss a thing!
Tutorial and photos of this lorrie bag by: naztazia.