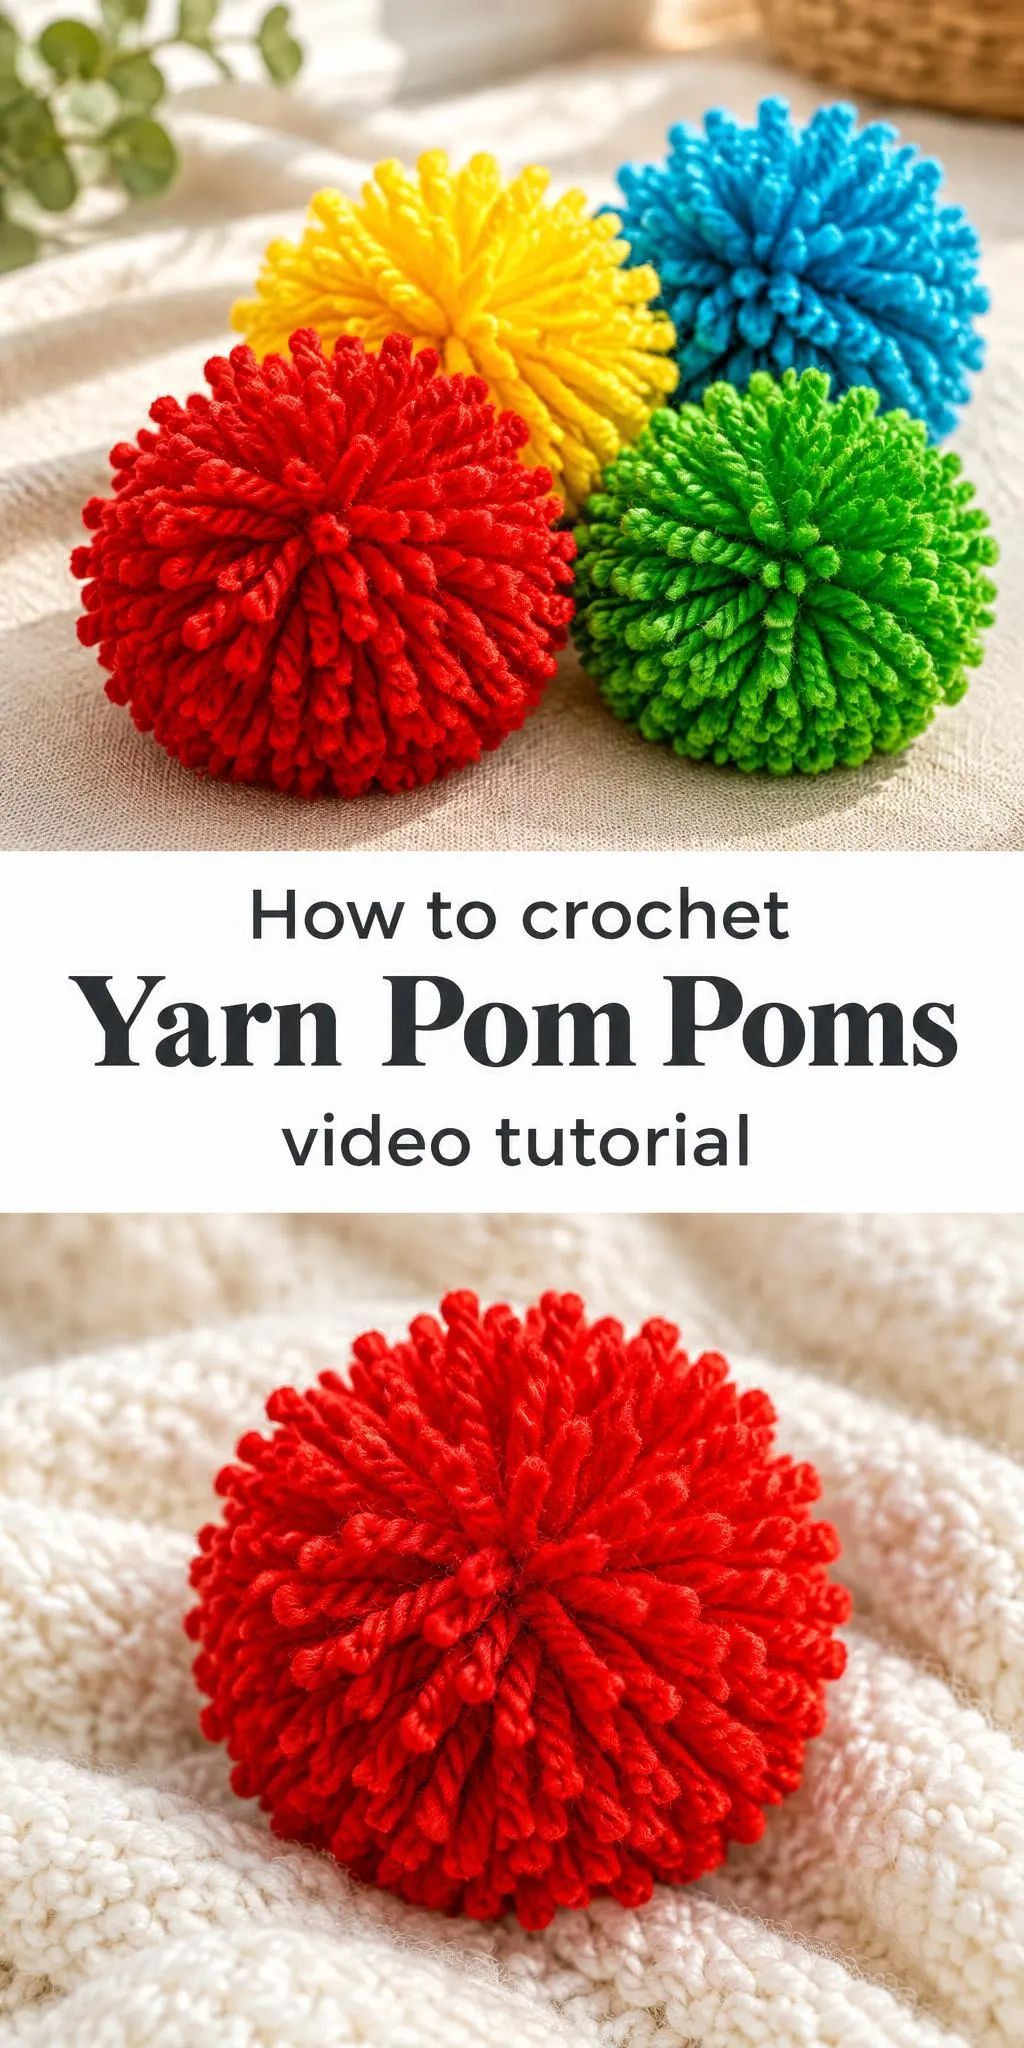
Few handmade accents bring as much instant cheer to a project as a cluster of yarn pom poms. Their round, fluffy shapes add softness and color wherever they land, whether on a hat, a keychain, a garland, or a gift wrap.
In this post
Why Yarn Pom Poms Make Such a Joyful Project
Crochet yarn pom poms are compact, playful, and surprisingly versatile. Each one is built from wound yarn that is cut and trimmed into a dense sphere, so the finished piece has a full, rounded silhouette with a soft, slightly shaggy surface. The effect reads as cheerful at any size, and that is a large part of their charm.
Their practical value is just as appealing. Pom poms can be stitched to the crown of a beanie, strung into a bright garland, tied onto a bag strap, or clipped to a set of stitch markers. Because they are small and quick to make in batches, they suit scrap yarn, leftover skeins, and rainbow color sets equally well.
Pom Poms Related Posts:
- Crochet Textured Cord Handle: A Stylish Handmade Accent
- Crochet Stitchorama Stitch: A Bold and Versatile Textured Design
- Crochet Hanging Kitchen Towel Topper: A Cheerful and Practical Kitchen Essential
- Crochet Mile-A-Minute Blanket: A Cozy and Charming Handmade Keepsake
Materials
For this type of project, a smooth, medium-weight acrylic or wool-blend yarn is a sensible choice. Such yarns wind evenly, hold their shape when trimmed, and produce a full, springy puff. Bulkier yarns create larger, chunkier poms that show texture more clearly, while finer yarns give a tighter, more delicate ball. Bright, saturated shades such as tomato red, lemon yellow, sky blue, and lime green make a striking group, while soft pastels create a calmer, more gentle display.
You will also want a pair of sharp scissors, a cardboard ring or two plates of cardboard cut to your chosen size, and a short length of matching yarn for tying the center. A tapestry needle can help you thread a tie cord through the middle if you prefer that method. Keep the tools close at hand so that trimming goes smoothly.
Shaping the Pom Pom Core
The core is what gives each pom its roundness. Winding the yarn evenly around a cardboard ring creates a firm base, and the number of wraps determines how dense the finished ball will be. More wraps produce a fuller pom with little visible background, while fewer wraps leave a lighter, airier shape that many people enjoy for a relaxed look.
Consistency matters more than speed. Keep the tension steady so the strands sit side by side, not crossed or bunched. Uneven winding can leave a flat side or a lumpy surface, which is easy to avoid by rotating the ring as you go and smoothing each new layer into place.
Tying the Center Securely
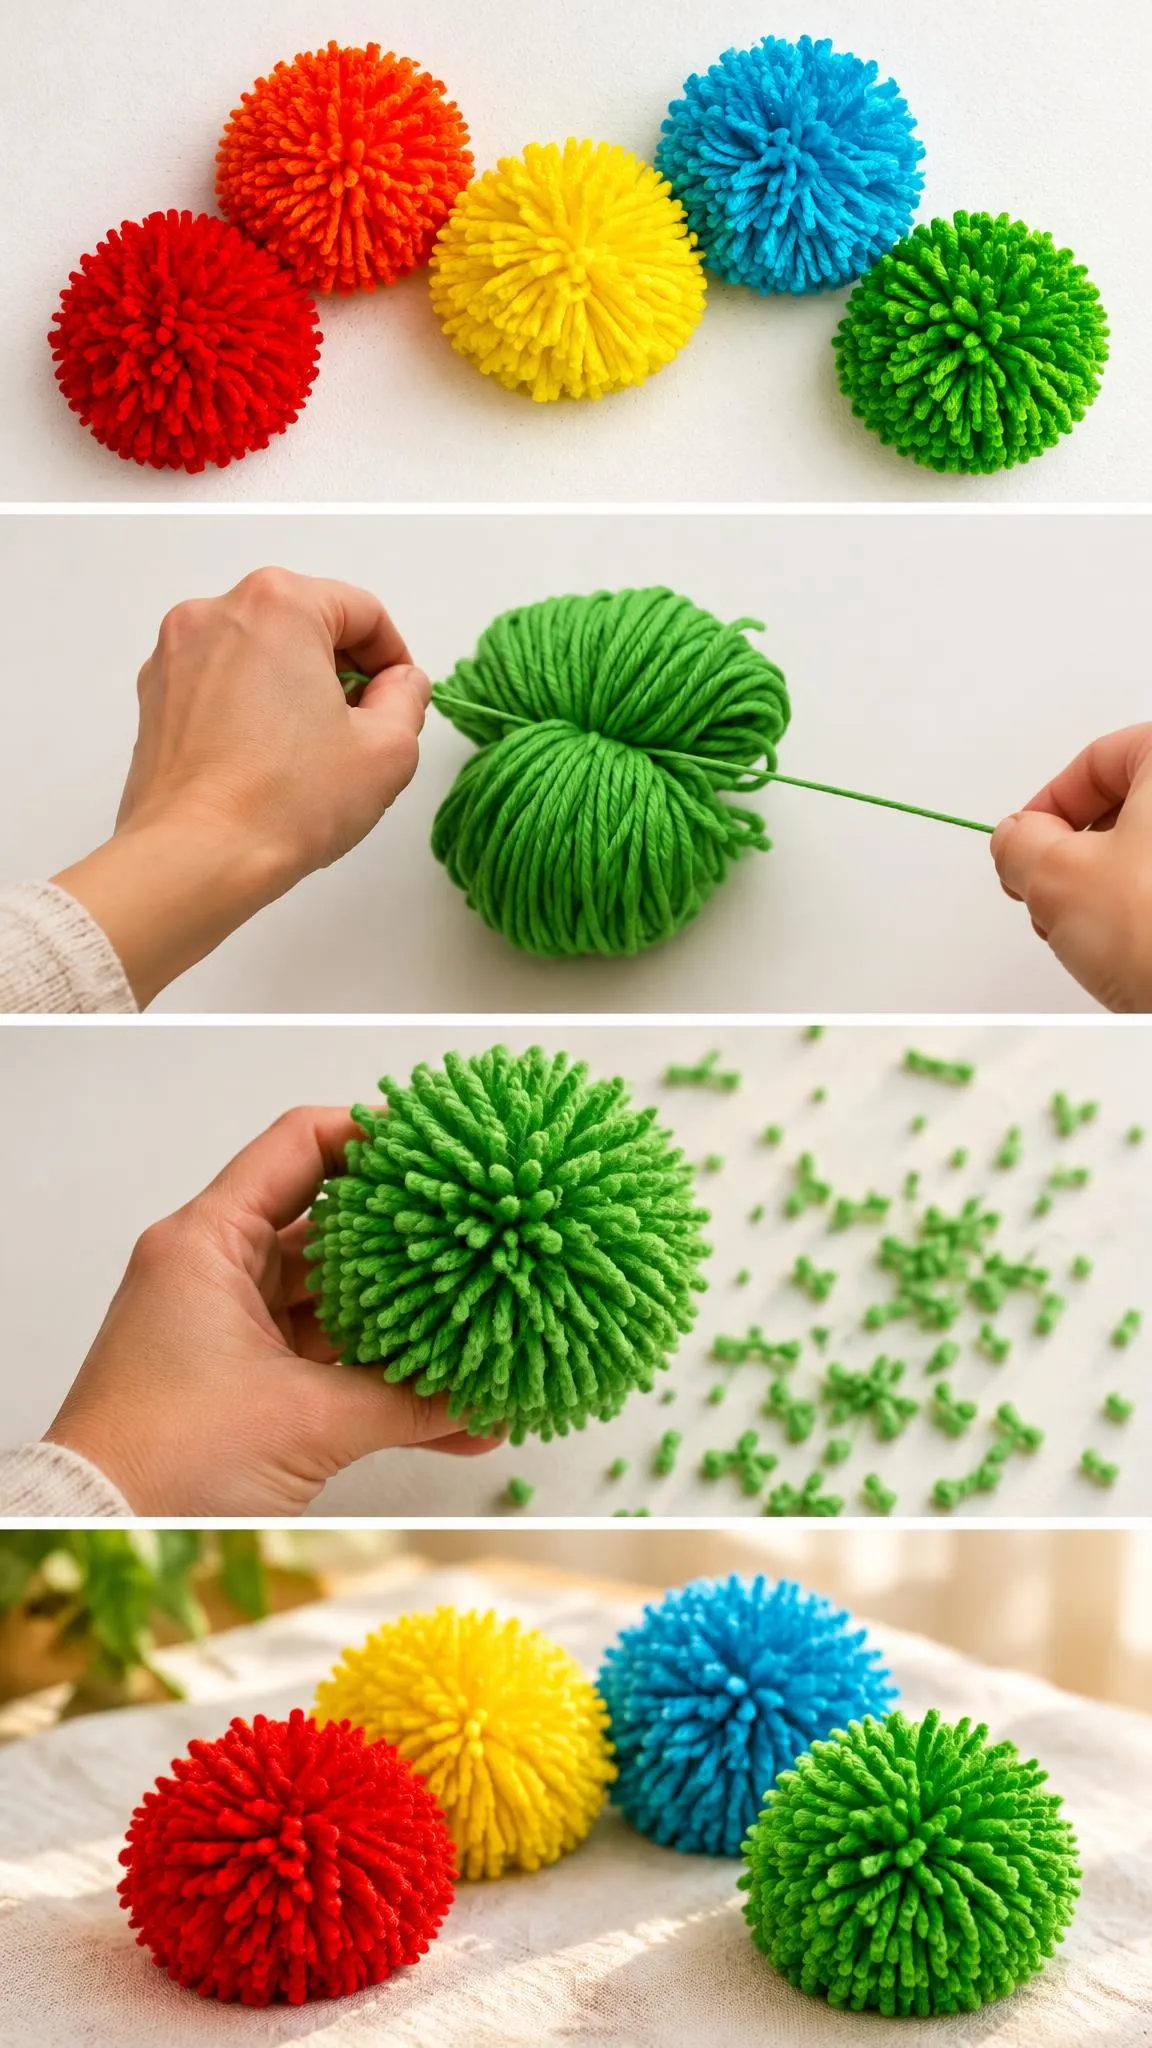
Before cutting anything, slide a length of yarn between the two halves of the ring and tie it tightly around the middle of the wrapped bundle. A firm knot here keeps the poms from loosening when they are later trimmed and handled. Pulling the tie snug with both hands gives the strongest hold and reduces the chance of the pom coming apart.
Cutting and Trimming for a Round Finish
Once the center is secured, cut through the loops along the outer edge of the ring. Work carefully, slipping the scissors between the cardboard halves and snipping the strands in small sections. The cut ends will be fluffy and irregular at first, which is normal and part of the process.
The trimming stage is where the pom takes its final shape. Hold the ball in your palm and snip away any long strands that stick out, turning it as you work. Small, frequent cuts produce a rounder, more uniform surface than a few large cuts, and a gentle final shake helps loosen the fibers so the pom looks full and soft.
Using Your Pom Poms
Pom poms are at their best when they are given a clear purpose. A row of mixed colors stitched along the edge of a beanie looks lively and youthful, while matching poms in a single shade can give a hat a more polished appearance. Coordinate the palette with the base item so the pom poms complement rather than compete with it.
Beyond hats, consider a garland strung across a shelf or window, a cluster tied to a gift bag handle, or small poms attached to a zipper pull or key ring. Clustering several sizes together creates depth, while a single large pom can serve as a bold focal point on a cushion or wall hanging.
Finishing and Care
Tie any attachment cords neatly and trim the ends close to the knot so they do not unravel. When attaching poms to a hat or bag, secure each one with a few stitches through the center, checking that the attachment is firm enough to withstand gentle tugging.
For care, most acrylic yarn poms can be spot cleaned or gently hand washed, then laid flat to dry. Wool-blend poms may need a gentler approach, so check the yarn label before washing. Wherever you use your pom poms, a little gentle fluffing after washing will restore their fullness.
Crochet yarn pom poms reward a relaxed, hands-on afternoon with bright, cheerful results. If any stage of the winding or trimming feels unclear, pause the video below and follow along at your own pace.
Small, colorful, and endlessly useful, a well-made pom pom is a tiny celebration you can hold in your hand.
Follow us on Pinterest and subscribe to the Newsletter so you don’t miss a thing!
Tutorial and photos of this yarn pom poms by: naztazia.