A crochet butterfly appliqué is one of those small projects that punches well above its size. Worked in soft, layered blues, it adds instant charm to a hat, a tote, a child’s sweater, or a gift card, and it takes only a short evening to make.
In this post
Why a Crochet Butterfly Appliqué Is So Appealing
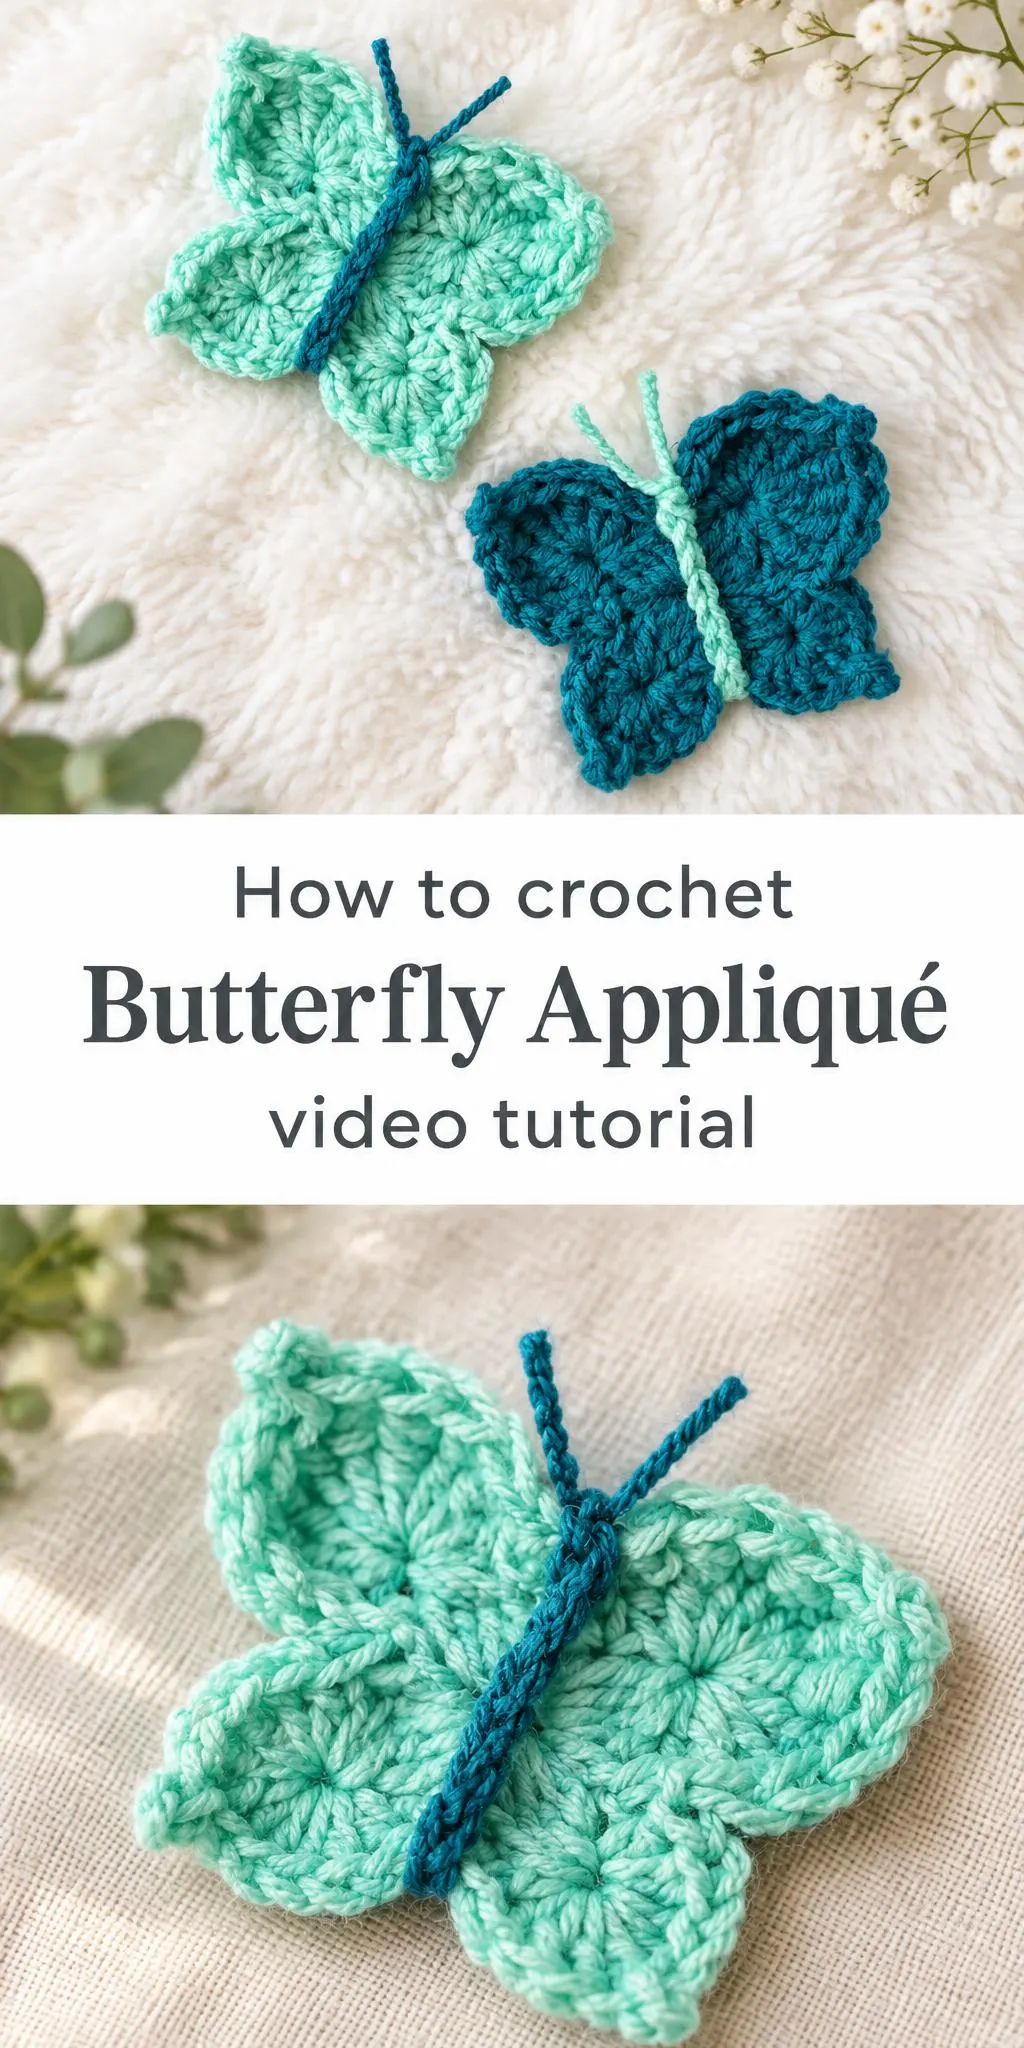
The butterfly shape is simple but expressive. Two pairs of rounded wings sit on either side of a narrow central body, and a pair of slender antennae rises from the top. The wings are built from clusters of small fan-like stitches, so the surface looks lightly textured rather than flat. Each wing has a scalloped outer edge that catches the light and gives the piece a playful, lifted look.
In the two versions shown here, the palette does much of the work. One butterfly uses a soft aqua for the wings with a deeper teal body and antennae, which creates a gentle, watery feel. The other reverses the balance, with deep teal wings and a pale mint body that stands out as a bright central line. Both approaches show how a single pattern can change character with a simple color swap.
Because the finished piece is flat and compact, it works in many settings. You might stitch one as a decorative accent on a bag strap, sew it onto a headband, or attach it to a card envelope. Several in a row can become a garland or a scattered pattern across a blanket corner. Its small size means it is quick to finish, which makes it a good way to use up leftover yarn scraps.
Butterfly Appliqué Related Posts:
- Crochet Book Cover with Picture Frame: A Charming and Personalized Handmade Accessory
- Crochet Mile-A-Minute Blanket: A Cozy and Charming Handmade Keepsake
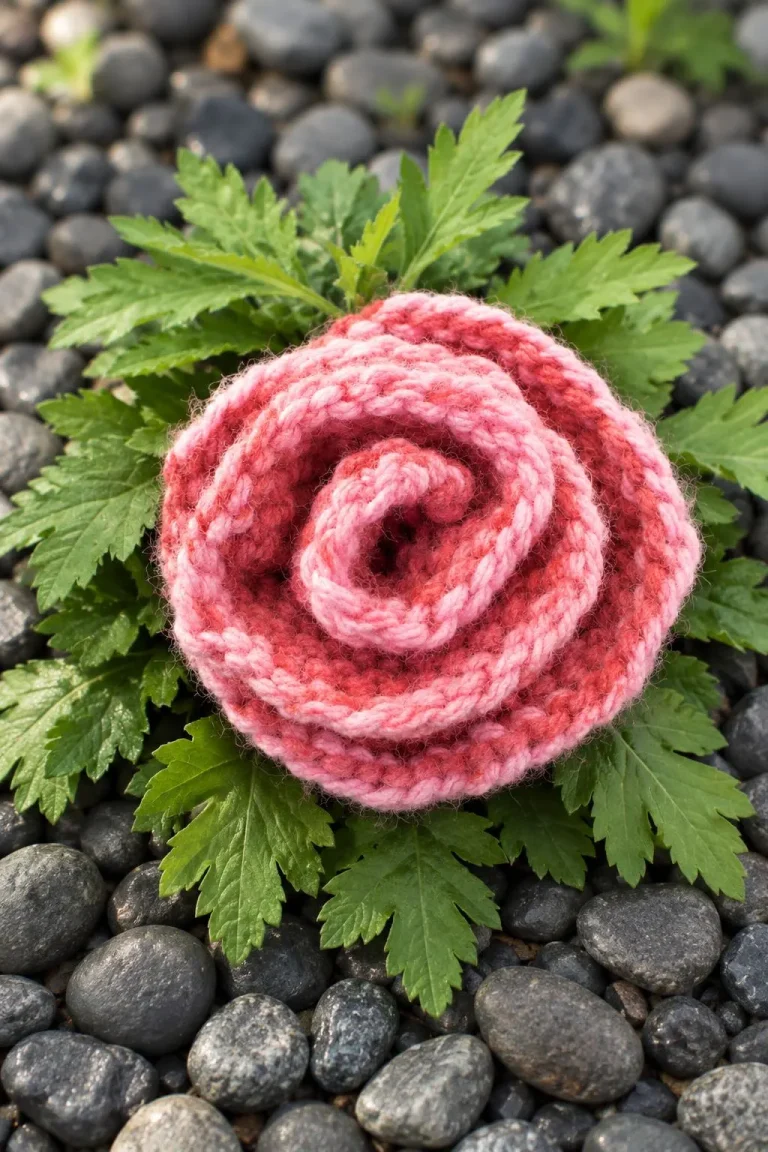
- Crochet Rolled Rose: A Charming Handmade Blossom
- Crochet Textured Stitch Swatches: A Colorful and Practical Guide
Materials
For a project like this, a smooth, lightly textured yarn in a worsted or similar weight usually gives the best results. Cotton blends hold the fan stitches crisply and keep the wings from stretching out of shape, while acrylic blends are soft, affordable, and available in a wide range of blues. Choose a hook that suits your yarn. A hook slightly smaller than the label suggests produces a firmer fabric, which helps the wings keep their outline when used as an appliqué. Two contrasting shades are ideal, one for the wings and one for the body and antennae, so the central line stands out clearly.
Shaping the Wings and Their Scalloped Edges
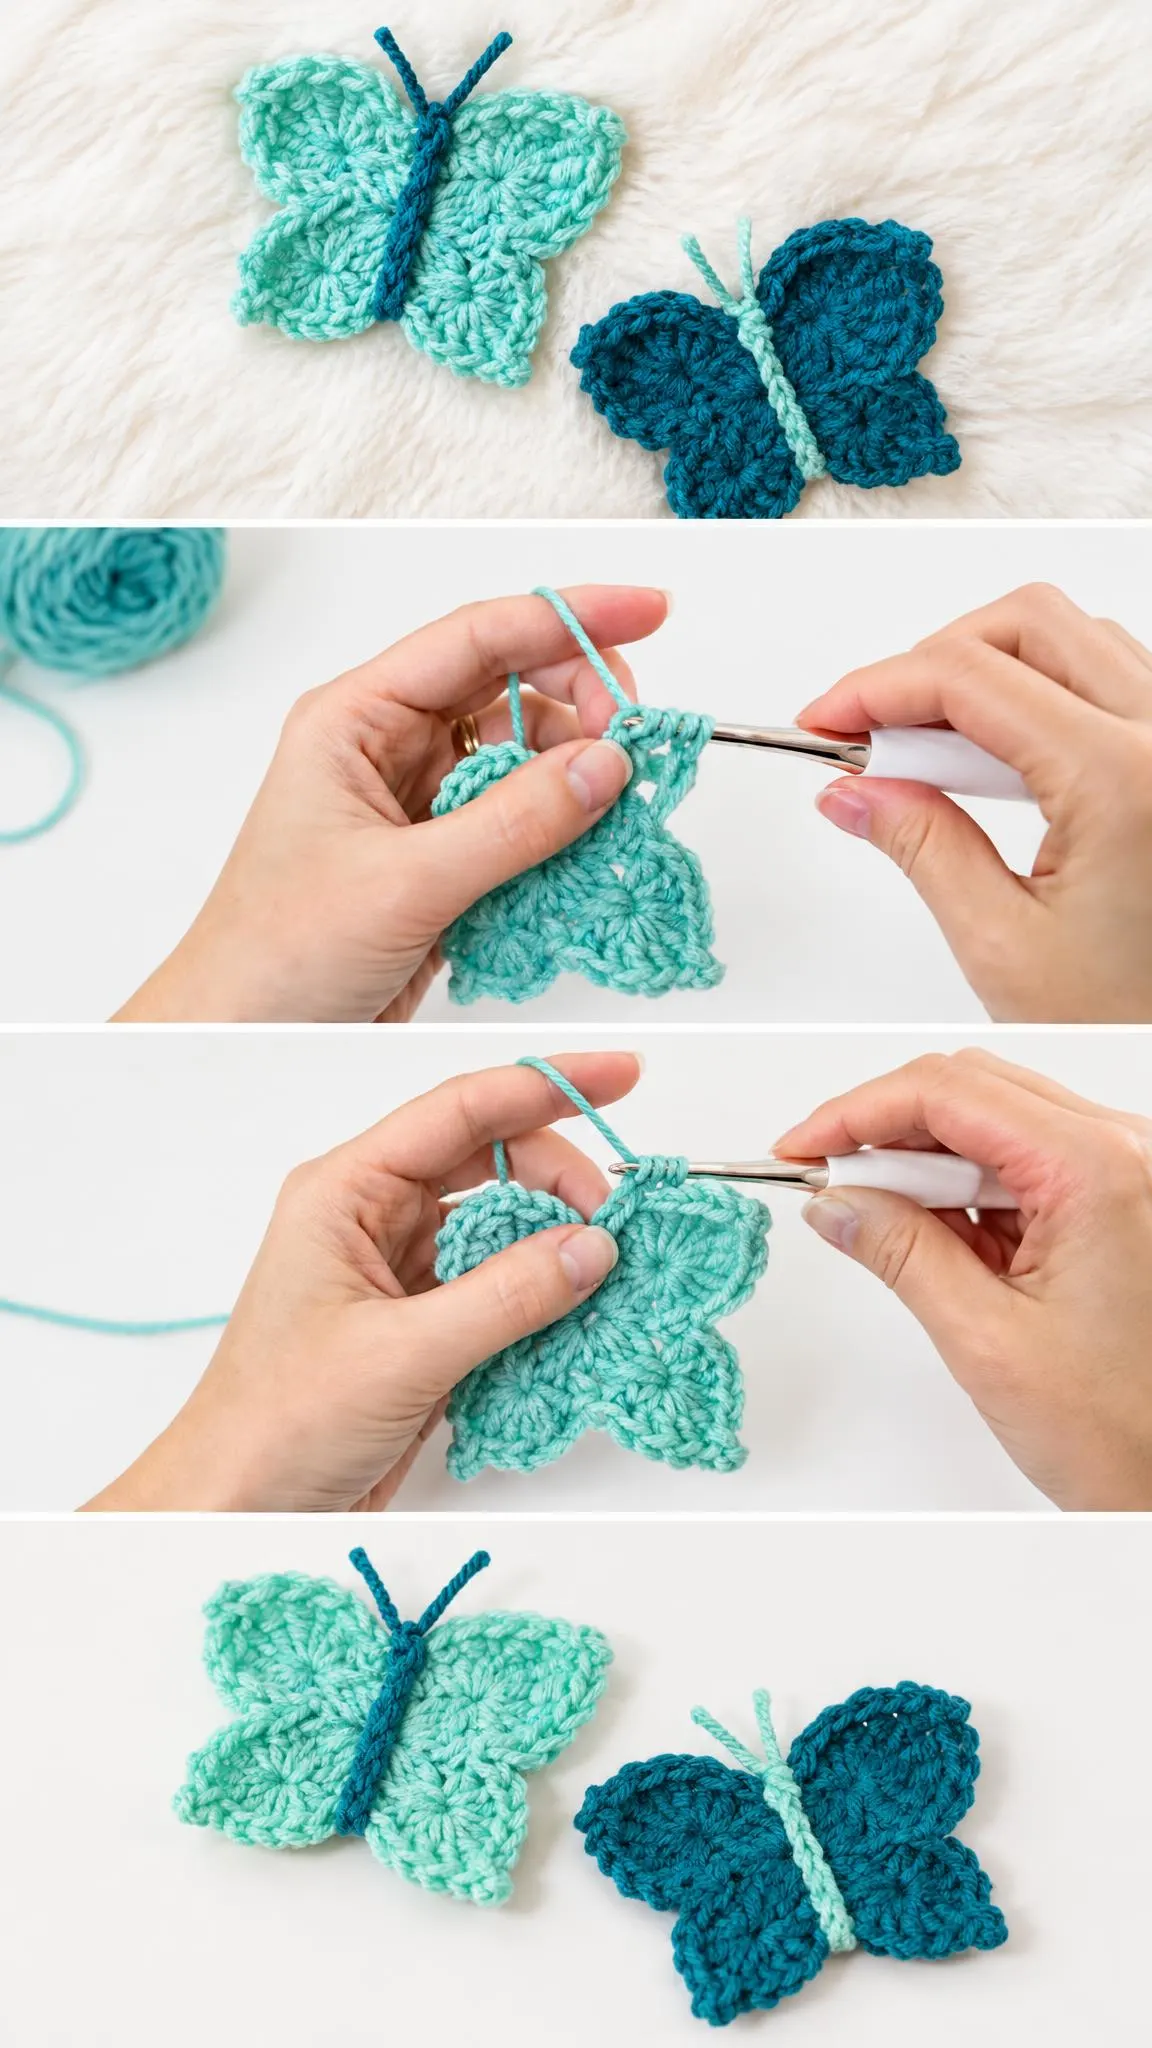
The wings are the heart of the design, and their fan-stitch texture is what makes the butterfly feel dimensional. Each wing is worked as a group of clustered fans joined together, with the outer rows gradually shaped so that the corners curve out and the edge scallops naturally. Keeping your tension even across these rows matters more than speed. Uneven fans can make one wing look larger or tilted compared with the other.
When you finish the edges, pay attention to how the scallops sit. Work each point with the same number of stitches so that the four wings mirror one another. If you notice one side looking fuller, you can often correct it by adjusting the tension of the next row rather than unpicking the whole section. A light steam or gentle block, using a setting that suits your yarn, can help the wing edges lie flat and show off their shape.
Building the Body and Antennae
The central body is what ties the two halves of the butterfly together. Its narrow, straight form contrasts well with the rounded wings, so it is worth keeping the stitches neat and consistent. A simple, tightly worked strip gives the clearest line. If you use a contrasting color, join it carefully at the start and finish so the change looks deliberate rather than accidental.
The antennae are small but important. Thin, chain-based strands are a classic choice because they stay delicate and do not add bulk to the top of the body. Making them slightly uneven in length, or curving each one a little, adds a more natural, lively look. Secure the ends well, since these are the most likely places to loosen with handling.
Placing the Appliqué
Where you attach the butterfly determines how it reads. Sewing it at the center of a bag front gives a bold focal point, while tucking one wing slightly under a hem or strap creates a more relaxed, layered effect. For a garment, consider the seam lines and the direction of movement. A flat, lightly stitched appliqué that is anchored at the body and at the wing tips will move with the fabric and stay in place longer.
Ways to Style and Use Your Butterflies
A single butterfly looks lovely on a plain tote in a neutral canvas, where the blue tones pop without competing with other details. Pair a matching teal butterfly with a mint-trimmed scarf for a cohesive accessory set. On children’s clothing, a small appliqué near a shoulder or pocket adds personality without bulk, and it is easy to re-attach if it needs to move.
For home decor, group three or four butterflies of varying blues across a throw pillow, a clutch, or a wall hanging. Mixing the two palettes shown here, aqua wings with teal bodies and teal wings with mint bodies, creates a gentle rhythm across the piece. They can also brighten a gift wrapped in plain paper, tucked under a ribbon, or pinned to a gift tag.
Finishing and Care Tips
Weave in all ends neatly on the back, and trim them close without cutting into the stitches. Loose tails are the most common reason an appliqué loses its shape over time. Before attaching the butterfly, lay it on your project and check its position from a short distance. This helps you judge the scale and balance before committing to stitches.
When sewing the appliqué in place, use a matching or slightly darker thread and small, tight stitches around the body and wing bases. Anchoring the wings at a few points rather than along every edge lets them keep their gentle lift. Hand washing in lukewarm water and laying the piece flat to dry will protect the fan texture and keep the colors bright, especially if you have used a delicate blend.
Making a crochet butterfly appliqué is a rewarding way to practice shaping, color balance, and neat finishing in a short session. Once you have one finished, you will likely find yourself wanting to make several in different blues. Work at a comfortable pace, pause to check your tension, and enjoy watching the small wings take form. The video below walks through the process step by step, so feel free to pause or rewind whenever a section needs a closer look.
Every butterfly carries a little of the sky, and a handful of them can bring that feeling to almost anything you make.
Follow us on Pinterest and subscribe to the Newsletter so you don’t miss a thing!
Tutorial and photos of this butterfly appliqué by: B.Hooked Crochet.