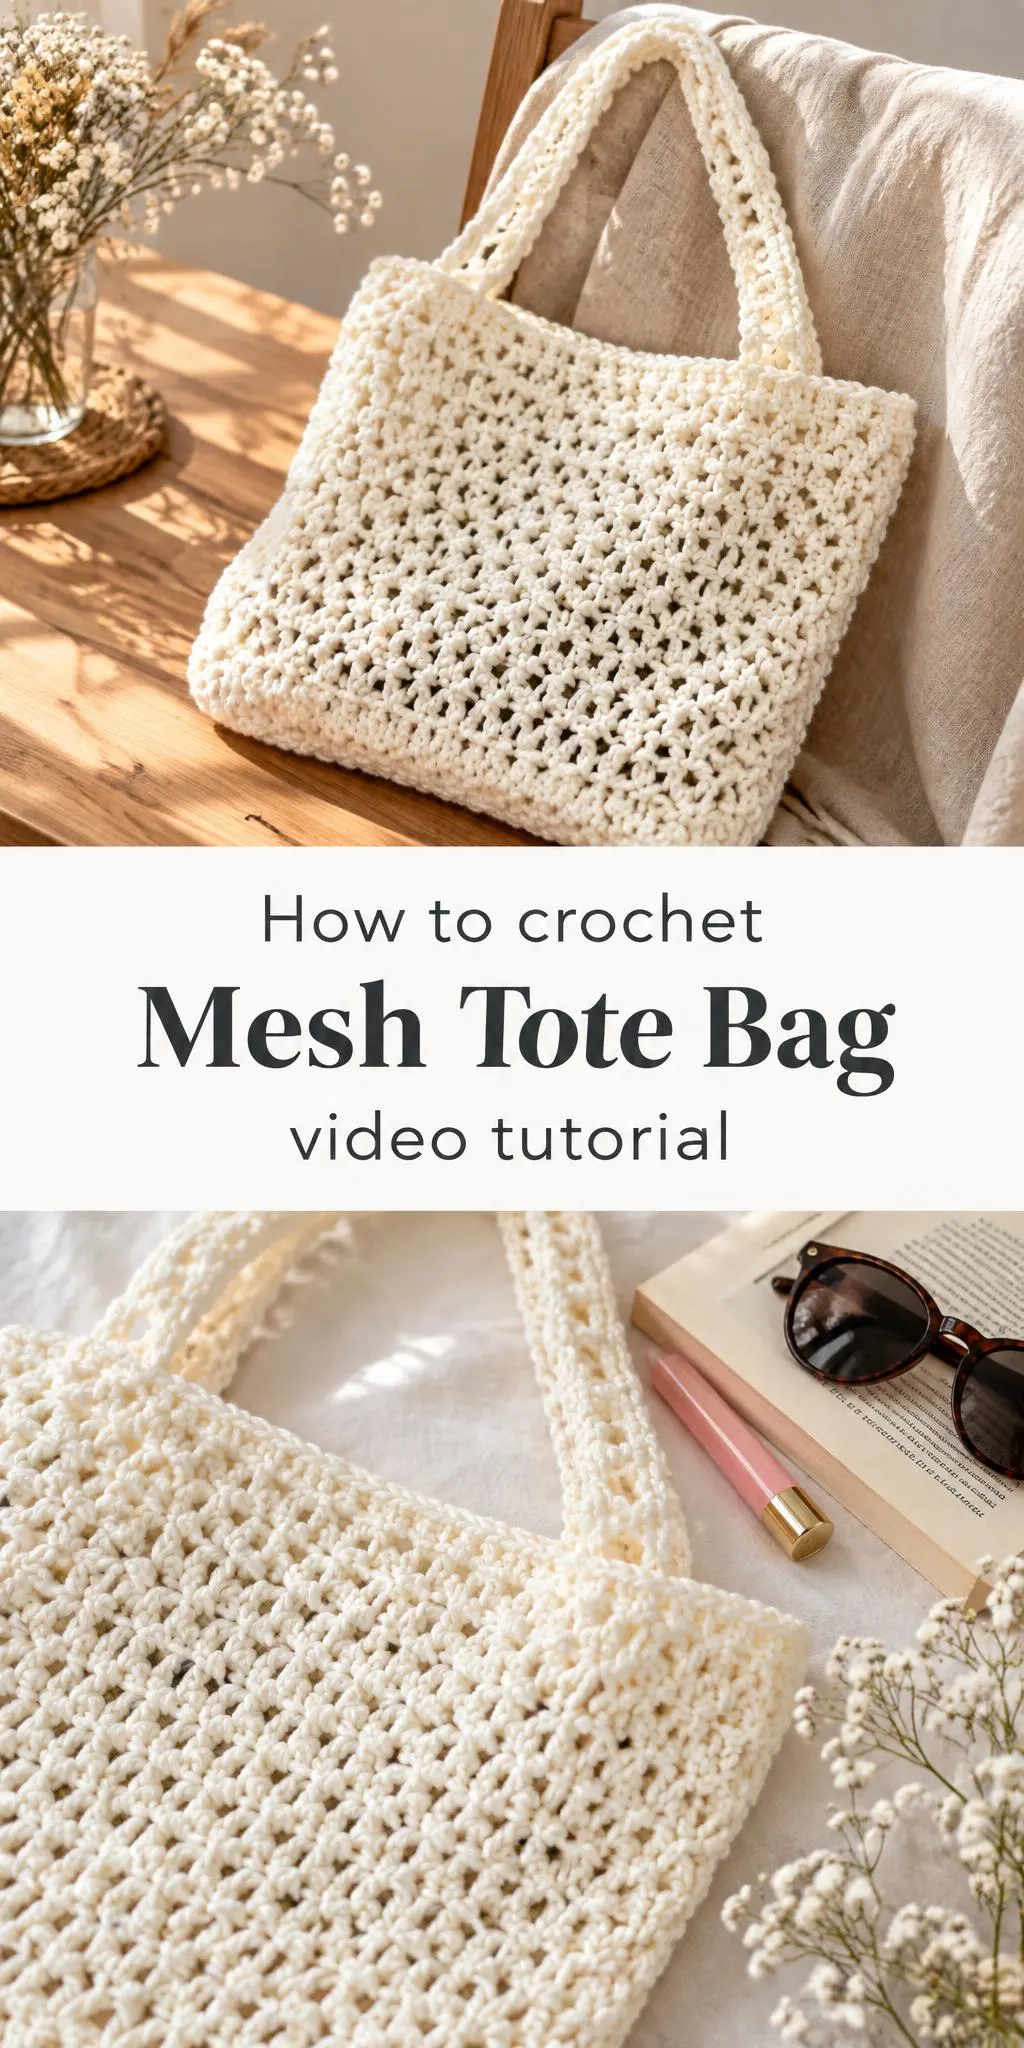
A crochet mesh tote bag is one of those projects that looks far more complicated than it is. With its open, airy stitch pattern, soft cream color, and simple rounded handles, this handmade bag feels both charming and practical, ready to carry everything from a sketchbook to a small makeup pouch.
In this post
Why a Crochet Mesh Tote Bag Is Worth Making
The mesh tote has a relaxed silhouette that sits comfortably on the shoulder. Its wide, open body gives it a light, breathable feel, while the textured surface keeps the look interesting without any need for embellishment. Because the stitches are visible on every side, the bag reads as crafted and intentional, even in a single neutral shade.
Beyond its looks, this is a bag that earns its place in daily life. It works for farmers market trips, beach days, café outings, or a quick run to the library. The open weave also makes items easy to find, so you are less likely to dig around for your keys. Many crocheters find that a project like this becomes a go-to make because it is easy to repeat, adapt, and gift.
Tote Bag Related Posts:
- Crochet Pixel Grid Tablet Sleeve: A Cozy and Whimsical Handmade Essential
- Crochet Lace Leaf Shawl: A Delicate and Timeless Accessory
- Crochet Bow Stitch Texture: A Dainty and Textured Essential
- Crochet Flower Hair Clip & Multicolor Headband: A Charming Handmade Accessory
Materials for Your Mesh Tote
Cotton yarn is a popular choice for a bag like this, since it holds its shape, resists stretching, and softens nicely with use. A medium-weight cotton or a cotton blend gives the stitches enough definition to show off the mesh pattern clearly. If you prefer a slightly fuzzier, cozier look, an acrylic or acrylic-cotton blend can work well, though it may sag a little under heavy loads. For a bag meant to hold water bottles or books, a sturdier fiber is the better investment.
Choose a crochet hook that suits your yarn and the fabric you want. A hook a size or two smaller than the label suggests will produce a firmer, more structured tote, which is helpful for keeping the base flat and the mesh openings crisp. A tapestry needle will be useful for weaving in ends, and a stitch marker can help you track the start of each round. Color is worth considering too: a cream or oatmeal shade is versatile, while a soft pink or sage green can add a playful accent.
Understanding the Mesh Stitch Pattern
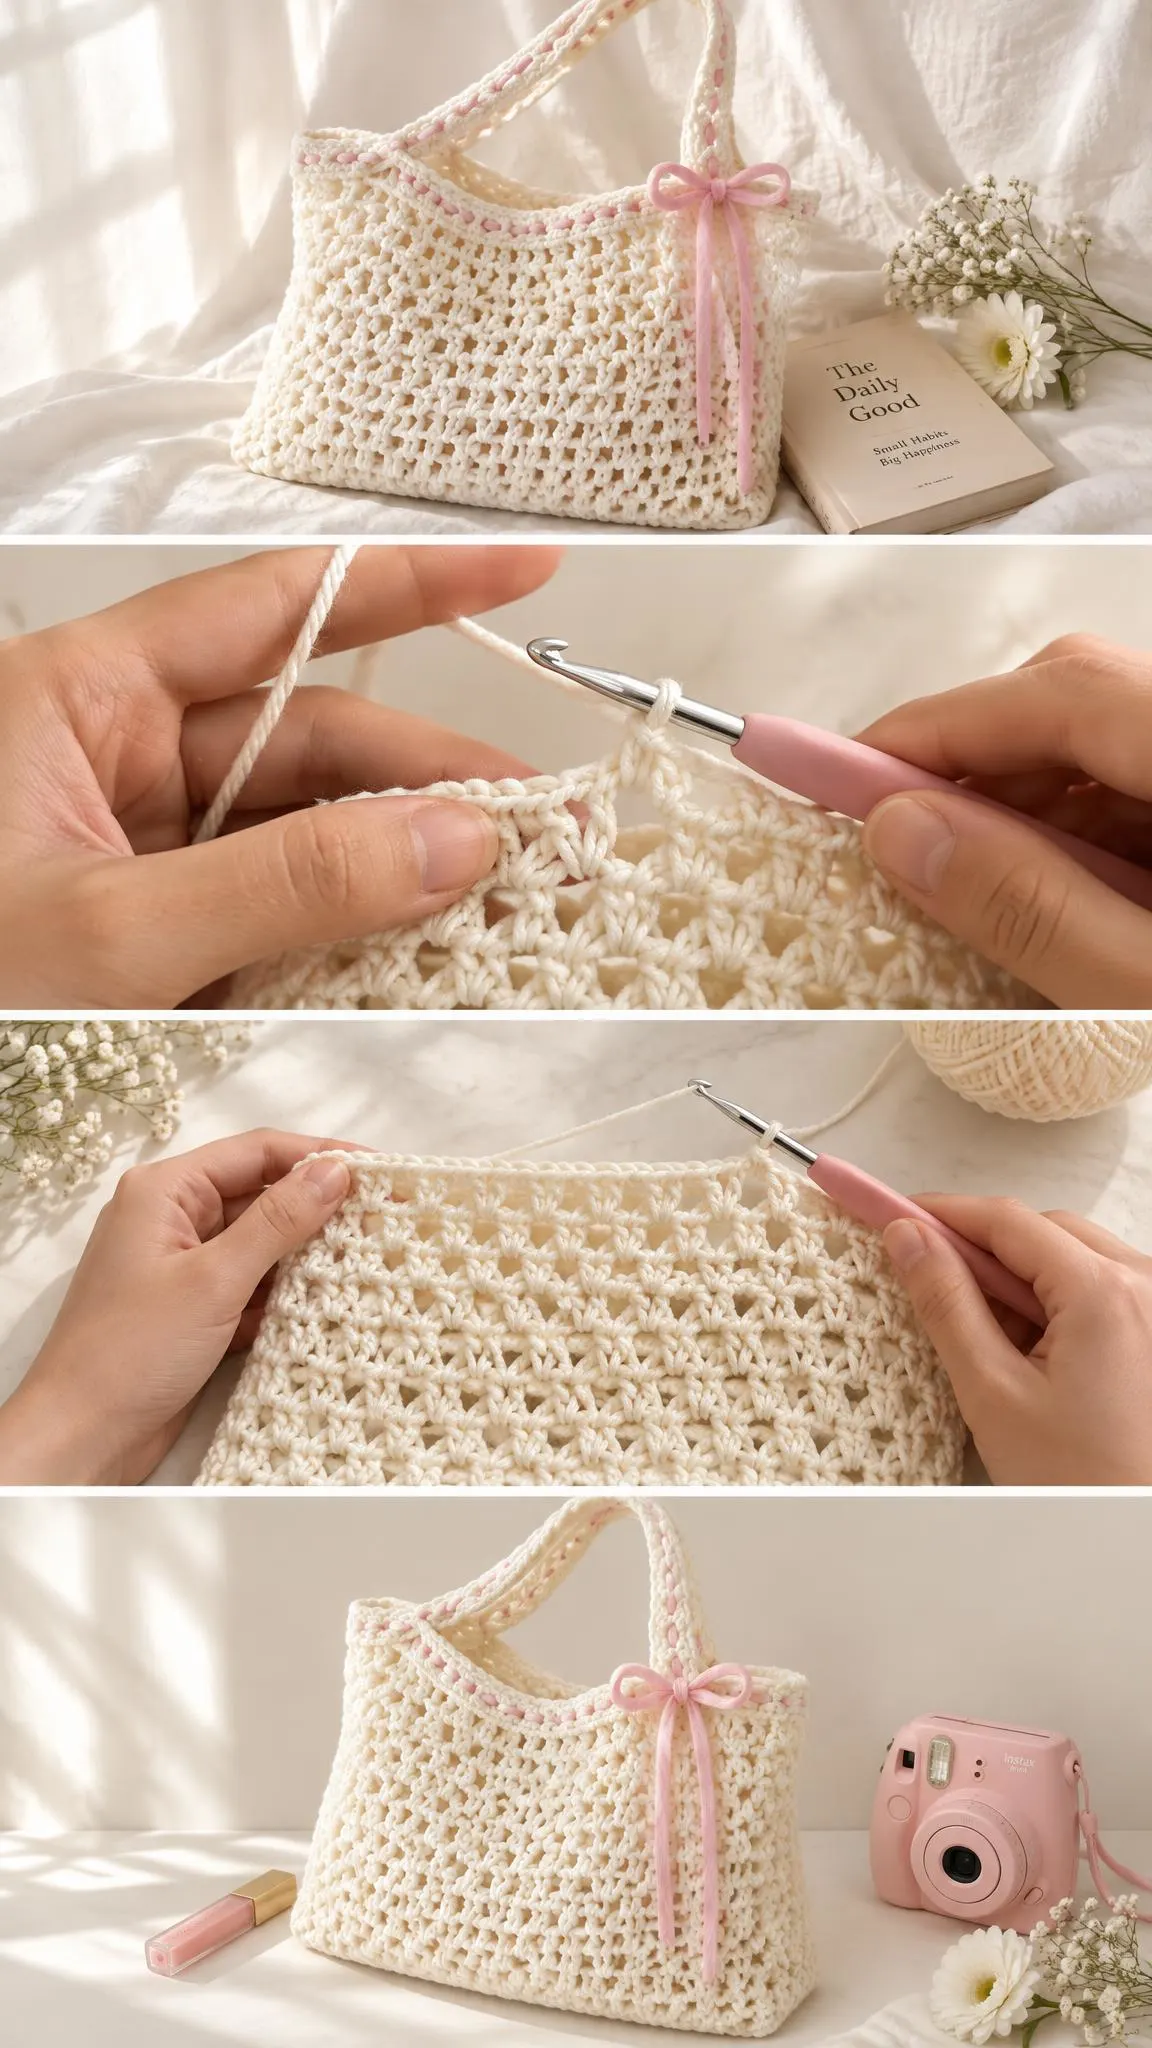
The defining feature of this bag is its open mesh texture, and that texture comes from a repeating pattern of spaced stitches separated by small chain spaces. When you work this kind of mesh, the open spaces are what give the fabric its breathable character, so keeping your tension even is essential. If your stitches are too tight, the holes close up and the bag becomes dense and stiff. If they are too loose, the mesh can look sloppy and stretch out of shape.
A practical habit is to count your repeats carefully at the start of each round. Mesh patterns depend on consistent spacing, and one missed repeat can throw off the whole design. Working the first round slowly, then checking that the openings line up before you continue, will save you from having to rip back later. Once the pattern settles into a rhythm, the rounds tend to flow quickly.
Building the Body and Base
Most mesh tote bags begin with a flat base worked in the round. Starting with a small circle or oval and increasing evenly gives you a sturdy foundation that keeps the bag from tipping over when you set it down. Increasing consistently around the base matters more than the exact number of increases, because uneven increases can make one side bulge while the other pulls inward.
Once the base reaches the size you want, you will switch to working the body upward. Keep the same stitch pattern and avoid adding or removing repeats unless you are deliberately shaping the sides. Measuring the bag as you go, rather than relying only on round counts, helps you achieve the proportions you have in mind. A taller body suits a bag for books and bottles, while a shorter one works better for daily essentials.
Shaping the Handles
The handles play a large role in how the bag feels to carry. Long, slender straps that rest at the shoulder give a casual, relaxed look, while shorter handles are better suited to carrying the bag in the hand or the crook of the arm. Working the handles in a sturdier stitch than the mesh body is a good way to prevent them from stretching under weight, and many crocheters add an extra row or two to reinforce the point where the handle meets the bag.
Attaching the handles neatly is what makes the bag look finished. Position them evenly on opposite sides so the bag hangs straight, and try the bag on your shoulder before you secure the ends. A simple adjustment at this stage can make the difference between a tote that sits well and one that slips off or tilts awkwardly.
Using and Styling Your Finished Bag
A mesh tote fits naturally into a relaxed wardrobe. It pairs beautifully with a plain white T-shirt, a pair of light-wash jeans, and a midi skirt in a soft neutral tone. For a more polished look, carry it with a linen dress and sandals, letting the bag provide textural contrast against smoother fabrics. In warm weather, the open weave also keeps the bag from feeling heavy on the shoulder.
The bag is just as useful around the house. Hang it by the door to hold keys and sunglasses, or use it as a grocery bag that folds easily into a handbag. Some makers line the inside with a thin cotton fabric to protect smaller items from slipping through the holes, which is a helpful option if you plan to carry phones, cosmetics, or small notebooks. Adding a lining also gives the bag a more finished appearance from the inside.
Finishing Touches That Make a Difference
Weaving in your yarn ends carefully is one of the most important steps for a bag that will see frequent use. Loose ends can work their way out over time, especially at the handles where stress is greatest. Run the tail through several stitches in different directions, then trim it close to the fabric so nothing catches on clothing or bags.
Blocking can also help the mesh settle into an even shape. Lightly dampen the finished bag, shape it gently with your hands, and let it dry flat or over a bowl. Check the care label on your yarn before wetting the piece, since some fibers need different handling. A few minutes of attention at the end will help your bag keep the clean, open look that makes this project so appealing.
A Bag That Grows With You
A crochet mesh tote bag is a rewarding project because it combines a simple structure with a striking surface. The open pattern is satisfying to build, and the finished bag is useful, adaptable, and easy to personalize with color, length, and lining choices. Once you have made one, you may find yourself planning a few more in different shades for every season.
Watch the video below to see the stitches in action, and feel free to pause or rewind whenever a step needs a closer look. Happy crocheting, and enjoy carrying your handmade bag wherever the day takes you.
Follow us on Pinterest and subscribe to the Newsletter so you don’t miss a thing!
Tutorial and photos of this mesh tote bag by: mahum 🎀.