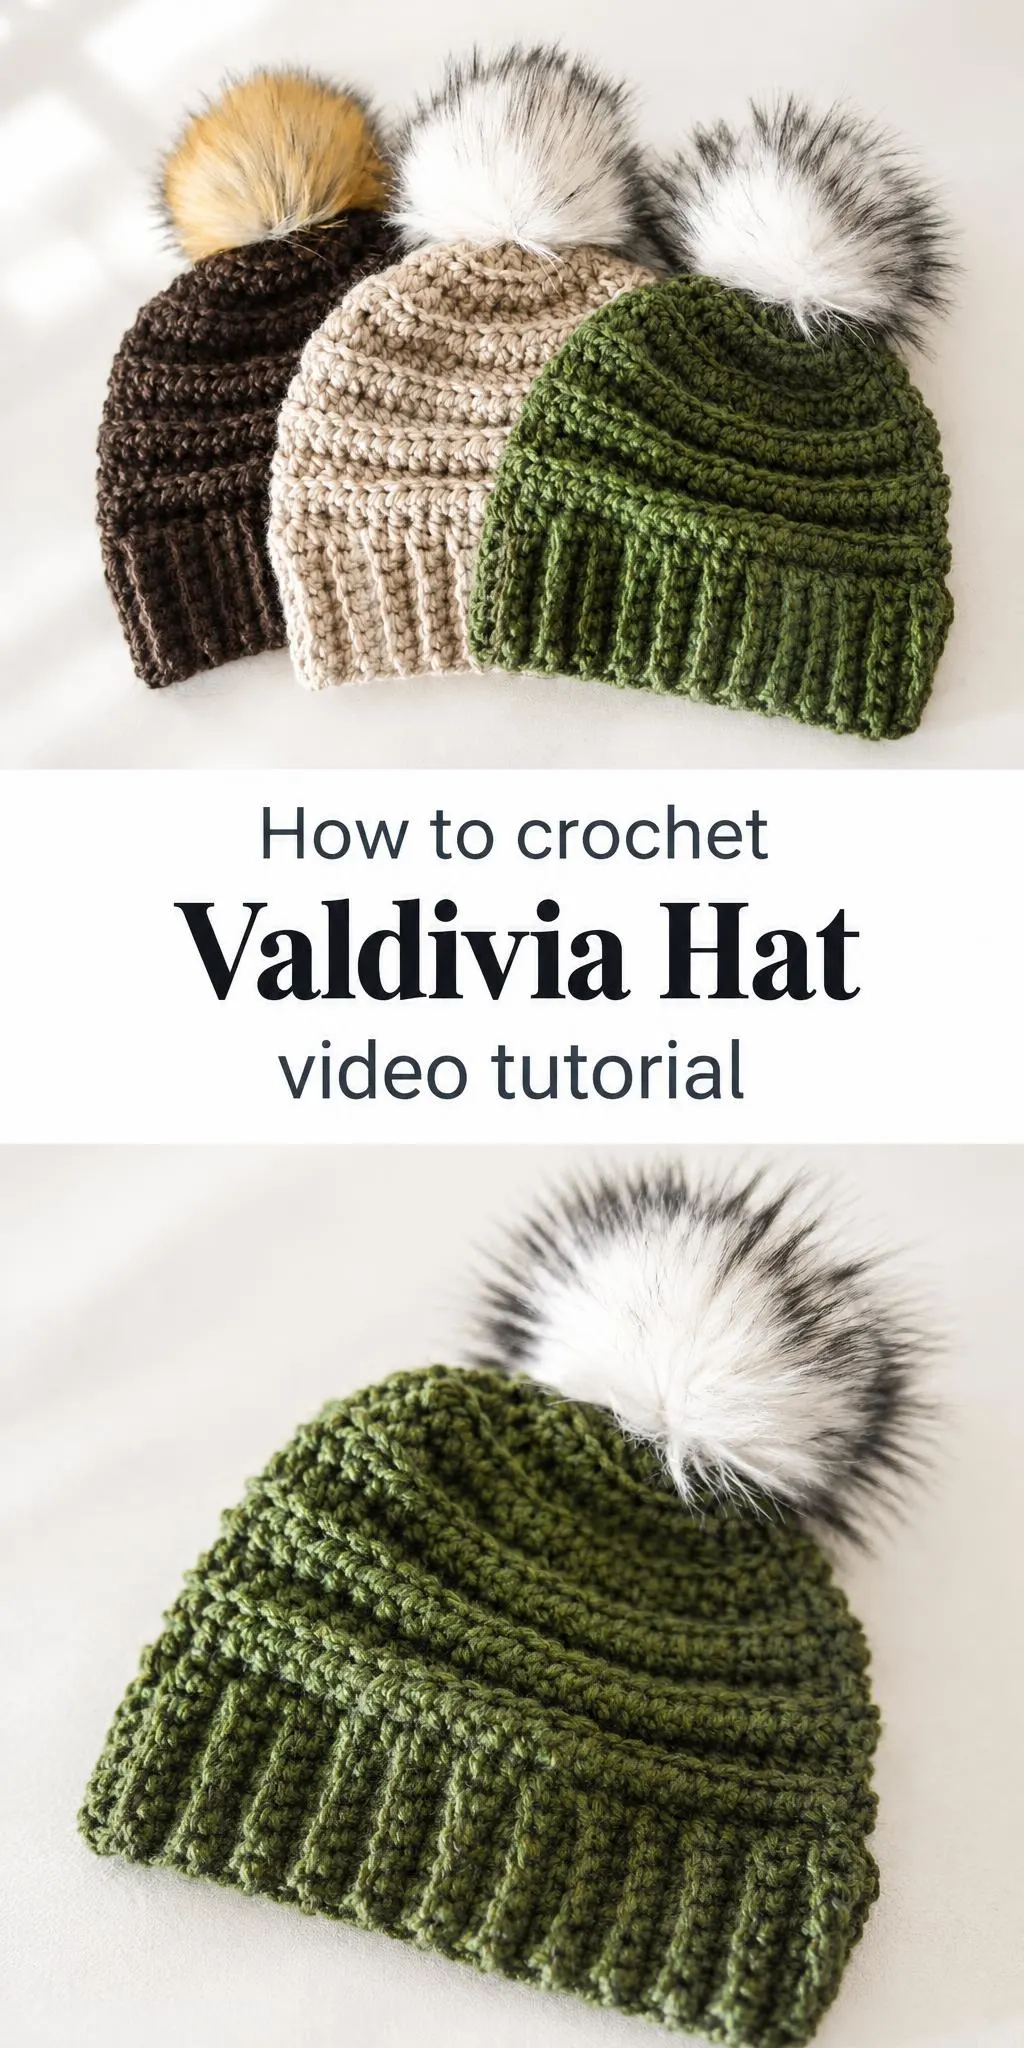
The Crochet Valdivia Hat is a ribbed, slouchy beanie with a generous faux fur pom on top, and it works equally well as a quick winter project or a thoughtful handmade gift. Its vertical ribbing and warm, textured body make it one of those patterns that looks polished without demanding advanced skills.
In this post
Why the Valdivia Hat Stands Out
The Valdivia Hat is easy to recognize at a glance. Its body is worked in horizontal, rounded bands that give the crown a soft, sculpted look, while the lower band switches to deep vertical ribs that hug the head and fold neatly at the brim. That contrast between the two textures is what gives the hat its character. Instead of a flat, uniform fabric, you get a piece with rhythm and dimension.
The silhouette is relaxed but structured. The crown sits full and round, the ribbing pulls the brim in snugly, and the pom finishes the shape with a playful burst of fluff. Because the design relies on texture rather than color blocking, it reads as sophisticated in neutral palettes and cheerful in brighter ones. This versatility is a large part of its appeal for anyone building a winter accessory collection.
Practically, the Valdivia Hat earns its place in everyday wardrobes. It layers easily under a hood, pairs with a chunky scarf, and keeps ears warm on cold commutes or weekend walks. Many crocheters also make several in different colorways, which turns a single pattern into a matching set for family members or friends.
Valdivia Hat Related Posts:
- Crochet Unicorn Plush: A Sweet and Cuddly Companion
- Crochet Amigurumi Plushies: A Cute and Charming Handmade Companion
- Crochet Phone Bag: A Cozy and Practical Accessory
- Crochet Bow Stitch Texture: A Dainty and Textured Essential
Choosing Materials
For this type of hat, a soft, medium-weight yarn is a sensible choice. Wool blends, acrylic-wool mixes, and bulky cotton-free blends all provide warmth while holding the ribbed definition well. Consider how the fiber behaves: a yarn with some natural bounce will keep the vertical ribs crisp, while a very smooth or slippery yarn may blur the stitch definition and stretch more over time.
Your hook size should match the yarn label and the fabric you want. A slightly smaller hook produces a denser, warmer fabric that resists wind, while a larger hook creates a softer, more open texture that drapes beautifully. Testing a small swatch of the horizontal bands and the vertical ribbing before starting will show you how the fabric feels in your chosen fiber.
The pom is an optional but popular finishing element. Faux fur poms in tones such as honey gold, snowy white with charcoal tips, or warm taupe are widely available and easy to attach. Choose a pom in a color that either echoes the hat or deliberately contrasts with it. Keep in mind that heavier poms can pull a lightweight hat forward, so match the size of the pom to the scale of the crown.
Working the Crown and Its Horizontal Bands
The crown is where the Valdivia Hat shows its personality. The horizontal bands create gentle ridges that curve around the head, and they are the feature most likely to make people stop and ask about the pattern. Working these bands evenly is the key to a balanced, symmetrical shape. Pay attention to tension, because consistent stitches keep the ridges aligned from front to back.
Think of each band as a separate visual step. When you change between bands, the stitch placement shifts slightly, creating the rounded lift you see in the finished hat. Counting stitches at the end of each round helps you catch small drifts before they become noticeable. A stitch marker placed at the start of each round makes this much easier, especially when working in the round.
Many crocheters find that the crown becomes more even as they progress. Early rounds can feel slightly uneven, but the repeated pattern settles into a rhythm. Blocking the finished crown lightly, using gentle steam or a damp towel depending on your yarn, can help the bands relax into a smooth, rounded dome.
Creating the Vertical Ribbed Brim
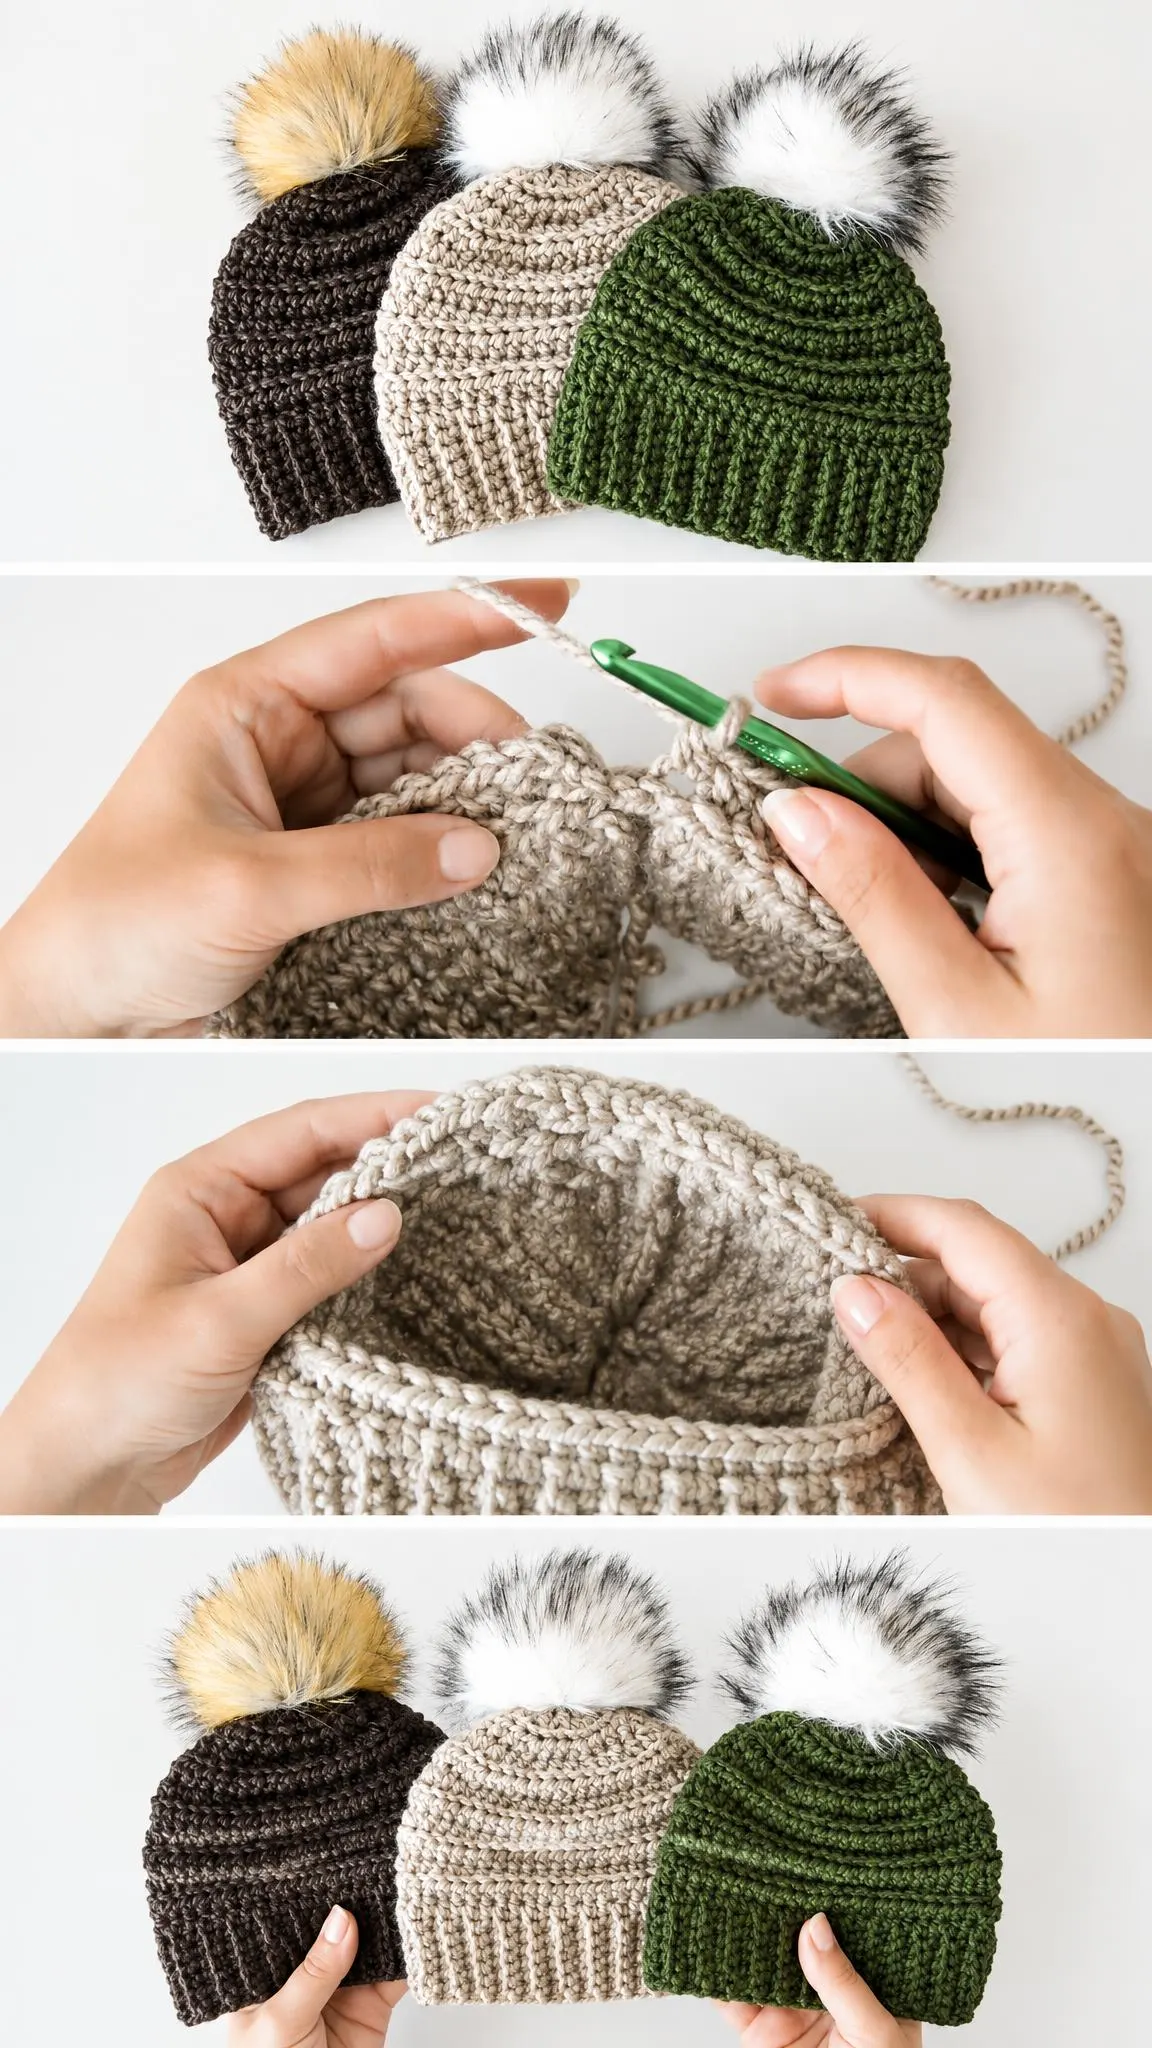
The ribbed brim is what gives the Valdivia Hat its snug, flattering fit. The vertical ribs are worked in a way that causes the fabric to stretch and recover, so the band hugs the head without feeling tight. This elasticity is essential, because a rigid brim would make the hat uncomfortable and could cause it to slide.
To keep the ribs crisp, work with consistent tension and avoid pulling stitches too tightly as you move between rounds. Ribbing has a tendency to flare if the tension varies, so take your time at the transition from crown to brim. If you find the brim too loose, a smaller hook for the ribbing alone can tighten the fit without changing the crown.
Length matters as well. A shorter brim gives a more fitted, close-to-the-head look, while a longer brim can be folded for a cozy cuff. Trying the hat on partway through the brim lets you decide how much length you want, which is particularly helpful when making the hat for a specific person.
Wearing and Styling the Valdivia Hat
The Valdivia Hat suits a wide range of outfits. Pair a neutral taupe version with a camel coat and dark jeans for a relaxed city look, or choose a deep forest green with a plaid scarf and a wool sweater for a cabin-weekend feel. Lighter colors such as cream or oatmeal look fresh with denim and muted knits, while darker shades such as espresso brown look especially rich with cream and burgundy accents.
Think about how the pom interacts with your hair and collar. Long hair can be tucked under the hat to keep the crown neat, while a shorter style lets the pom sit prominently on top. A high-necked coat or a chunky scarf helps balance the volume of the pom, so the overall silhouette stays proportionate.
Beyond personal wear, the hat makes a thoughtful gift. Packaging it with a matching pair of mittens or a small card explaining the yarn and colorway turns it into a complete winter bundle. Because the design is gender-neutral and easily adjusted in color, it works well for teenagers, adults, and anyone who appreciates warm, handmade accessories.
Finishing Touches and Care
Finishing is where the Valdivia Hat becomes truly polished. Weave in all ends carefully along the inside of the hat, working them through several stitches in a direction that avoids creating bumps on the outer surface. A clean interior prevents irritation against the forehead and keeps the outside looking tidy.
Attaching the pom securely is equally important. Use a sturdy yarn or thread matched to the pom base, and sew through the base several times so the pom stays firmly in place when the hat is worn or washed. Check the attachment after the first few wears, since fur poms can settle and loosen slightly over time.
Care depends on the fiber you chose. Many wool blends benefit from hand washing in cool water with a mild wool wash, followed by gentle pressing in a towel and flat drying. Remove the pom if the manufacturer recommends it before washing, or check whether the pom can be spot cleaned. Matching the care routine to your yarn keeps the ribbing springy and the colors bright for many seasons.
Your Next Valdivia Hat
The Crochet Valdivia Hat rewards patient, attentive work with a piece that feels both classic and fresh. Its horizontal crown, vertical ribbed brim, and playful pom combine into a silhouette that suits many personalities and wardrobes. Whether you make one for yourself or a loved one, every stitch contributes to a warm, distinctive result.
If any step feels unclear, pause and revisit the video below as often as you need. Watching the stitches move on screen can make the transitions between bands and the ribbing much easier to follow. Take your time, enjoy the rhythm of the work, and let the finished hat show what careful crochet can achieve.
Follow us on Pinterest and subscribe to the Newsletter so you don’t miss a thing!
Tutorial and photos of this valdivia hat by: CJ Design.
https://www.youtube.com/watch?v=hrRjfWLjllw