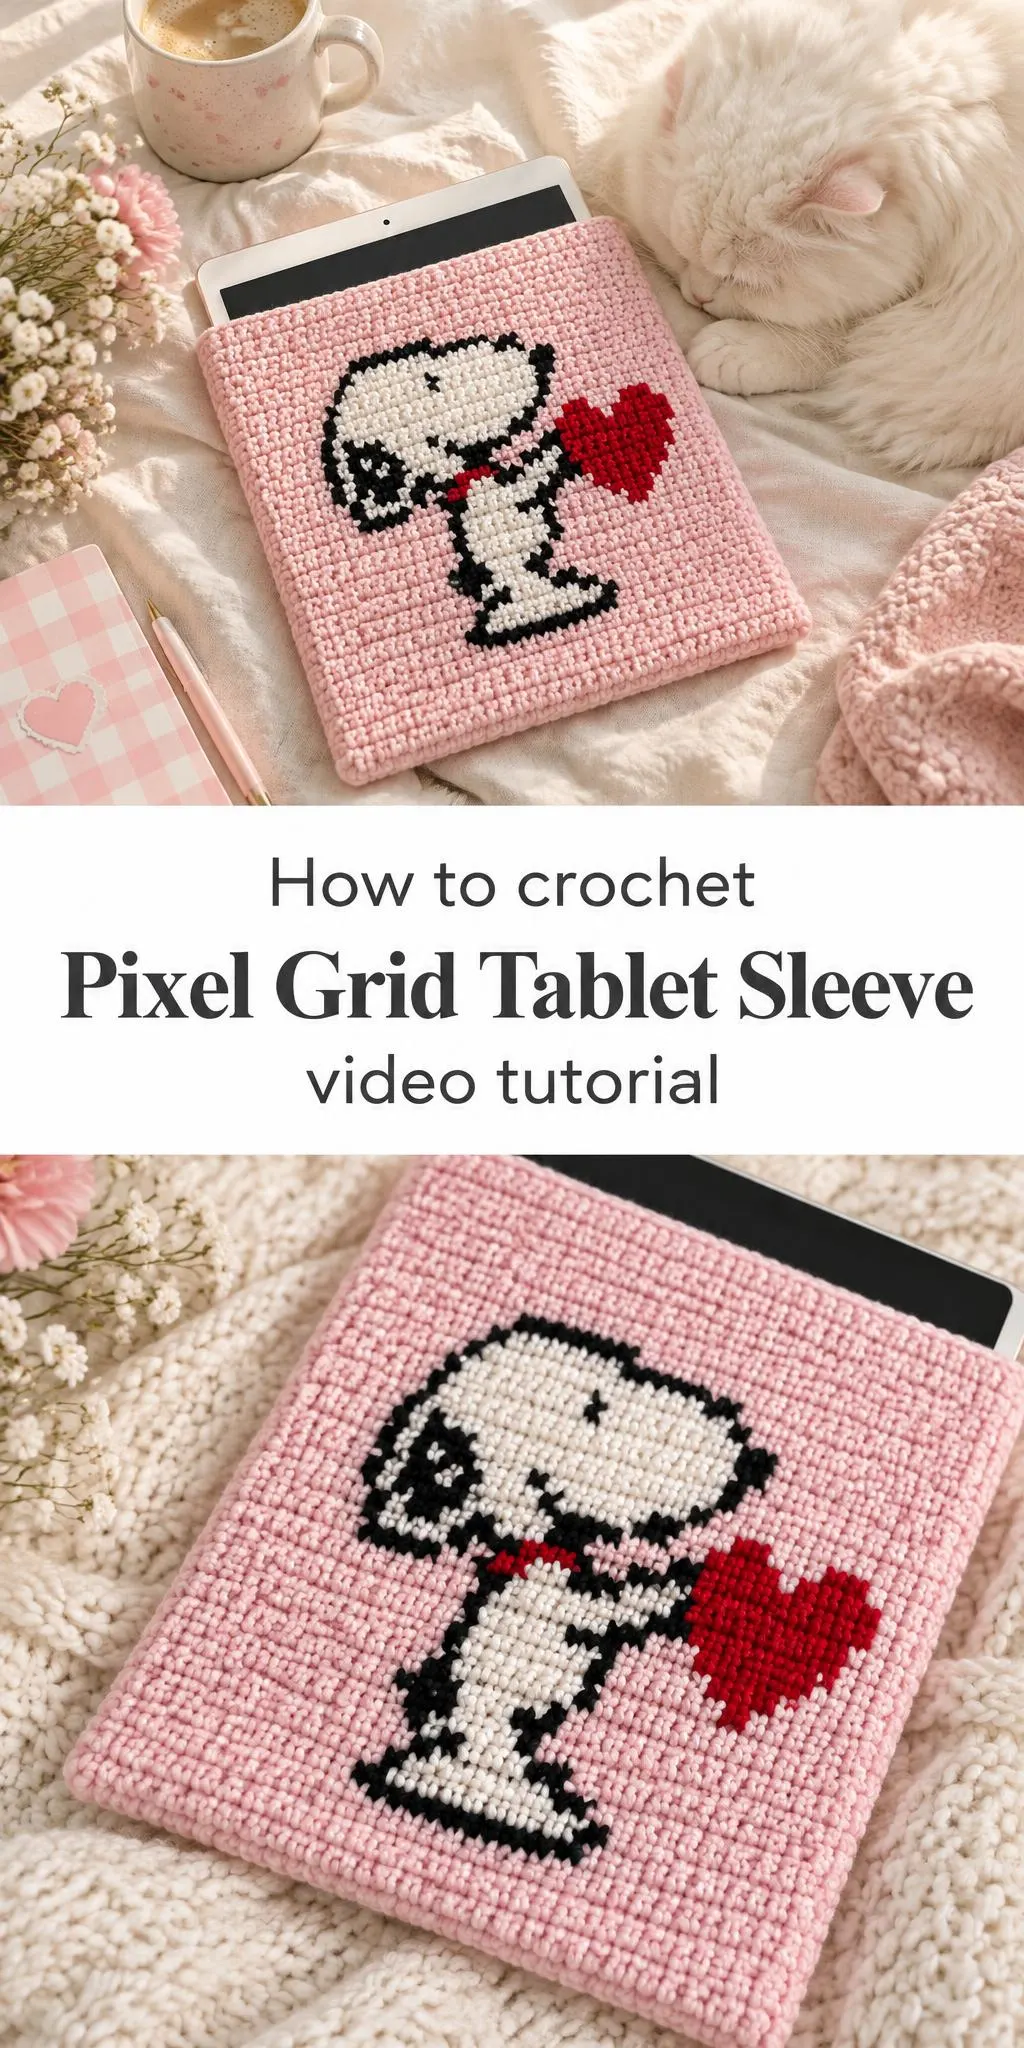
If you have ever wanted a handmade sleeve that doubles as a showpiece, the pixel grid tablet sleeve is a wonderful project to try. Its bold, blocky motifs turn a simple rectangle into a cozy little artwork that protects your device and brightens your desk at the same time.
In this post
Why the Pixel Grid Tablet Sleeve Stands Out
The pixel grid tablet sleeve takes its visual language from low-resolution artwork, where every square is a deliberate choice. In crochet, that means each stitch becomes a pixel, and the finished fabric reads almost like a printed chart. Sleeves in this style often feature a single character, a landscape, or a repeating motif that fills the front panel. Because the color changes happen on a strict grid, the edges between shapes are crisp, giving the piece a graphic quality that many crocheted accessories lack.
The practical side is just as appealing. A sleeve wraps around a tablet or e-reader and keeps screens from scratches, dust, and small bumps inside a bag. A well-made sleeve also has a comfortable, slightly padded feel, which is part of its charm when you slide your device in and out. Gift-givers often choose this project because the motif can be matched to a favorite character, a hobby, or a seasonal theme, making a useful item feel personal.
Tablet Sleeve Related Posts:
- Crochet Bow Stitch Texture: A Dainty and Textured Essential
- Crochet Tunic Blouse: A Chic and Airy Handmade Staple
- Crochet Book Cover with Picture Frame: A Charming and Personalized Handmade Accessory
- Crochet Striped Beanie: A Cozy and Stylish Essential
Choosing Materials for a Sleeve That Lasts
Yarn choice shapes both the look and the protection a sleeve provides. A smooth, medium-weight acrylic or a cotton blend gives clean stitch definition, which matters when your motif depends on contrast between squares. Acrylic is forgiving and comes in a wide palette, while cotton offers a crisp surface and holds its shape well. Avoid very fuzzy or loosely spun yarns for a grid design, since the pixels can blur together and the sleeve may stretch out of shape over time.
Hook size should suit the yarn and the fabric you want. Many makers go down a size or two from the label recommendation so the stitches sit tightly and the sleeve feels sturdy enough to protect a screen. You will also want a tapestry needle for weaving in ends and a pair of scissors. For the facial or detail elements some makers add embroidery thread or small pieces of contrasting yarn, which can be stitched on after the main panel is complete. If you want a lining, a soft felt or fleece piece can be cut to size and attached inside, though this is entirely optional.
Working the Grid Without Losing Your Place
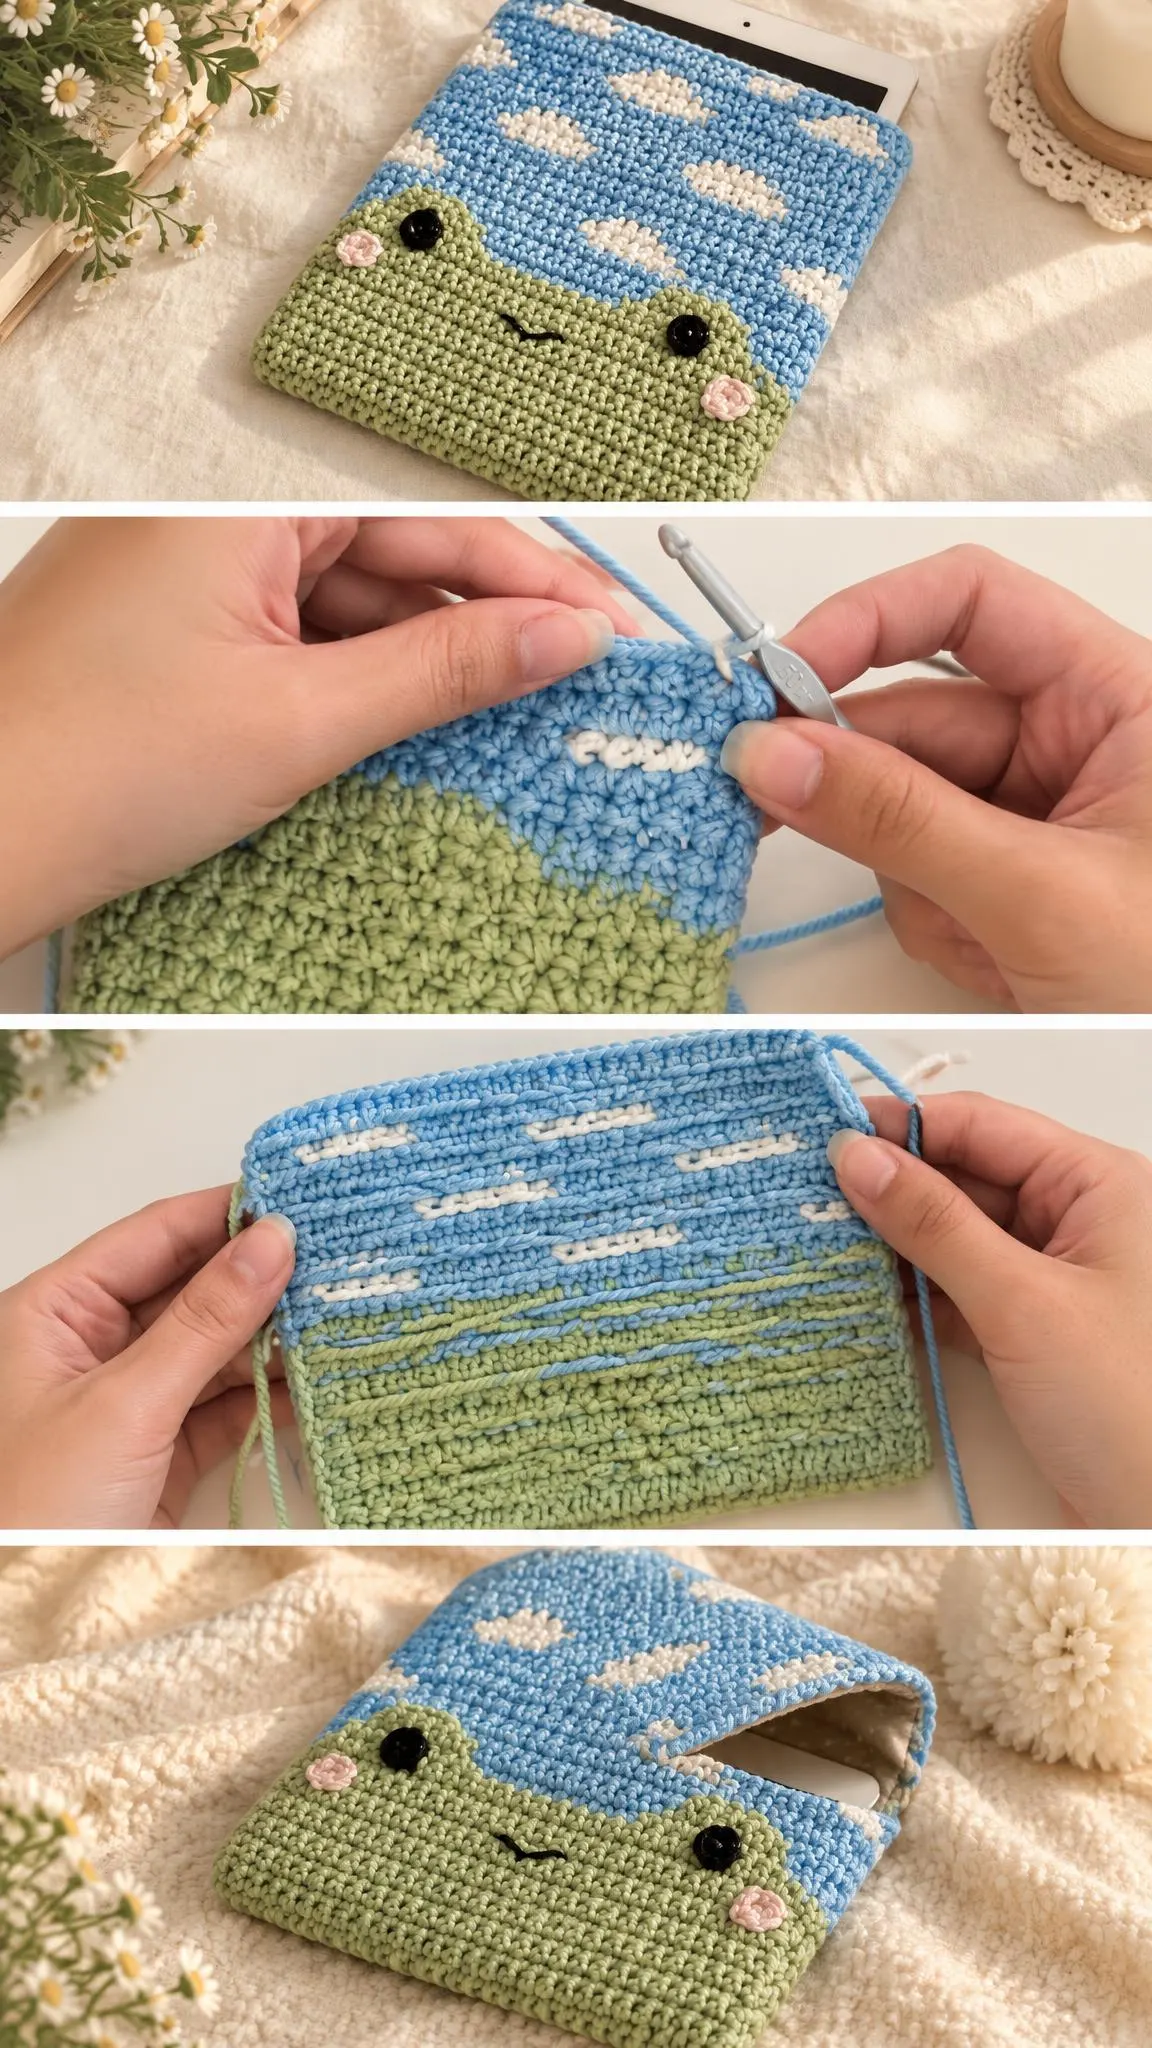
Pixel grid work relies on carrying two or three colors across each row while keeping the tension even. The most common approach is tapestry crochet, where you work with the background color and bring in the motif color at the right moment, then drop the unused strand on the wrong side of the fabric. Those floats can be carried at the back as you go, which keeps the sleeve from becoming bulky. Because each color change interrupts the rhythm, it helps to keep your chart beside you and mark completed rows as you go.
Switching Colors at the End of a Row
Color switches are where many makers feel uncertain, so it is worth understanding what the step accomplishes. When you change yarn on the last stitch of a row, you pull the new color through the final loop and begin the next row with it. This keeps the transition clean and avoids a visible gap or a row that looks shorter than the rest. Working the new color’s first stitches carefully helps the edge of each shape stay straight, which is what makes the motif readable from a distance.
Fastening Off and Flipping for a Neat Finish
When a section of the motif is complete, fasten off and weave the tail through the back of nearby stitches so it does not loosen. Flipping the work to the right side before continuing lets you check that the motif is lining up as planned. A quick look at the right side can reveal a mistake while it is still easy to correct, which is much kinder than discovering it after the whole panel is finished.
Shaping, Structure, and Use
A tablet sleeve is essentially a pocket, so the construction decisions focus on the base, the sides, and the opening. Many makers work the panel as a flat rectangle, then seam the sides together, leaving one edge open for the device. Whatever method you choose, keep the seam tidy by matching stitches on both edges. A loose seam can gape and let the tablet slip out, while a snug one keeps everything secure.
Think about the sleeve’s dimensions before you begin. Measure your device with a little room to spare so the fabric is not stretched tight, which can distort the motif. A closure such as a button, a flap, or a simple overlap can make the sleeve more secure for daily carrying. Each option changes the look, so choose one that complements the motif rather than competing with it.
Finishing and Caring for Your Sleeve
Before you seam the sides, lay the panel flat and check that the motif is centered and that the edges are even. Gentle blocking, which means lightly dampening and shaping the fabric to size, can smooth out uneven stitches and help the grid look sharper. Check your yarn label first, since some fibers respond differently to moisture and heat, and blocking methods should be matched accordingly.
Store the finished sleeve somewhere flat or loosely folded so the stitches keep their shape. Spot cleaning is usually the gentlest option, and a mild wash suits most acrylic and cotton yarns if you follow the label instructions. Keeping the sleeve away from direct sun will help bright colors stay vibrant over time.
Pixel grid crochet rewards patience and attention, and each finished row is a small victory. Whether you choose a favorite character, a quiet landscape, or a playful butterfly, the sleeve becomes a piece of your own design. Follow the video below for the stitch-by-stitch details, and pause or rewind whenever a color change feels unfamiliar. Your device will be wrapped in something you made by hand, and that is hard to beat.
Follow us on Pinterest and subscribe to the Newsletter so you don’t miss a thing!
Tutorial and photos of this pixel grid tablet sleeve by: mahum 🎀.