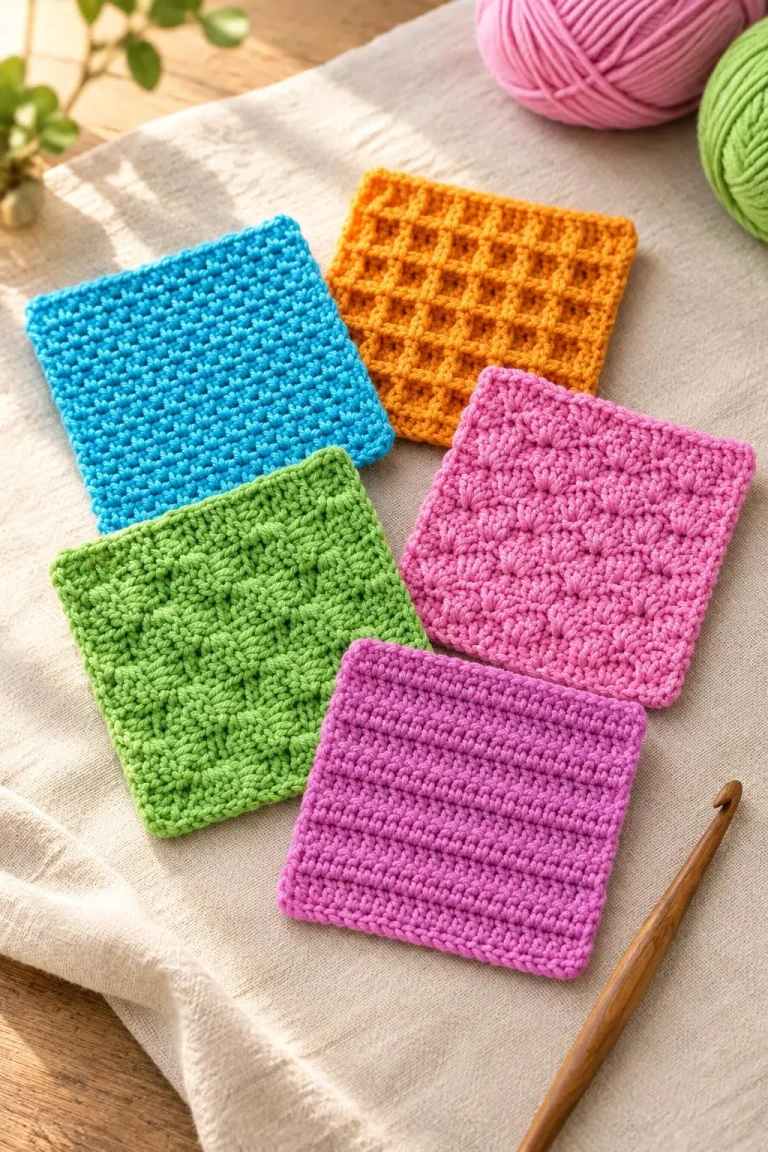
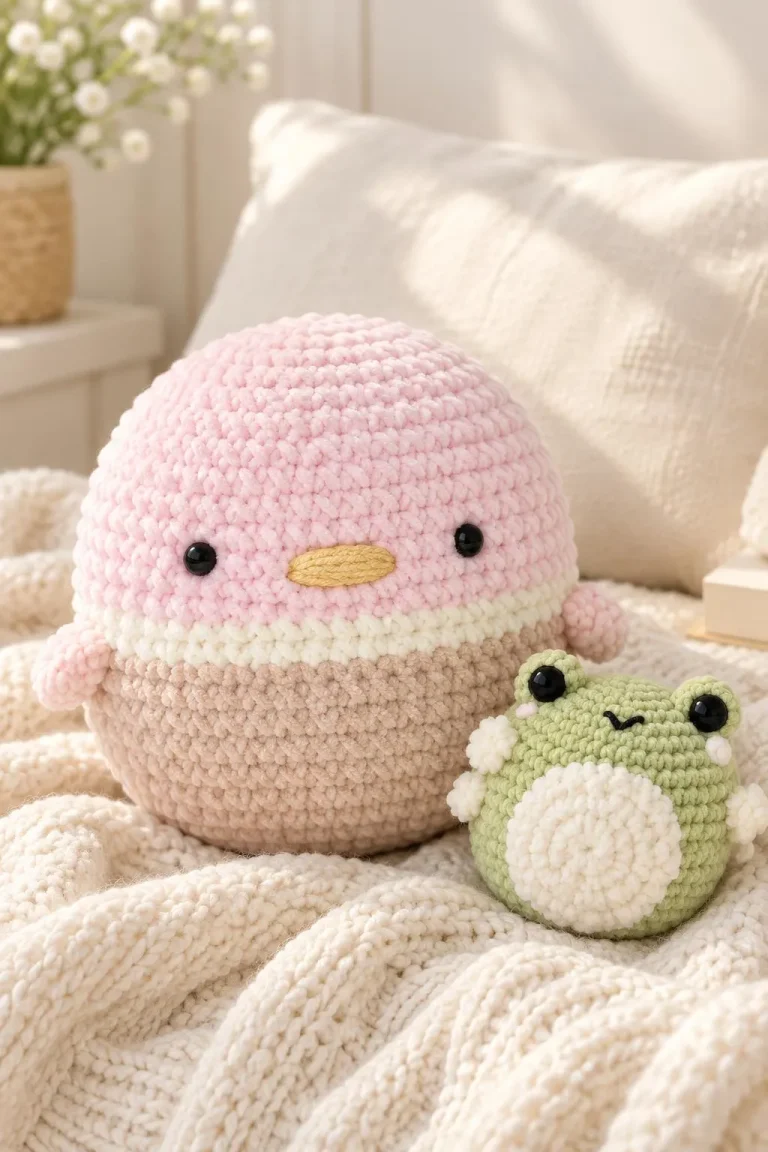
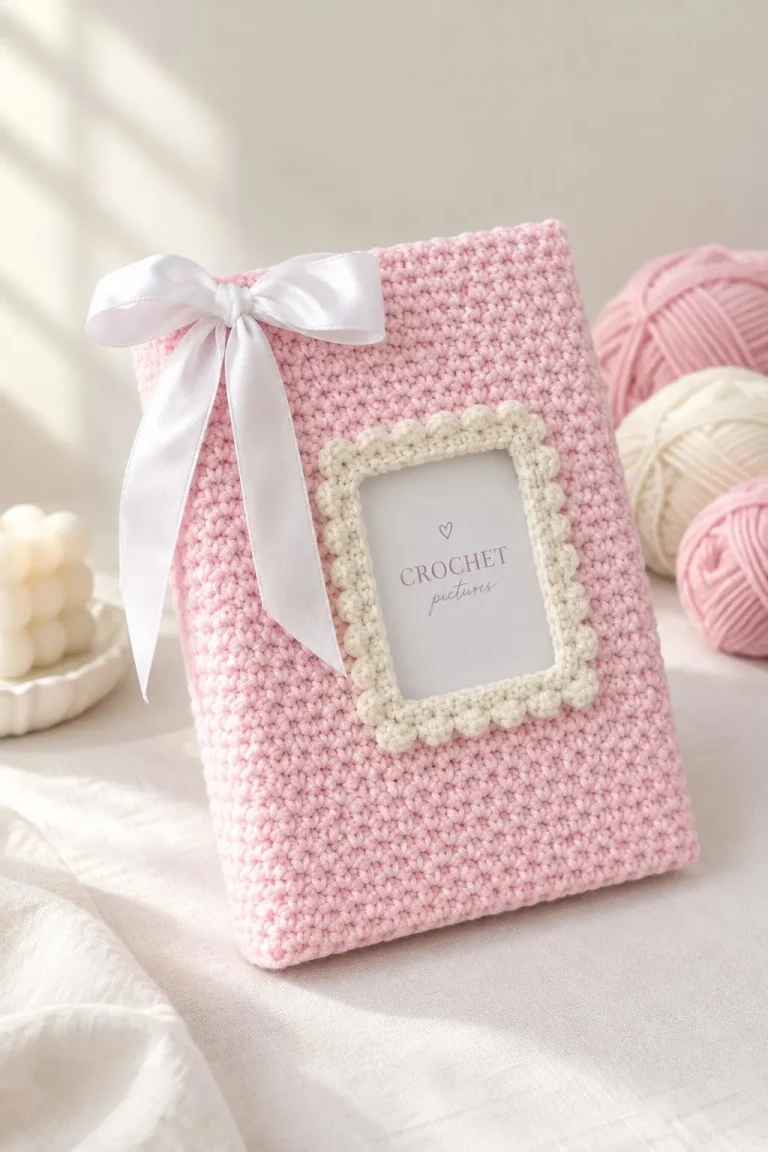
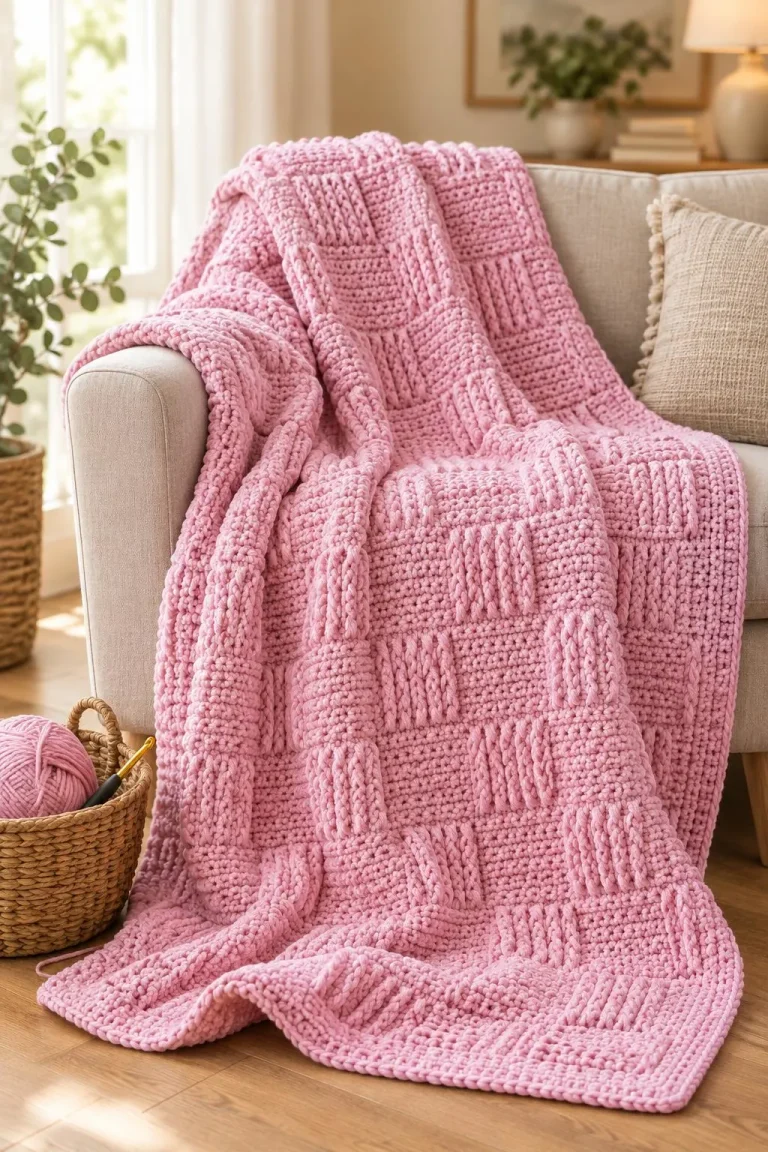
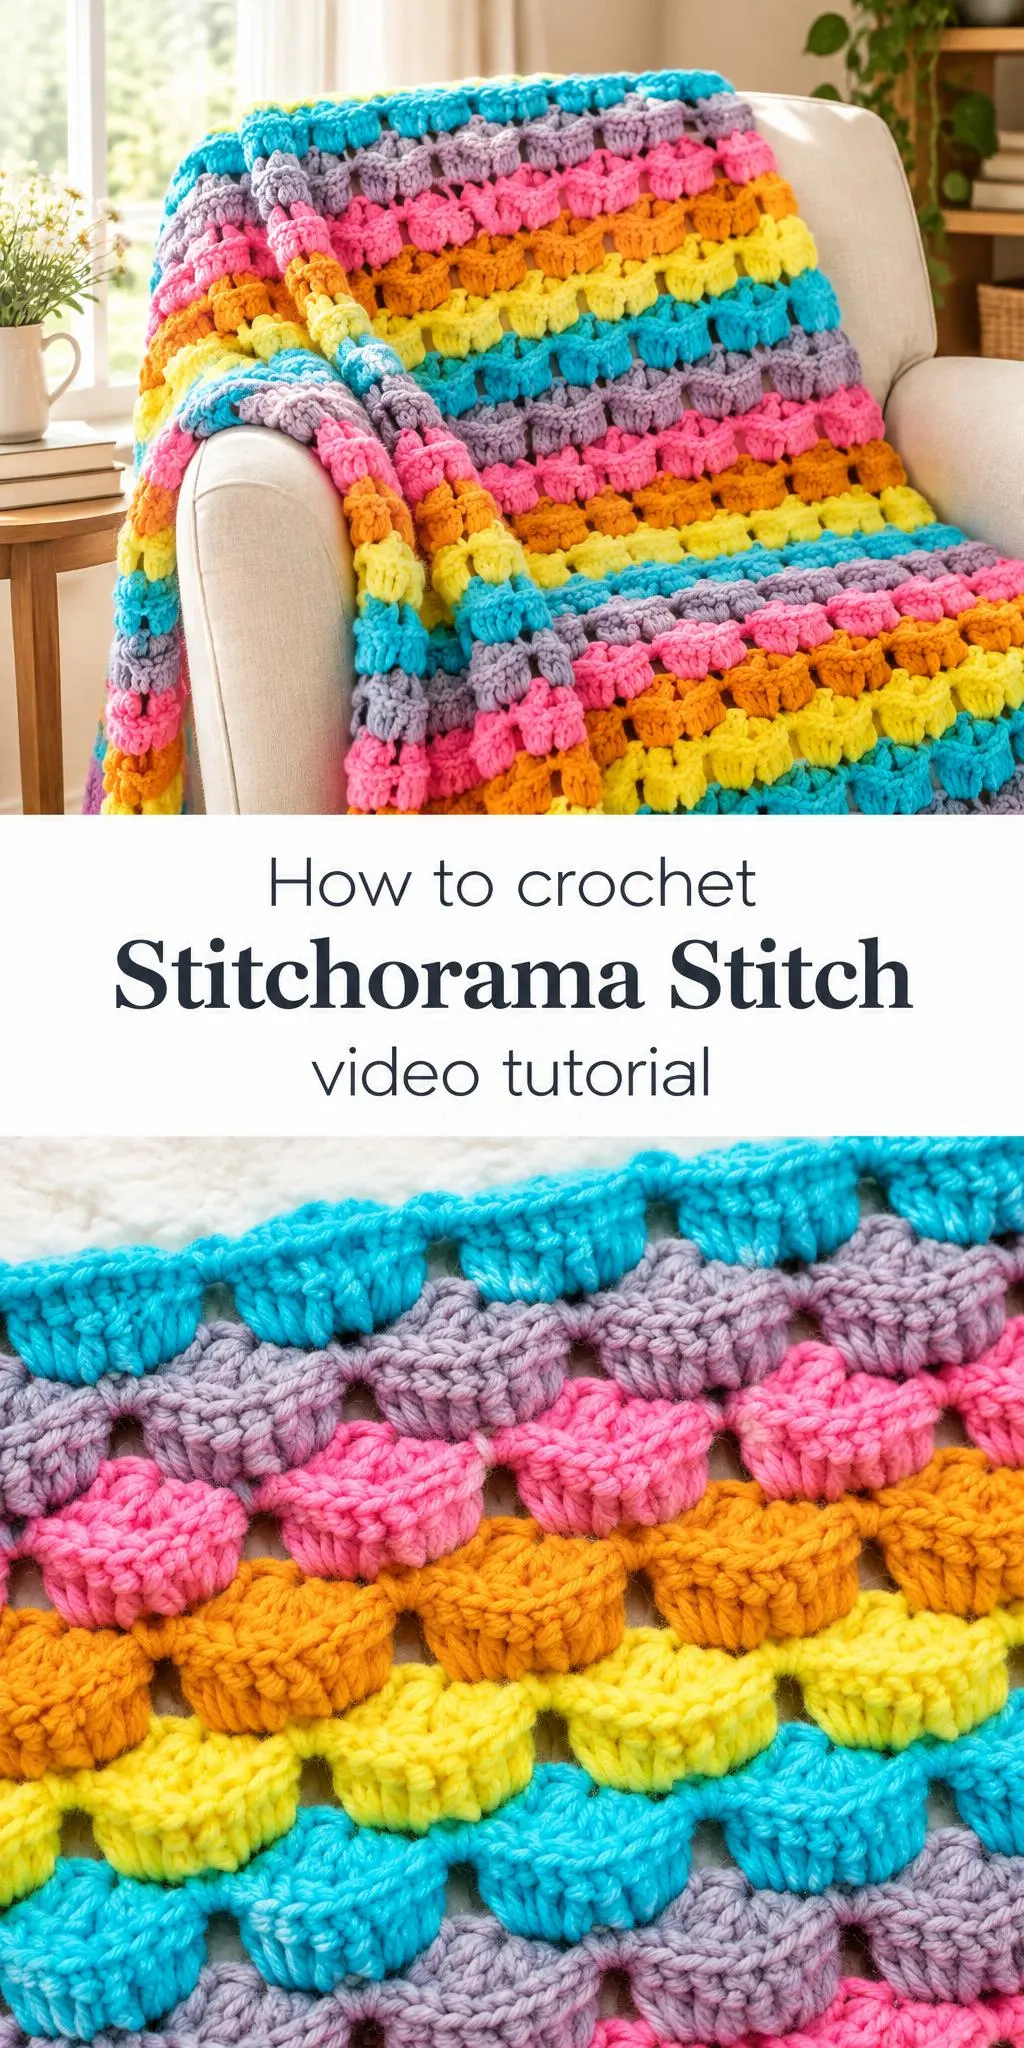
The Stitchorama stitch is a crochet texture that turns simple rows of color into a bold, sculpted surface. Its raised, rounded blocks catch the light and give blankets, cushions, and wearables a lively, dimensional character that flat stitches simply cannot match.
In this post
Why the Stitchorama Stitch Stands Out
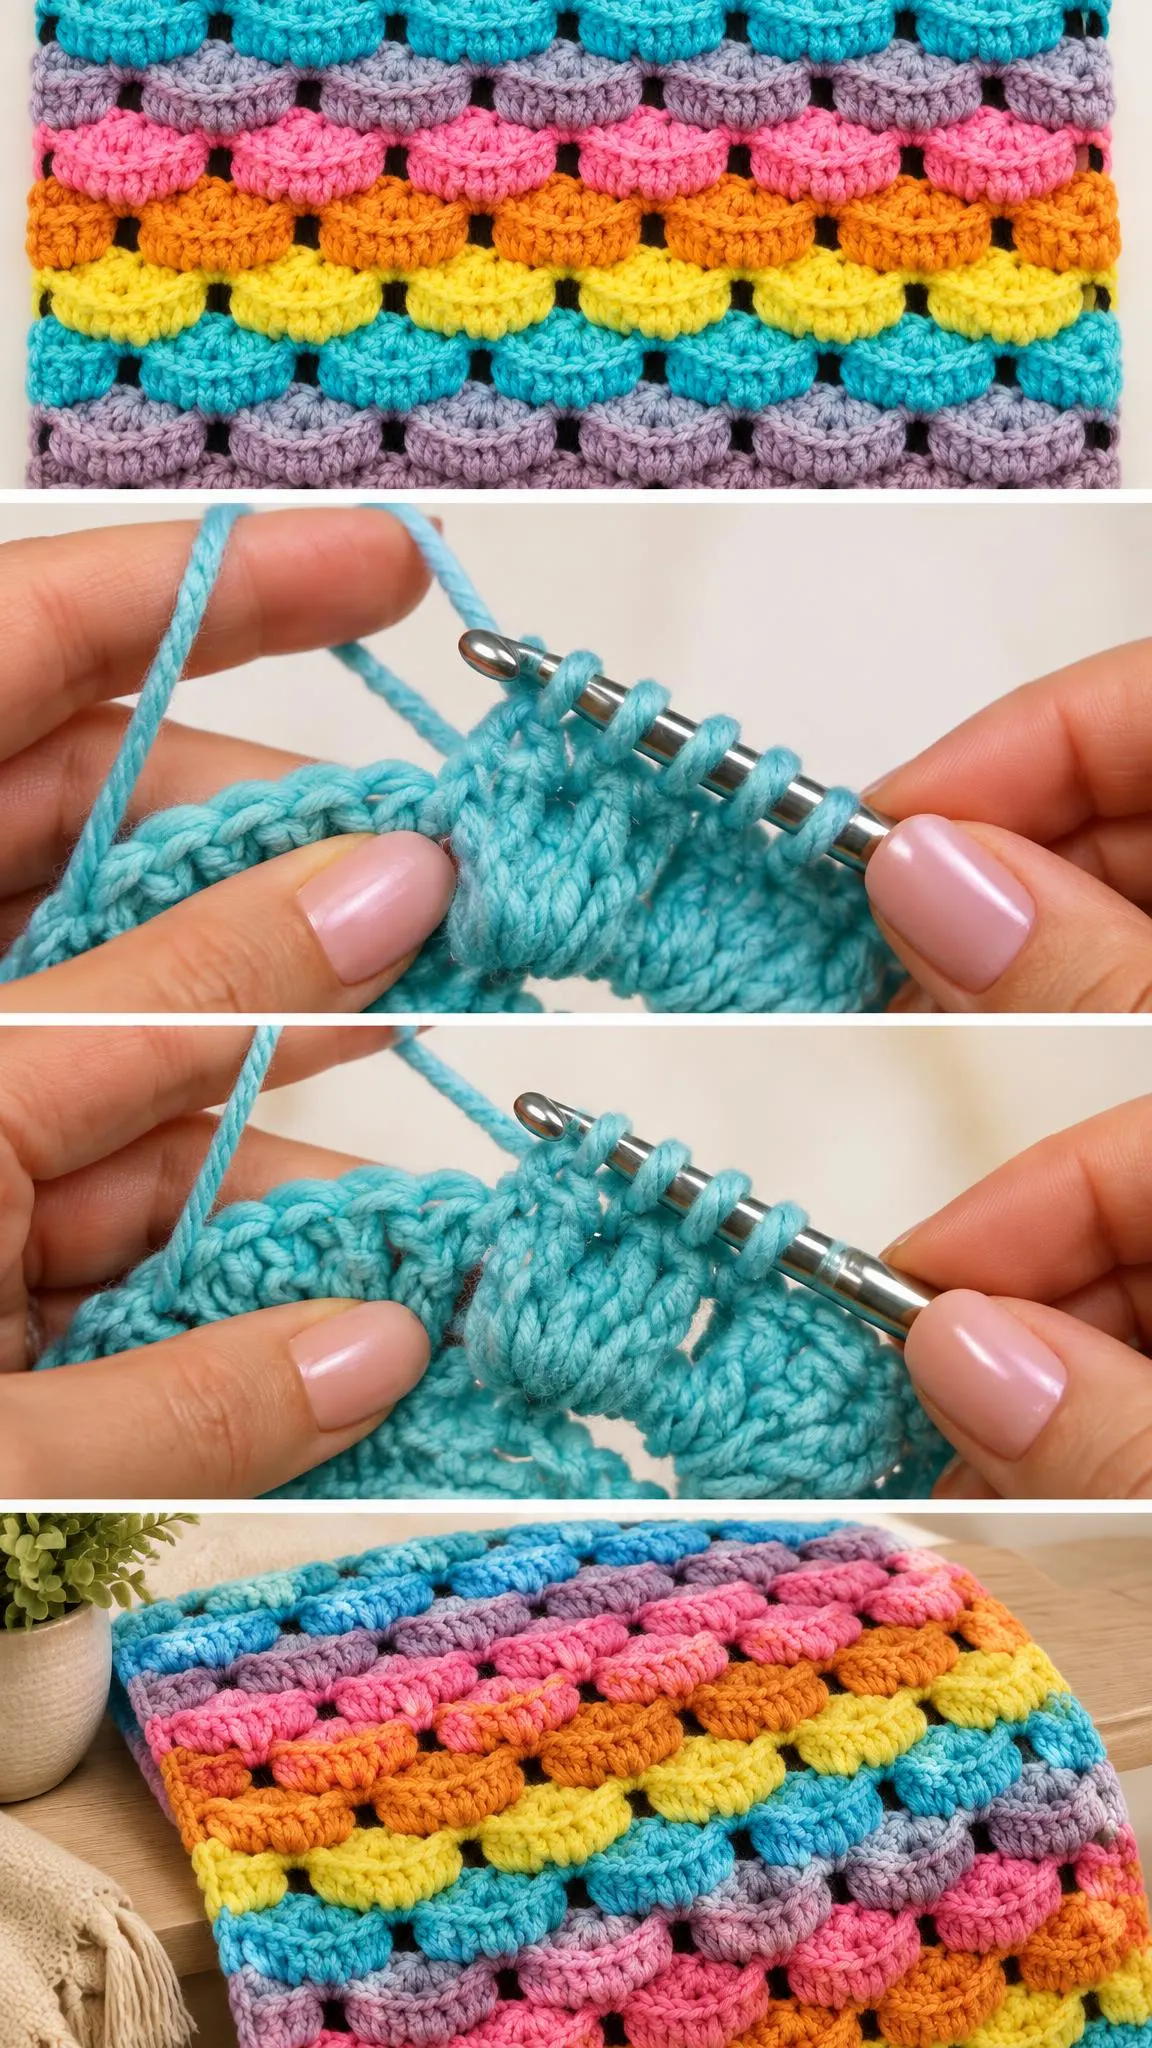
The most striking thing about the Stitchorama stitch is its rhythm. Rows of compact, rounded clusters stack neatly on top of one another, separated by narrow openings that run horizontally across the fabric. Each band of color reads as a distinct ribbon, so the finished piece has a sense of structure even before you consider its overall shape.
Because the stitch is so textural, it works beautifully with a palette of several bright shades. Turquoise, dove grey, bubblegum pink, marigold, and lemon yellow each sit in their own stripe, and the raised blocks make every color feel more substantial. The effect is cheerful without being chaotic, which is why this stitch appeals to crocheters who want a richly patterned result from a relatively simple repeat.
The stitch also has a practical side. Textured fabrics tend to hide small inconsistencies in tension, so a project worked in this pattern can look polished even when a crocheter is still developing an even hand. That forgiving quality makes it a good choice for those who want visual impact without struggling through an intricate lacework design.
Stitchorama Stitch Related Posts:
- Crochet Tunic Blouse: A Chic and Airy Handmade Staple
- Crochet Book Cover with Picture Frame: A Charming and Personalized Handmade Accessory
- Crochet Textured Tote Bag: A Stylish Handmade Staple
- Crochet Mile-A-Minute Blanket: A Cozy and Charming Handmade Keepsake
Materials and Yarn Choices
For this kind of textured stitch, a medium-weight yarn is a sensible starting point. A worsted-weight acrylic or an acrylic-wool blend offers good stitch definition, holds its shape well, and is available in the bright colors that suit the pattern. Choose a yarn with a smooth, plied construction so the individual clusters stay crisp rather than fuzzy.
Hook size should be matched to the yarn and the fabric you want. A hook a size or so smaller than the label recommends will produce a firmer surface that keeps the raised blocks well defined. A slightly larger hook gives a softer, more drapey result that suits a lightweight throw or a scarf. Test a small swatch first, because the finished feel depends heavily on tension.
If you plan to add a border or lining, choose a complementary yarn or fabric in a neutral shade such as cream, charcoal, or oatmeal. A neutral backdrop lets the stripes remain the star of the piece.
Understanding the Texture
The raised character of this stitch comes from how each cluster is built and how it sits against the rows below. When you work the stitch, the loops form dense, rounded bumps on the front, while the spaces between them open up into small channels. Keeping those channels consistent from row to row is what gives the fabric its clean, ladder-like rhythm.
Color changes deserve careful attention. Joining a new shade at the start of each stripe creates crisp boundaries between bands. Carry the unused yarn neatly up the side edge rather than leaving long loose floats across the back, which can pull the fabric out of shape. Working with a sharp, consistent tension at each color change will keep the stripes aligned.
Tension and Consistency
Tension is the single biggest factor in how this texture looks. Work too tightly and the blocks flatten into a dense, stiff fabric; work too loosely and the openings become sloppy. Aim for a relaxed hand that lets each cluster fill its space without distorting the rows. Counting stitches at the end of each row helps you spot drift early, before it spreads across the whole piece.
Using Your Stitchorama Creation
A blanket worked in this stitch is a natural centerpiece for a living room sofa or a bed. The bold stripes pair well with plain, neutral bedding, letting the textured throw provide the visual interest. Fold it across the foot of a bed or drape it over the back of a reading chair so the color bands are visible.
Smaller projects use the stitch just as effectively. A cushion cover in a single stripe sequence adds warmth to a neutral couch, while a pair of coordinating covers can anchor a seasonal display. For wearables, a cowl or scarf showcases the rhythm around the neck, where the textured clusters catch attention against a plain jacket or coat.
Consider the scale of the stitch when you choose a project. The bands are wide enough to read clearly from a distance, so the pattern is most rewarding in pieces large enough to show several stripes. A tiny coaster might only display a single block of color, which can feel crowded, while a generous throw lets the repeat breathe.
Finishing for a Polished Result
Finishing makes a real difference to a textured piece. Weave in every yarn end carefully along the wrong side, working the tail through several stitches in different directions so it stays put after washing. Loose ends in a stripe pattern are easy to spot, so take the time to hide them well.
Blocking helps the clusters settle into their final shape. Dampen the finished piece gently, pin the edges square on a flat surface, and allow it to dry fully before removing the pins. Check the yarn label before you wet the fabric, since some fibers respond differently to moisture and heat. Gentle hand washing and flat drying will protect the color and texture over time.
Thoughtful finishing turns a good piece into a lasting one. A clean edge, even stripes, and carefully hidden ends give the Stitchorama stitch the crisp presentation it deserves.
The Stitchorama stitch rewards patience and a little attention to tension, and the result is a fabric full of movement and color. Follow the video below to see the stitch worked step by step, and feel free to pause and revisit any section that needs a closer look. Your finished piece will carry the same bold energy you see in the photographs.
Follow us on Pinterest and subscribe to the Newsletter so you don’t miss a thing!
Tutorial and photos of this stitchorama stitch by: naztazia.