Crochet amigurumi basics open up a world of small, huggable projects that are as rewarding to make as they are to hold. Whether you are a beginner or someone returning to the hook, these tiny spheres are a wonderful place to build confidence and craft something charming from a simple ball of yarn.
In this post
Why Amigurumi Is a Wonderful Place to Start
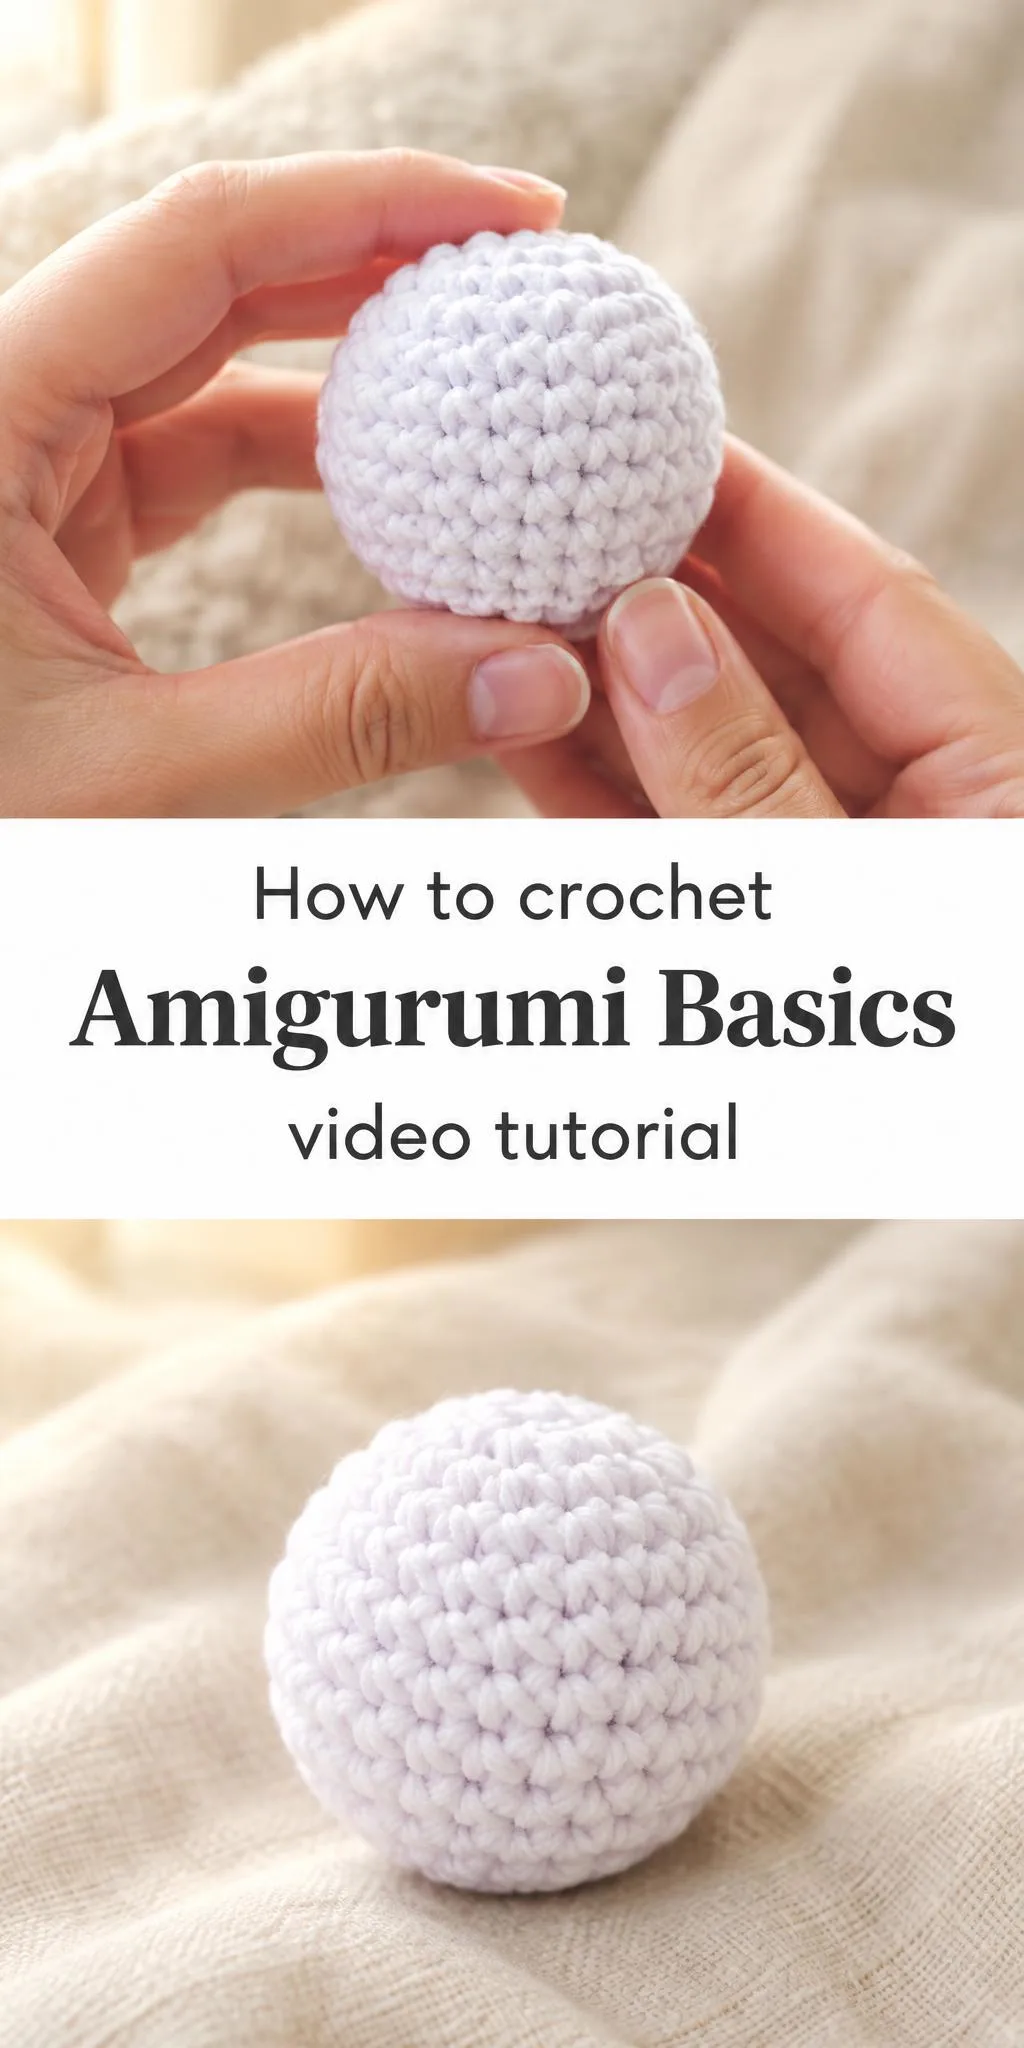
Amigurumi, the Japanese art of crocheting small stuffed figures, is built on a handful of techniques that you will use again and again. The most important of these is the humble round, which begins with a tight ring and grows outward in steady increases. Once you understand how a simple sphere comes together, you have the foundation for almost any stuffed creature, from tiny animals to whimsical characters.
The appeal goes beyond the finished object. Amigurumi projects are compact, so you can complete one in an evening or over a few relaxed sessions. They also allow you to experiment with color, texture, and stitch choice without committing to a large, expensive piece. Many makers keep a small collection of spheres in a basket, testing new yarns and hook sizes as they go.
Amigurumi Basics Related Posts:
- Crochet Hanging Kitchen Towel Topper: A Cheerful and Practical Kitchen Essential
- Crochet Oh My Stars Scarf: A Cozy and Stylish Handmade Accessory
- Crochet Market Bag: A Practical and Eco-Friendly Essential
- Crochet Openwork Stitch Shawl: A Versatile and Timeless Handmade Piece
Choosing Materials for Your Project
For amigurumi, a smooth, tightly plied cotton or acrylic yarn is a sensible choice. These fibers hold stitch definition well, so each round looks neat and even. Softer, fuzzy yarns can be lovely for a plush feel, but they tend to hide the structure of single crochet stitches, which makes shaping harder to judge.
Pair your yarn with a hook one or two sizes smaller than the label suggests. A tighter fabric prevents the stuffing from showing through the gaps between stitches. You will also need polyester fiberfill for stuffing, a tapestry needle for closing and weaving in ends, and stitch markers to keep track of your rounds. A small amount of fiberfill goes a long way, so have some on hand before you begin.
Understanding the Shape of a Sphere
Every round you crochet in amigurumi is a small decision about shape. Increases widen the fabric, while evenly spaced rounds without changes keep the sides steady. Because the sphere grows from its center, the number of increases per round is what tells you whether the piece will bulge, flatten, or stay round.
A common approach is to increase by a set number of stitches in each round, then work several rounds straight before decreasing back toward the bottom. This pattern creates the classic ball shape that suits heads, bodies, and simple toys. If your work starts looking lopsided, pause and count your stitches, since an uneven round is often the cause.
Keeping Your Stitch Count Accurate
Stitch markers are your best friend for this. Place one at the start of each round so you always know where a new round begins. Counting stitches at the end of every round, rather than waiting until the piece is finished, lets you catch a missed increase while it is still easy to correct.
Stuffing for Firmness and Form
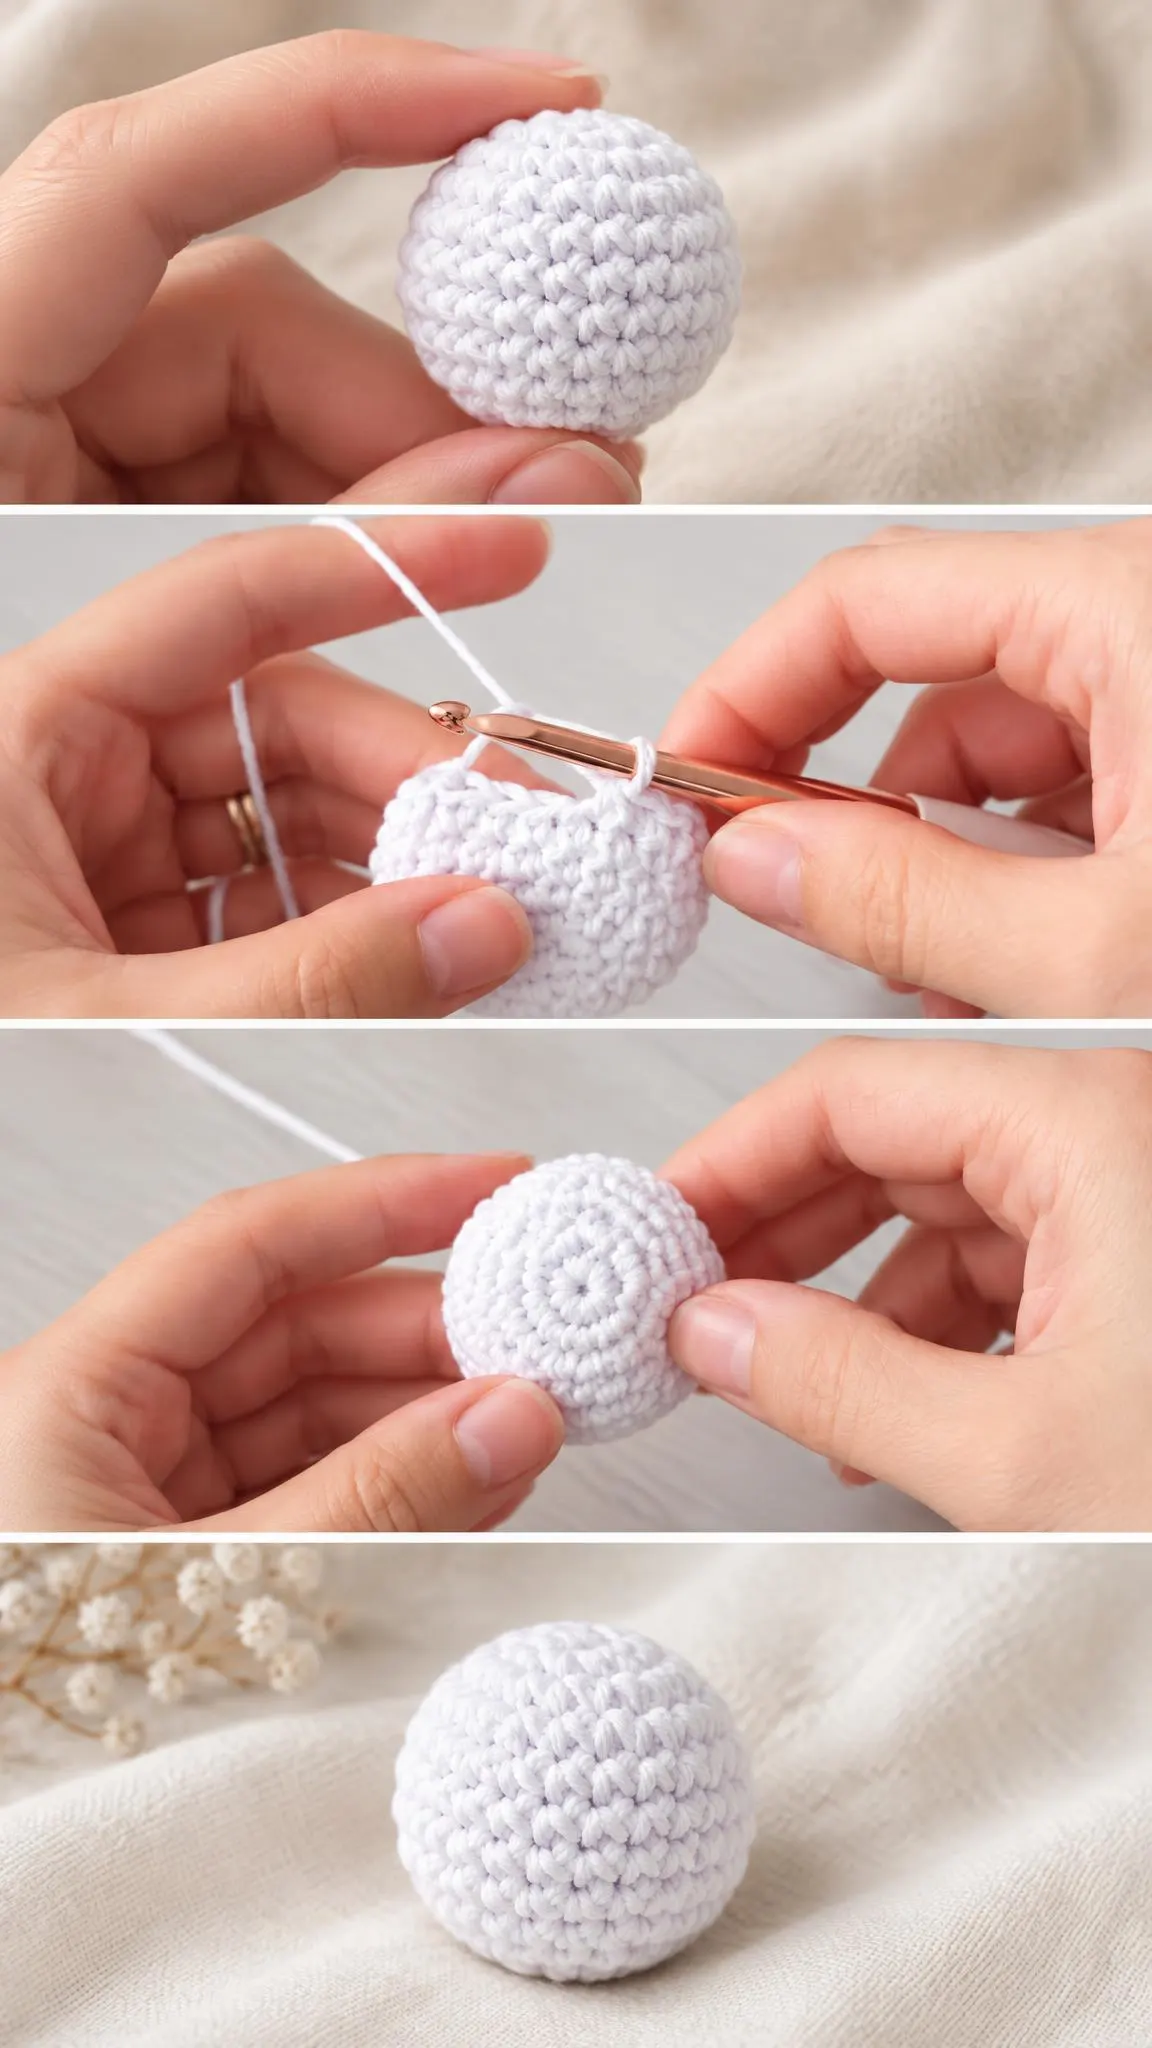
Stuffing shapes your amigurumi as much as the stitches do. Add fiberfill in small pieces, pushing it into the corners of the sphere before filling the center. Firm, even stuffing gives the piece a smooth, structured outline, while loose stuffing creates a softer, more squashy feel.
Stop stuffing before you close the opening, and check the shape from several angles. You can always add a little more fiberfill, but removing it is much harder. This small habit is one of the easiest ways to make your finished pieces look polished.
Finishing Touches That Make a Difference
Closing the opening neatly is the last step that defines how your amigurumi looks. Use a tapestry needle to weave the yarn tail through the front loops of the final round, then pull gently to draw the opening closed. Working the needle through several times and tucking the end inside keeps the seam secure and nearly invisible.
Weave in all remaining ends carefully, running them through the stitches rather than leaving them dangling on the surface. Trim any stray fibers close to the fabric. These small details give the piece a tidy, professional finish that feels satisfying to hold.
Ideas for Using Your Finished Spheres
A plain amigurumi sphere is surprisingly versatile. Attach a loop of yarn or a keyring to turn it into a charm for a bag or set of keys. Stack several in different colors to create a playful desk decoration, or give a single sphere to a child as a soft, squeezable toy.
You can also use basic spheres as building blocks for larger projects. Two or three joined together might become a snowman, a small animal body, or a stacking toy. Experimenting with these combinations is one of the most enjoyable parts of learning amigurumi.
Bringing Your Amigurumi Skills Together
Learning crochet amigurumi basics is really about developing a set of habits: counting carefully, shaping patiently, stuffing thoughtfully, and finishing with care. Each sphere teaches you something about how stitches behave, and those lessons carry directly into more ambitious figures.
For exact stitch counts and step-by-step instructions, follow the video below, and feel free to pause or rewind whenever a step needs a closer look. Small projects reward curiosity, so let your first sphere be the start of many more.
Follow us on Pinterest and subscribe to the Newsletter so you don’t miss a thing!
Tutorial and photos of this amigurumi basics by: B.Hooked Crochet.