A crochet mini star appliqué is one of those small projects that punches well above its size. Its bright points and neat, rounded center make it an easy way to add cheer to bags, hats, cushions, or gift wrap, and it works up quickly enough to be a satisfying weekend make.
In this post
Why the Mini Star Appliqué Is So Appealing
The star shape is instantly recognizable, which is part of its charm. Five points radiate from a compact center, and each point has a clean outline that reads clearly even at a small scale. Worked in a single color, it looks cohesive and tidy; worked in two shades, the center and the points can seem to glow in different tones.
Because the piece is flat and small, it suits many uses. You might stitch one onto the front pocket of a tote, sew a cluster onto a beanie, or attach a few to a cushion cover for a playful touch. Each star is also easy to carry around, so it can be a handy project for travel or for the in-between moments of a busy day.
Star Appliqué Related Posts:
- Crochet Amigurumi Plushies: A Cute and Charming Handmade Companion
- Crochet Stitchorama Stitch: A Bold and Versatile Textured Design
- Crochet Butterfly Appliqué: A Cheerful and Colorful Handmade Accent
- Crochet Striped Tunisian Stitch Shawl: A Cozy and Elegant Essential
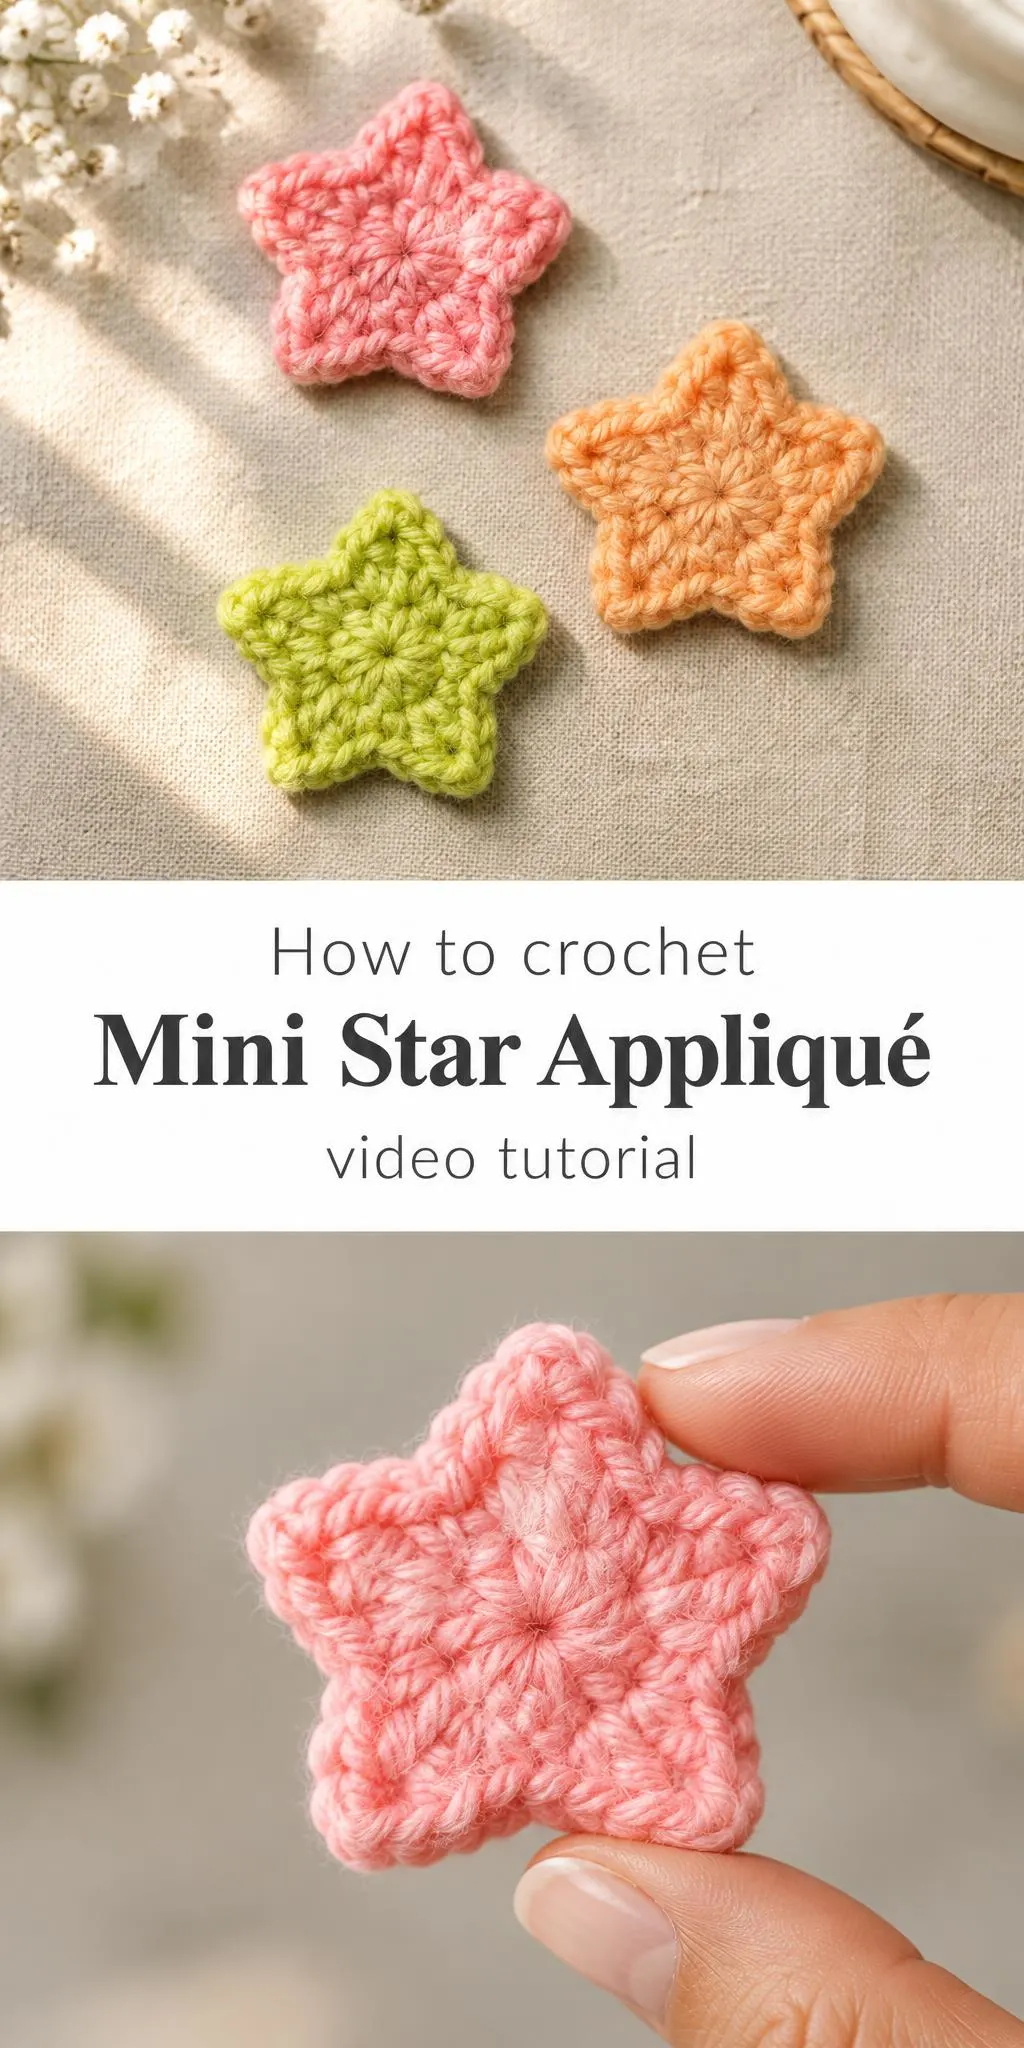
Choosing Materials for Your Stars
For a motif like this, a medium-weight acrylic or a blend that offers good stitch definition is a practical choice. Acrylic is widely available, comes in bright shades, and holds its shape well after washing. A cotton blend can give a crisper outline and a slightly more structured finish, which helps the points stay sharp.
Consider the hook alongside the yarn. A hook slightly smaller than the label suggests produces a firmer fabric, which keeps the star flat and prevents it from sagging or curling at the points. If you plan to sew the finished motifs onto something that flexes, such as a knit sweater, a firmer fabric is generally the safer option.
You will also need a yarn needle for weaving in ends and a pair of sharp scissors for clean trimming. Stitch markers can help you keep track of the points, especially if you are working in a color change.
Understanding the Star’s Structure
The star begins at the center, and the structure grows outward from there. The center is the foundation of the whole motif, so it is worth taking your time to keep it neat. A tight, even start means the points will sit evenly around it instead of pulling in different directions.
Each point is built by working increases at the same spot, so the star expands in five distinct arms. The shape comes from keeping these increases balanced and placing the points at regular intervals. If one point looks longer than the others, the usual cause is uneven tension or an increase that was worked in a slightly different spot.
Many crocheters find that a common approach is to work in rounds, marking the start of each round so the points line up. You can also take a quick look at the reference video below to see how the center and points come together, pausing whenever you need to match your work to the example.
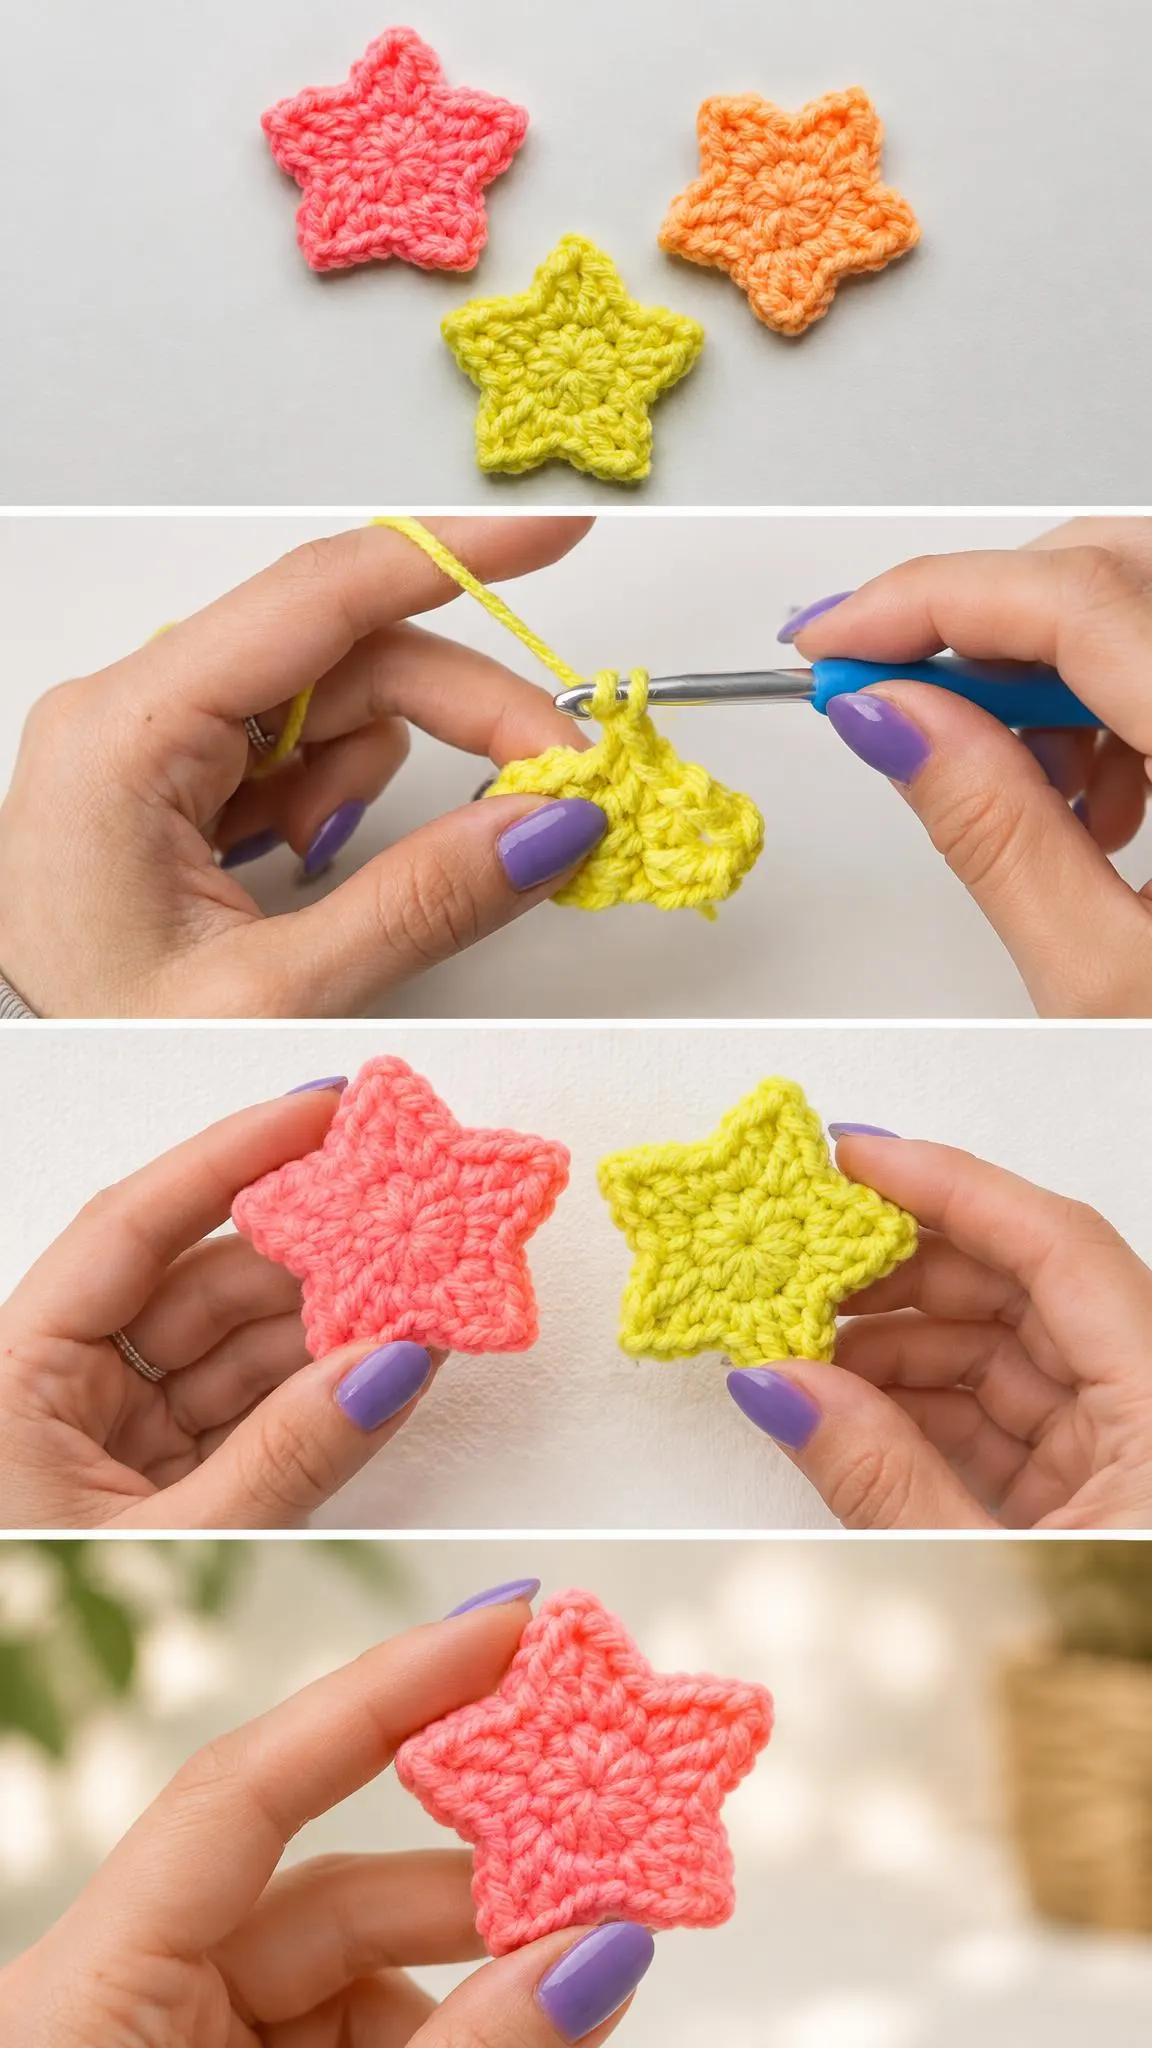
Color Choices and Visual Balance
Color has a strong effect on how a star reads. A single bright shade, such as a sunny yellow, feels bold and cheerful. Soft peach or coral creates a warmer, gentler look, while a two-tone version with a deeper center and lighter points can add depth without much extra effort.
When you make several stars for one project, try to choose colors that relate to one another. A palette of coral, peach, and butter yellow feels harmonious, whereas mixing very saturated tones can make the group feel busy. You might also make a few stars in a neutral shade, such as cream or soft grey, to give the brighter ones room to stand out.
Using Your Mini Stars
Mini stars are versatile, and the best placement depends on the item you are decorating. On a tote bag, a single star placed near the top corner can act as a focal point without overwhelming the design. On a hat, a small cluster along the brim or near the crown creates a playful accent that still looks intentional.
For home decor, consider scattering several stars across a cushion or stitching them in a loose line along a throw blanket edge. For gifts, a star attached to a ribbon or a small card can make a thoughtful finishing touch. Think about the scale of your surface first, then choose a size and number of stars that feels balanced.
Attaching Stars Neatly
When sewing motifs onto a project, use a yarn that matches the star or a slightly deeper shade so the stitches blend in. Position the star first and pin it in place, then stitch around the edge through the back loops. This keeps the attachment secure while the front stays smooth.
Finishing Touches
Weave in all ends carefully, running them through several stitches in different directions so they do not loosen over time. Trim the tails close to the fabric, but leave enough to hold the stitches firmly.
Blocking can help a star lie flat and show its points clearly. Lightly dampen the motif, pin it gently into shape, and allow it to dry fully before removing the pins. Check the care label on your yarn first, since some fibers are sensitive to moisture or heat.
A Bright Little Star to Finish
A mini star appliqué is a small project with a lot of personality. It rewards careful attention to the center, balanced points, and thoughtful color choices, and it gives you a versatile piece that can brighten almost any project. Follow along with the video below, take your time with each point, and enjoy watching a handful of cheerful stars come to life.
Follow us on Pinterest and subscribe to the Newsletter so you don’t miss a thing!
Tutorial and photos of this mini star appliqué by: VivCrochets.