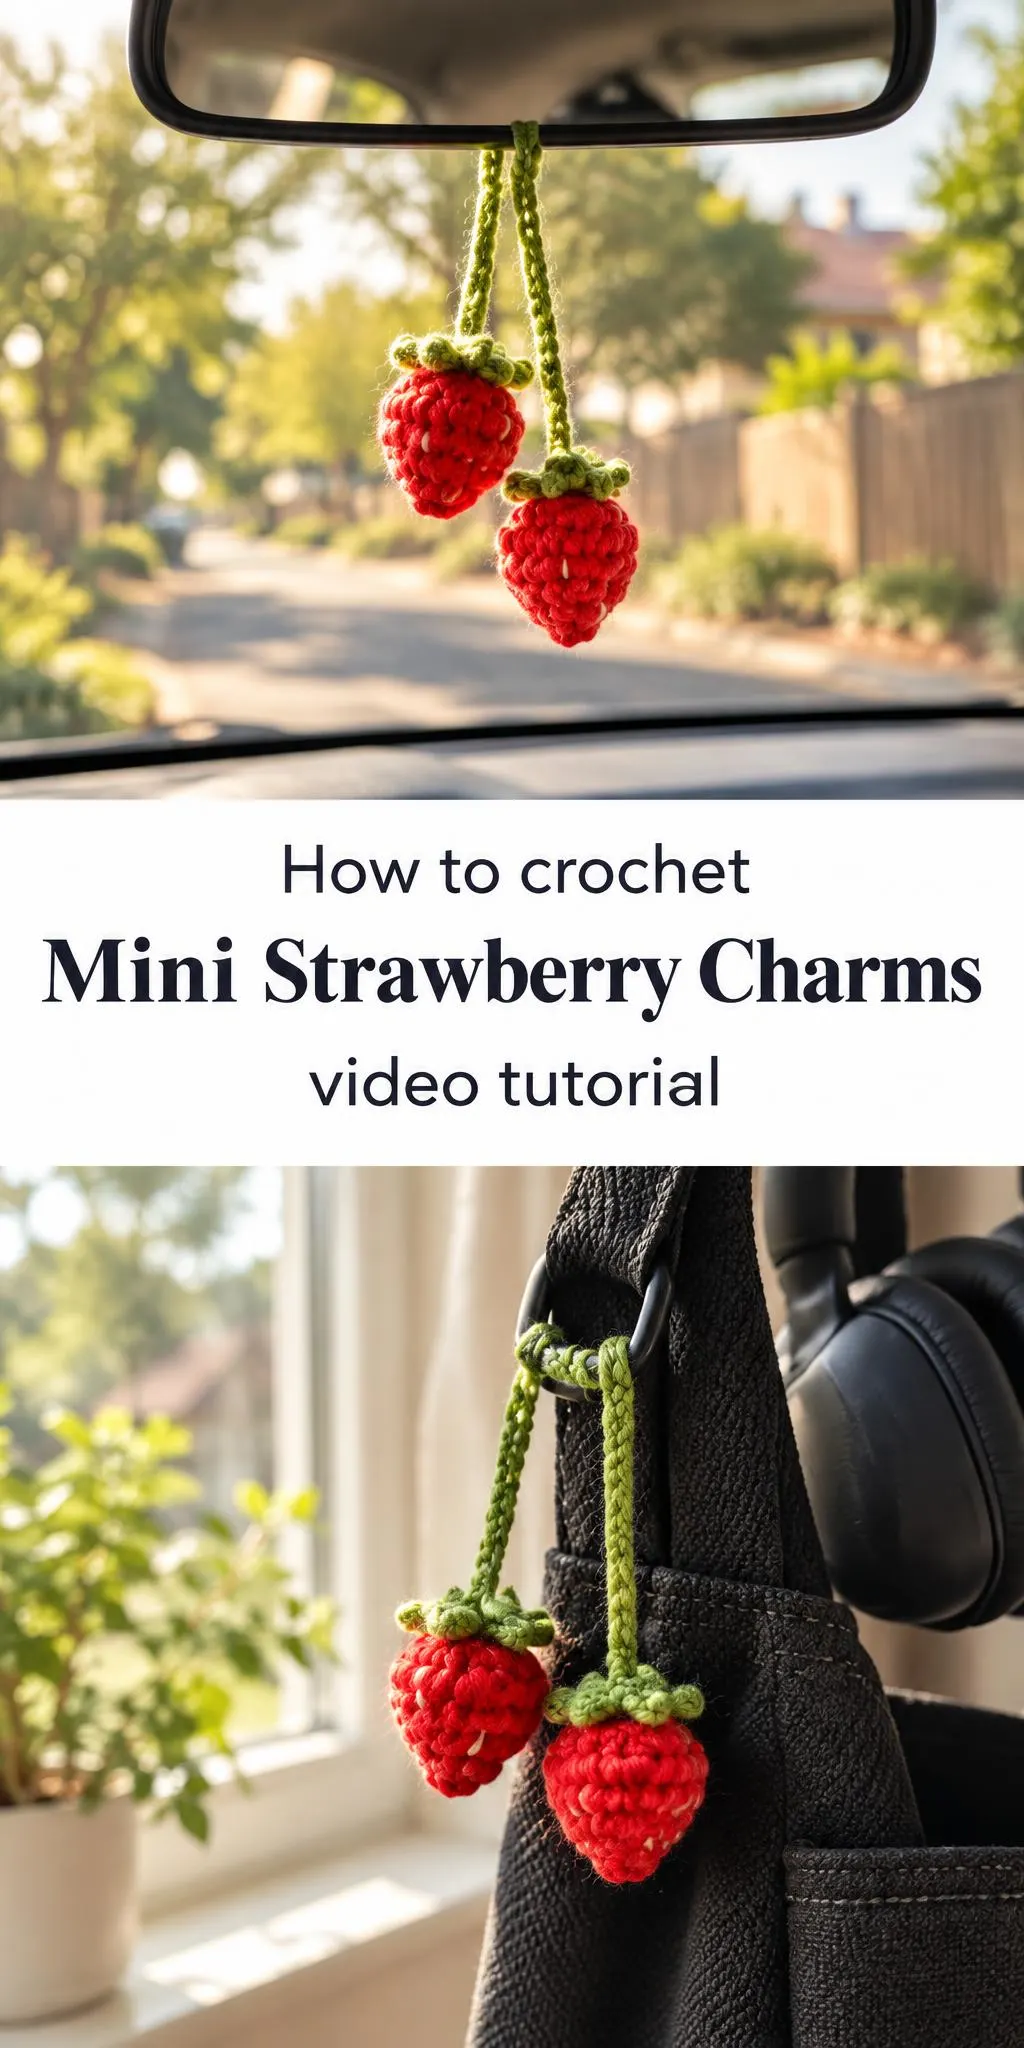
Crochet mini strawberry charms are a small, cheerful accessory that brings a burst of red and green to almost any space. Whether you hang them from a rearview mirror, a bag strap, or a set of headphones, they add a playful touch that is hard to overlook.
In this post
Why Mini Strawberry Charms Are So Appealing
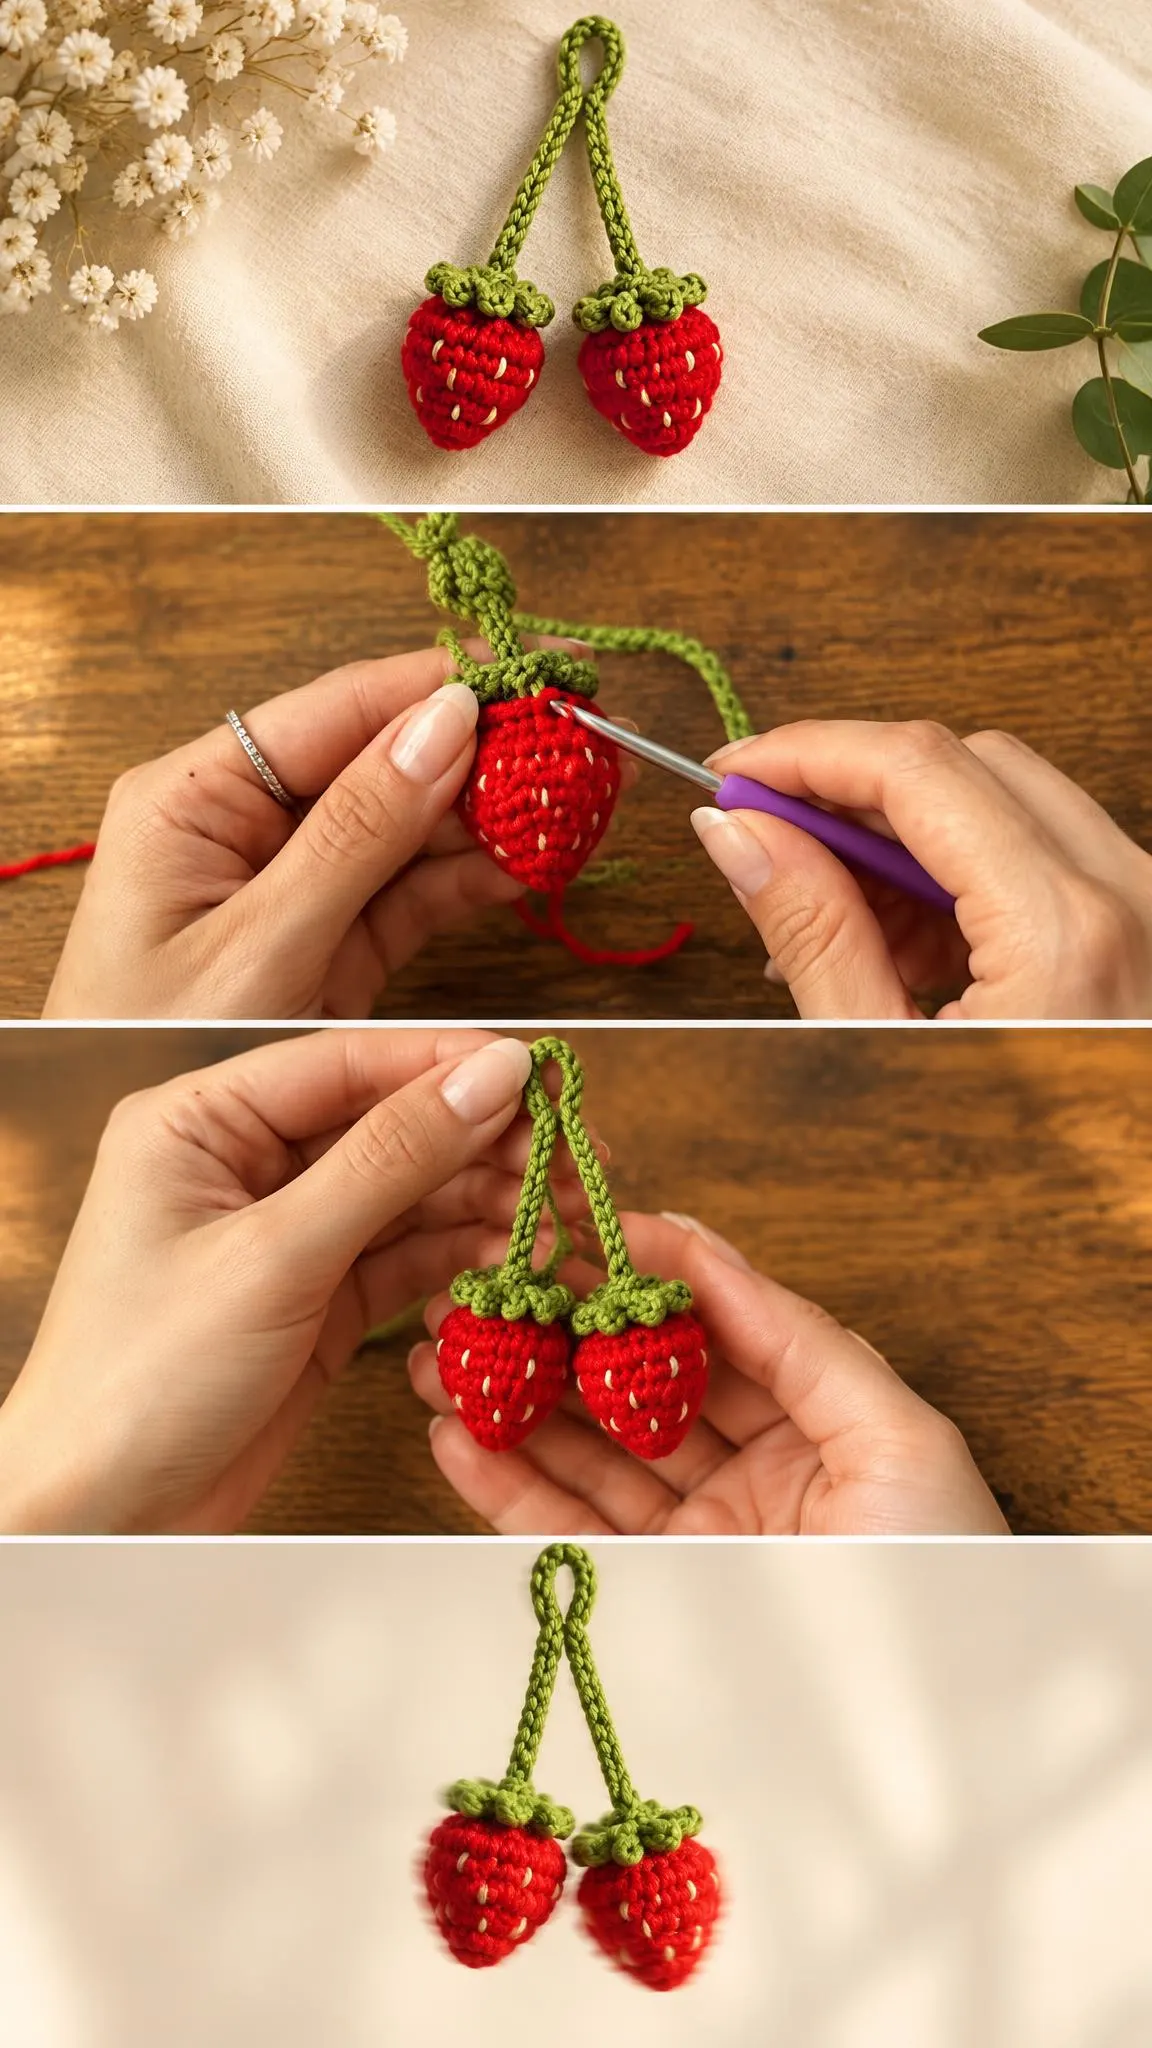
Each charm in this design is built around a plump, rounded strawberry body that tapers gently toward the top. The berry sits beneath a cluster of leafy green calyx petals, and a slim green cord extends upward to form the hanging loop. Together, these parts create a silhouette that reads instantly as fruit, even at a small scale. The contrast between the saturated red body and the fresh green leaves is what gives the piece its immediate charm.
Because the charms are small and lightweight, they work well as a fun detail for everyday objects. They are a natural choice for a car, a backpack, a keychain, or a pair of wireless headphones. They also make thoughtful handmade gifts, since they take a modest amount of time to create while still feeling special. A pair hanging side by side can look like a little cherry-style cluster, which adds movement and personality to a plain surface.
Strawberry Charms Related Posts:
- Crochet Tunic Blouse: A Chic and Airy Handmade Staple
- Crochet Amigurumi Plushies: A Cute and Charming Handmade Companion
- Crochet Textured Stitch Blanket: A Cozy and Timeless Classic
- Crochet Book Cover with Picture Frame: A Charming and Personalized Handmade Accessory
Materials
For a project like this, a smooth, lightly plied acrylic or a cotton-blend yarn is a practical choice. Acrylic holds bright red and leaf green with a vivid, consistent color, and it tends to hold its shape well when the stitches are worked firmly. Cotton blends have a crisper finish and look especially neat, though they can feel a little stiffer in the hand. Whichever fiber you choose, aim for a yarn that resists pilling, since a charm that hangs in sunlight or gets handled often will show wear over time.
Choose a hook that suits your yarn weight and the fabric you want. A slightly smaller hook than the label suggests will produce tighter stitches, which keeps the berry body firm and prevents the fill from showing through. You will also want a tapestry needle for weaving in ends and sewing pieces together, a pair of sharp scissors, and a small amount of polyester fiberfill if you choose to give the berry a little volume. A stitch marker can help you keep track of rounds on the berry body, which is easy to lose count of when the stitches are small.
Shaping the Strawberry Body
The berry body is the heart of the charm, and its shape depends on how you increase and decrease across the rounds. Working the body in the round produces a seamless surface, and gradual increases give the fruit its rounded belly. Once the body reaches its widest point, decreases bring it to a softer tip at the bottom. Keeping the increases and decreases even on each side is what keeps the strawberry from leaning or looking lopsided.
Stuffing is a matter of taste. Some makers leave the berry unstuffed for a flatter, lighter look, while others add a small pinch of fiberfill for a rounder, more fruit-like profile. If you choose to stuff, add the fill gradually and before closing the top, so you can shape the berry with your fingers. A little fill goes a long way, and too much will stretch the stitches and distort the outline. Test the shape by holding the berry in your hand and adjusting before you finish.
Adding the Seeds and Leafy Top
The small pale speckles across the surface are what make a strawberry read clearly as a strawberry. You can add them with short, straight stitches in a cream, off-white, or pale yellow yarn, spaced evenly across the front of the berry. Working them after the body is complete makes it easier to place them symmetrically. A simple, even scatter looks more polished than a dense cluster, and fewer seeds often give a cleaner, more cheerful effect.
The green calyx is worked separately and then attached at the top of the berry. Its petals fan outward and curl slightly, which softens the transition between the red body and the green cord. Sew the calyx down firmly so it does not shift when the charm moves. Securing the calyx with a few neat stitches around its base also helps the cord stay upright, rather than bending sideways when the charm swings.
Crafting the Hanging Cord
The cord is what makes the charm functional, and its length and sturdiness matter. A chain-based cord worked in a tight, even stitch gives a neat, rope-like finish that holds its shape. Keep the tension consistent along the entire length, since a cord that varies in thickness can look untidy next to the berry. Many makers prefer a cord that is long enough to hang freely from a mirror or strap without pulling the berry sideways.
Attaching the cord securely is equally important. Fasten the end of the cord into the top of the berry and calyx so the join is hidden and strong. If the charm will hang from something that gets tugged, consider adding a small loop or reinforcing the join with an extra row of stitches. A well-attached cord prevents the most common problem with hanging charms, which is the berry slipping free after repeated handling.
Using and Displaying Your Charms
Mini strawberry charms are wonderfully versatile. Hung from a rearview mirror, they add a fresh, summery note that suits a car interior, especially against a neutral dashboard. Clipped or tied to a tote bag or backpack strap, they bring color to an otherwise plain outfit. Looped over a pair of headphones or a keychain, they become a small, personal signature that stands out in a bag full of similar objects.
Pairs and small sets also work beautifully as décor. Hung from a window latch, a plant hook, or a hook on a bulletin board, a few charms can read as a playful cluster of fruit. Matching them to a theme is simple: a set in shades of red and green feels classic, while swapping in pastel pinks or pale yellows creates a softer look. Their small size means they rarely overwhelm a space, so they suit both bold and minimal settings.
Finishing Touches for Lasting Charms
Weaving in every loose end is the step that separates a tidy charm from one that unravels. Tuck ends into the berry body or along the cord, and trim them close so nothing pokes out. Pay special attention to the calyx, since loose ends there are easy to miss and can catch on fabric or other objects.
Check the balance of each finished charm by holding it by its loop and letting it hang freely. A berry that tilts or twists is usually a sign that the stuffing is uneven or the calyx is attached off-center, and a small adjustment now prevents that issue from appearing every time the charm is used. Finally, store the charms away from strong sunlight when they are not in use, since bright red yarn can gradually fade over long exposure.
A Small Charm with Plenty of Character
Mini strawberry charms show how much personality a few simple shapes can carry. Their bright color, familiar form, and lightweight build make them easy to enjoy and easy to give. Take your time with the berry shape, keep your tension even, and let the finishing details bring everything together. Follow the video below for the exact steps, and feel free to pause or rewind whenever a stitch needs a closer look. One charm is a delight, and a little collection is even better.
Follow us on Pinterest and subscribe to the Newsletter so you don’t miss a thing!
Tutorial and photos of this mini strawberry charms by: VivCrochets.