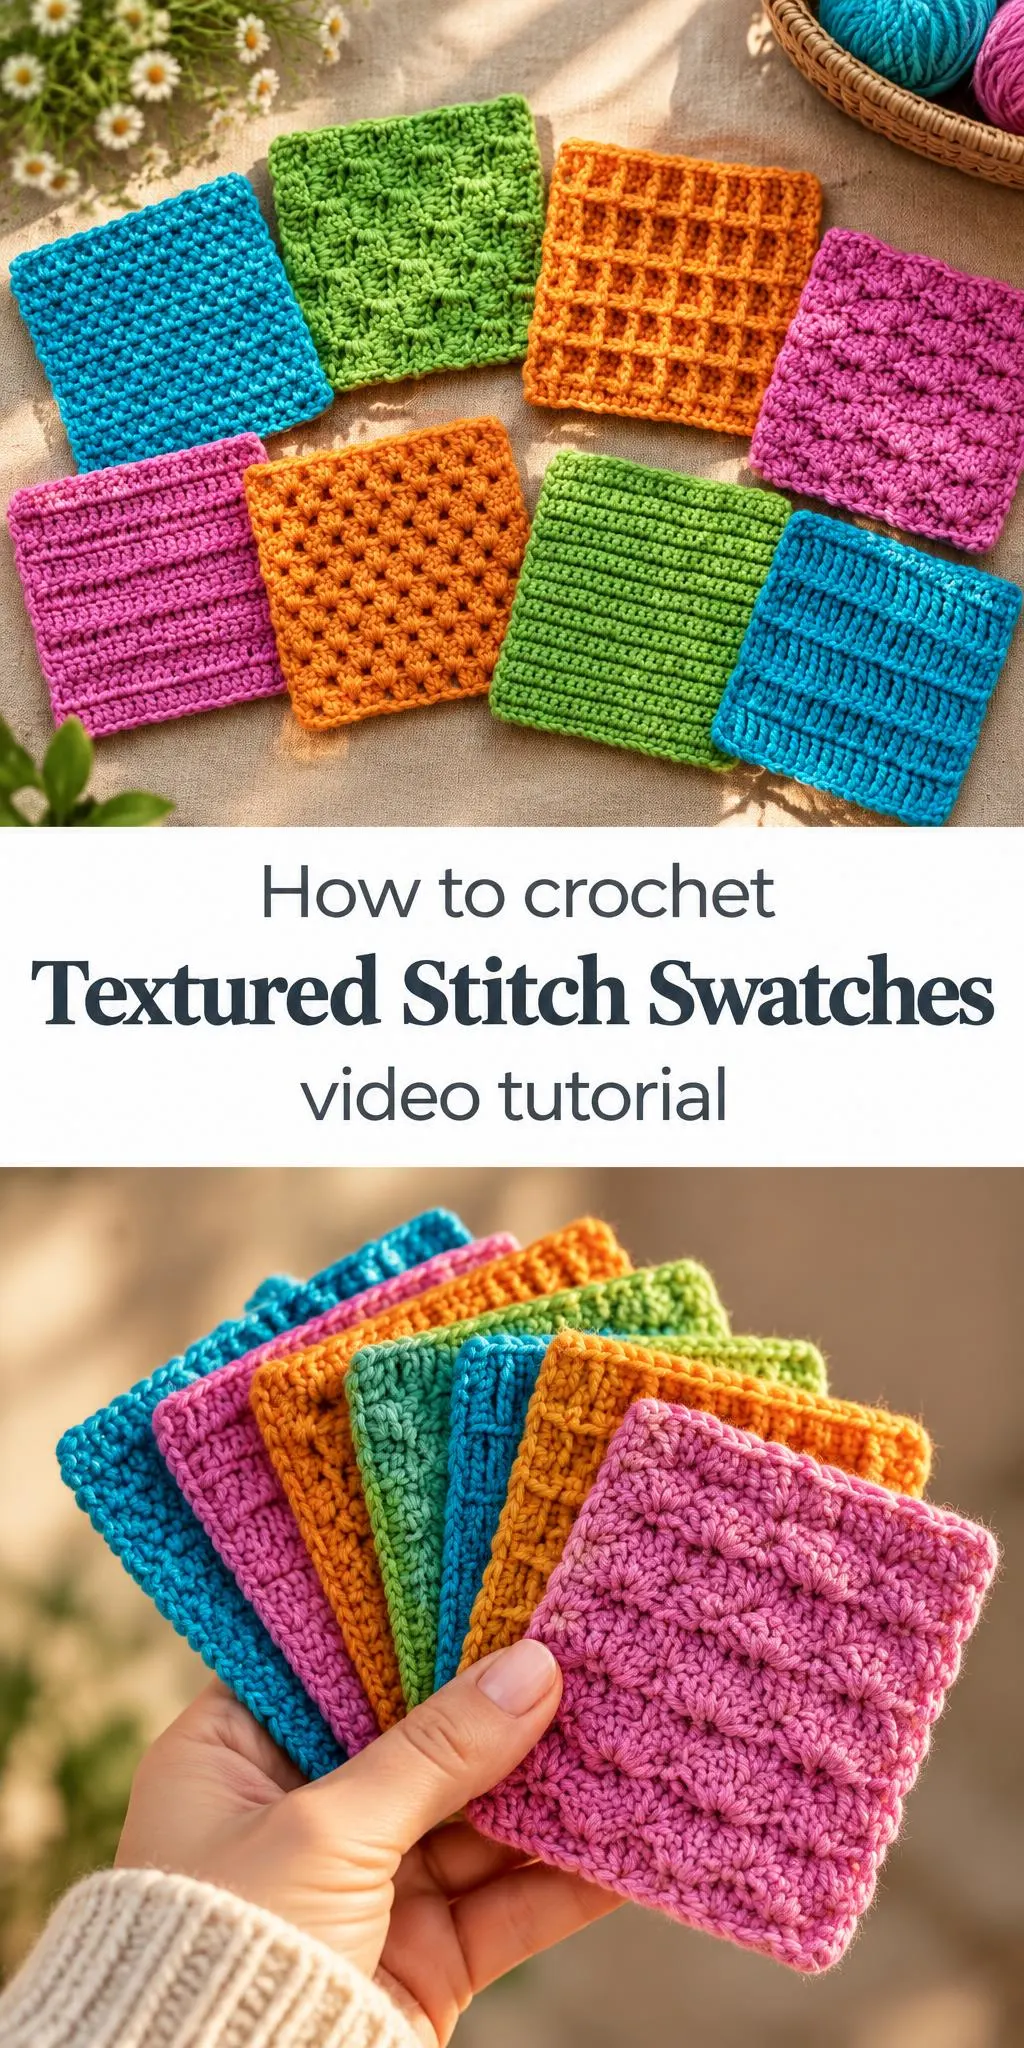
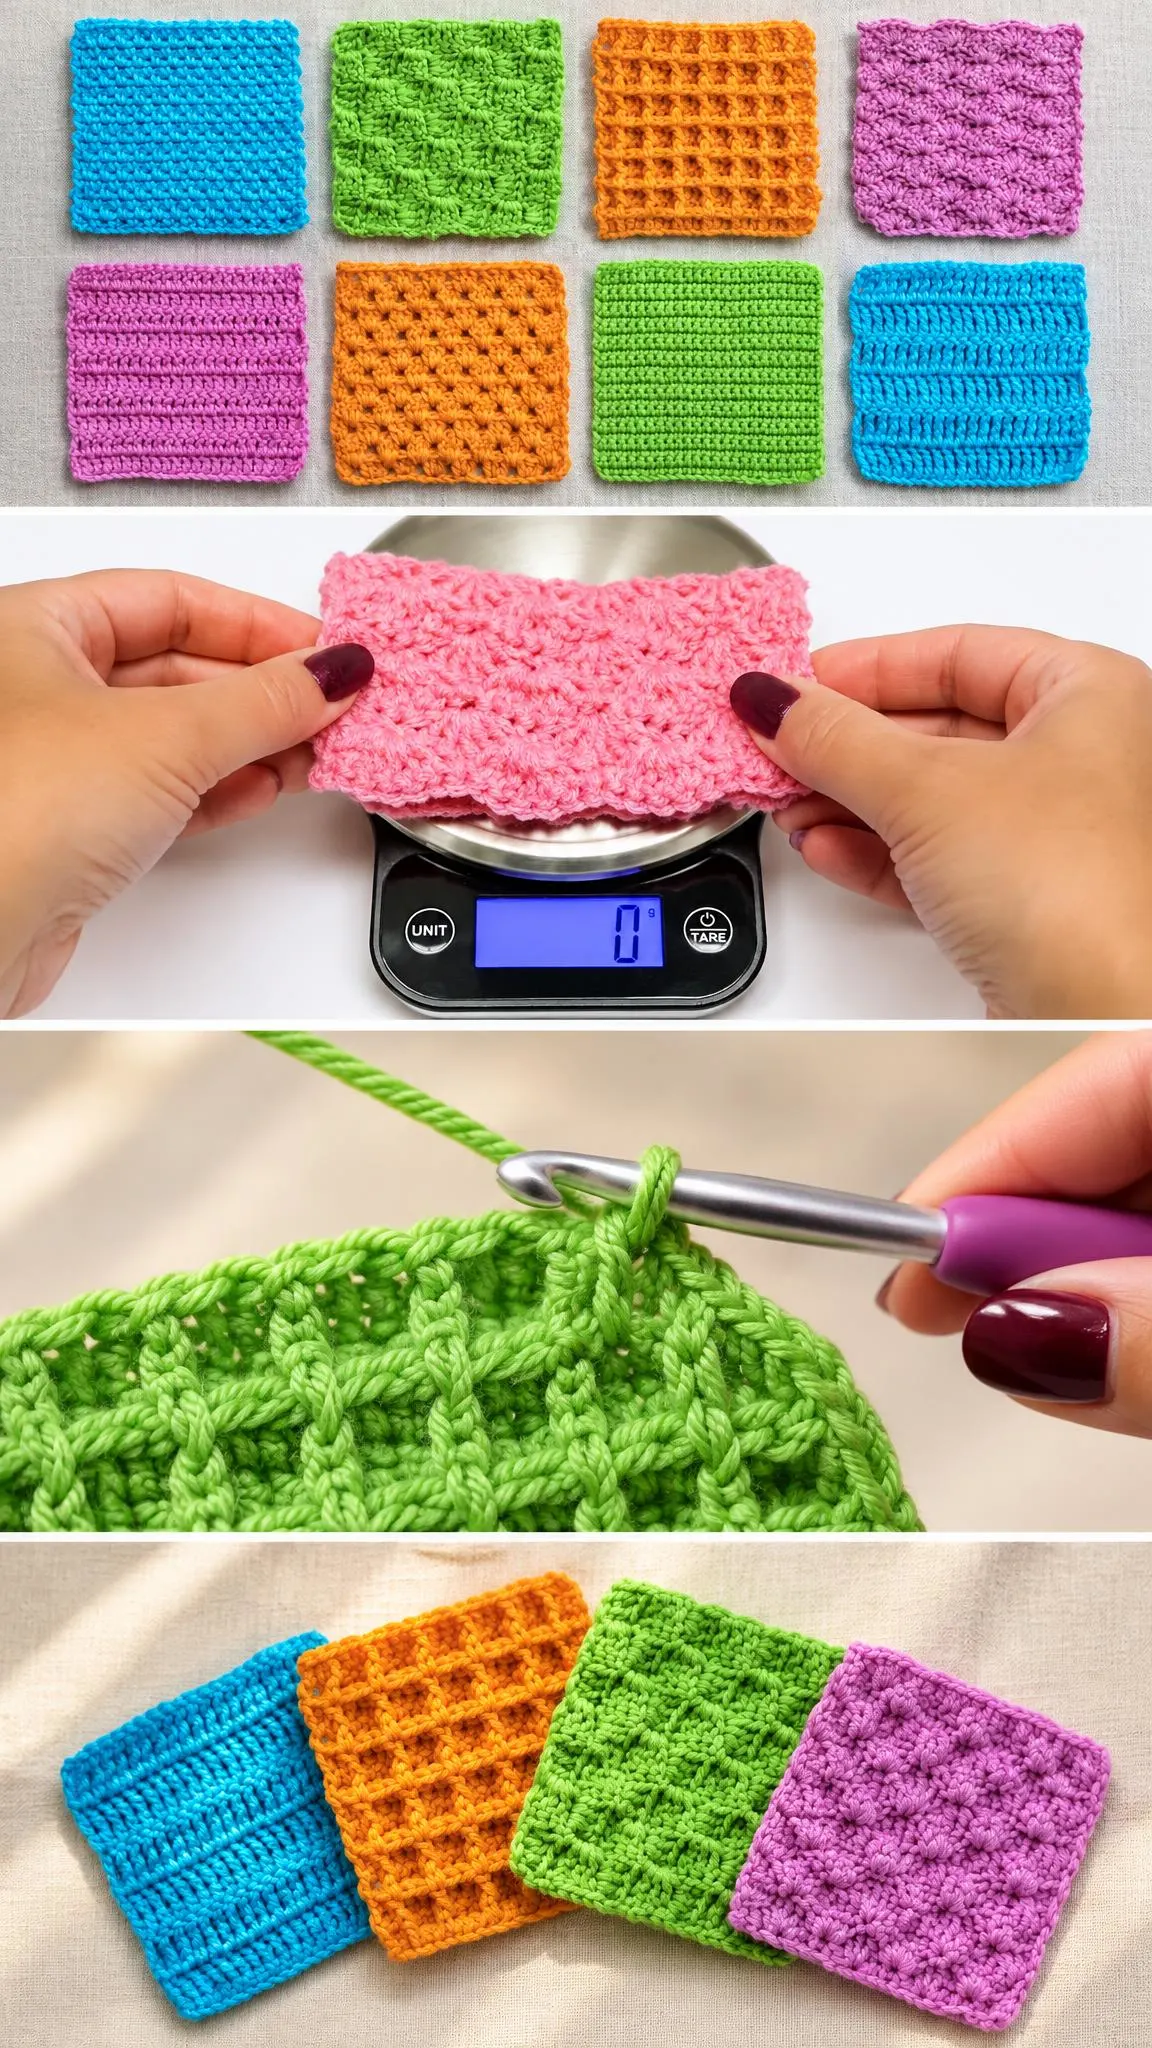
Crochet textured stitch swatches are one of the best ways to learn how simple stitch choices change the look and feel of a fabric. Each square in this collection shows a different surface, from crisp horizontal ridges to rounded clusters that seem to lift off the page. If you have ever wondered how a single hook and one type of yarn can produce so many results, these swatches offer a clear answer.
In this post
Why Textured Swatches Deserve Your Attention
Swatches are often treated as a quick test before a larger project, but textured samples deserve more respect than that. Each square reveals how a stitch pattern behaves: how much it pulls in, whether it stays flat, and how well the surface holds its definition. A bright palette makes these differences even easier to see, because the shadows between raised bumps and open spaces stand out clearly against the yarn.
The variety in this set also makes it a practical reference. Some textures look dense and sturdy, which suits washcloths and placemats, while others feel more open and airy, better suited to lightweight wraps or decorative panels. Keeping a collection like this on hand lets you compare options quickly instead of starting from scratch every time you plan a project.
Stitch Swatches Related Posts:
- Crochet Textured Tote Bag: A Stylish Handmade Staple
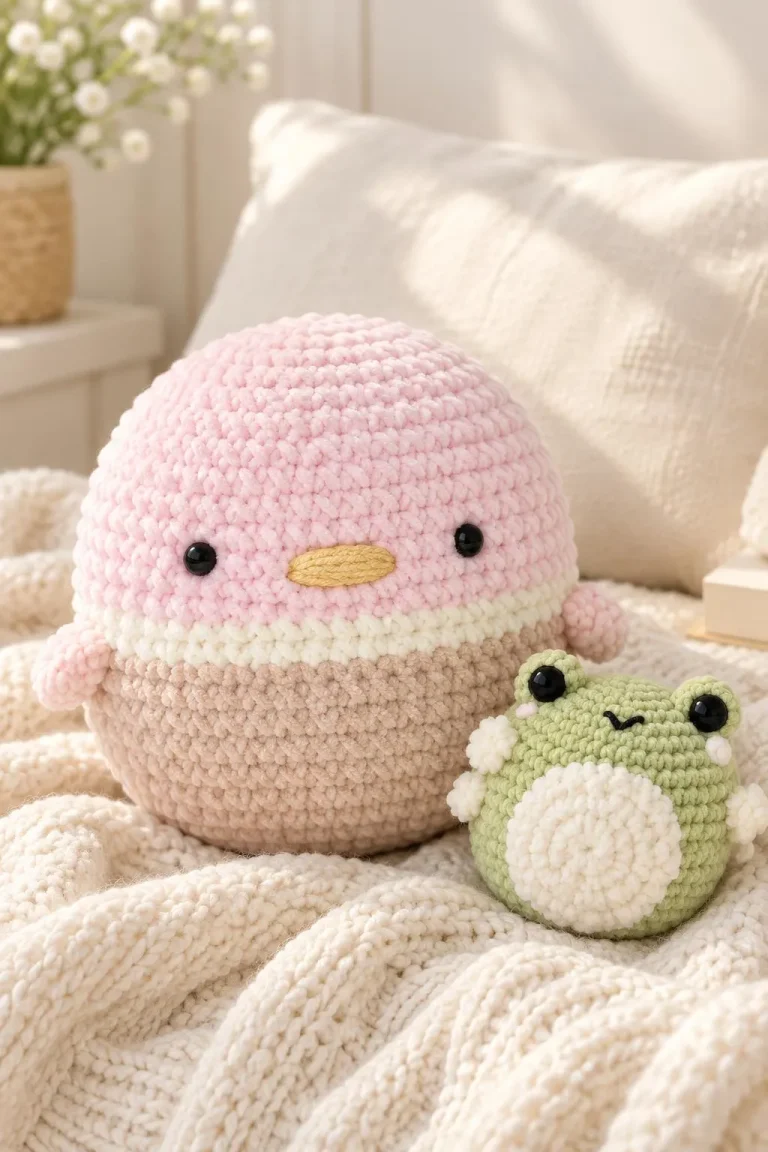
- Crochet Amigurumi Plushies: A Cute and Charming Handmade Companion
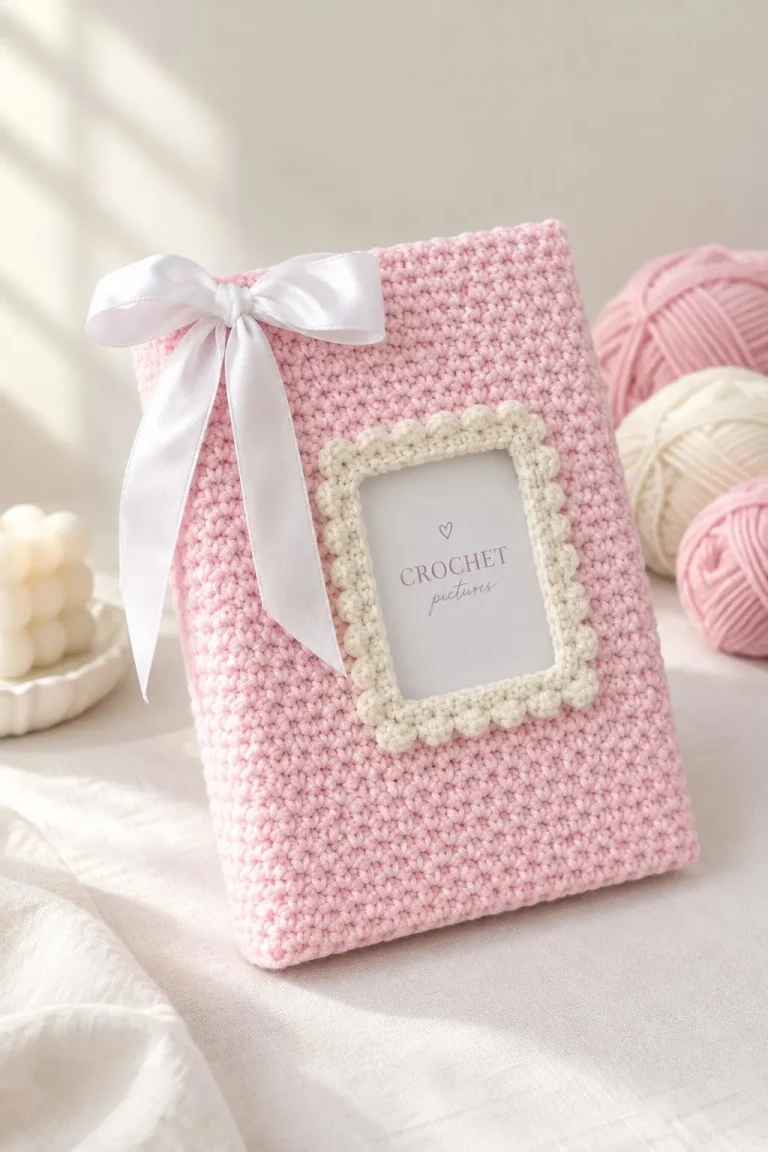
- Crochet Book Cover with Picture Frame: A Charming and Personalized Handmade Accessory
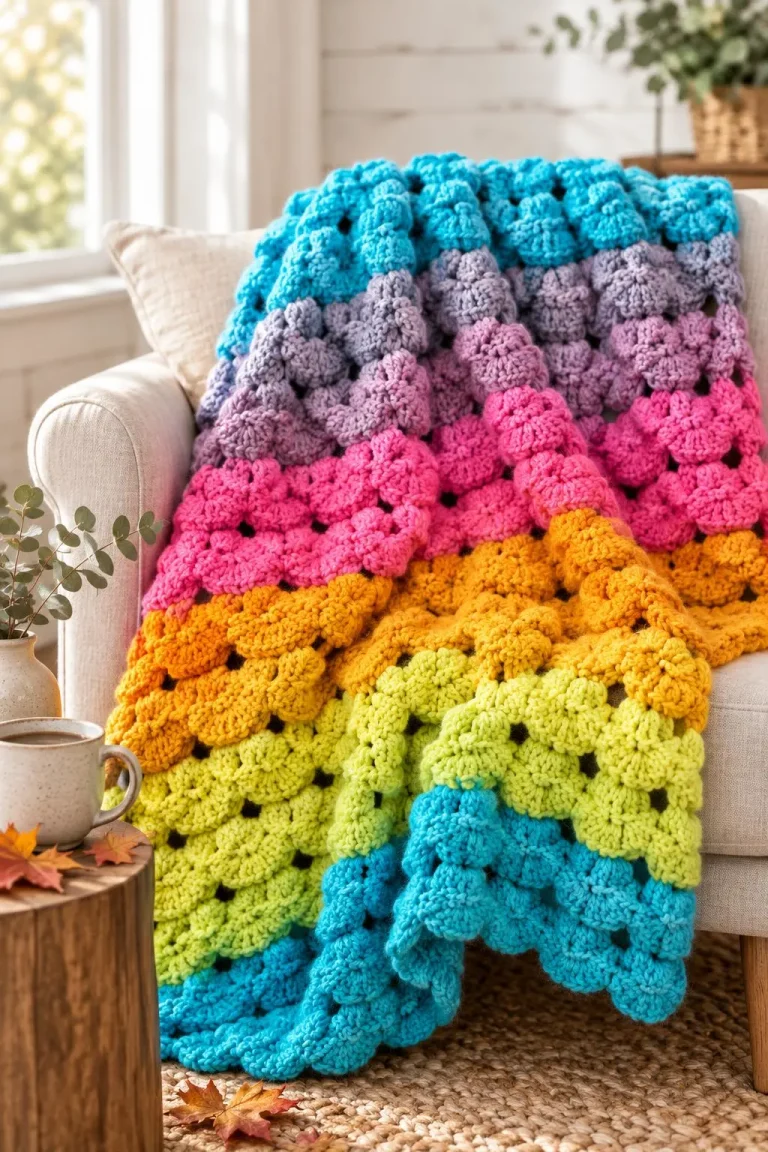
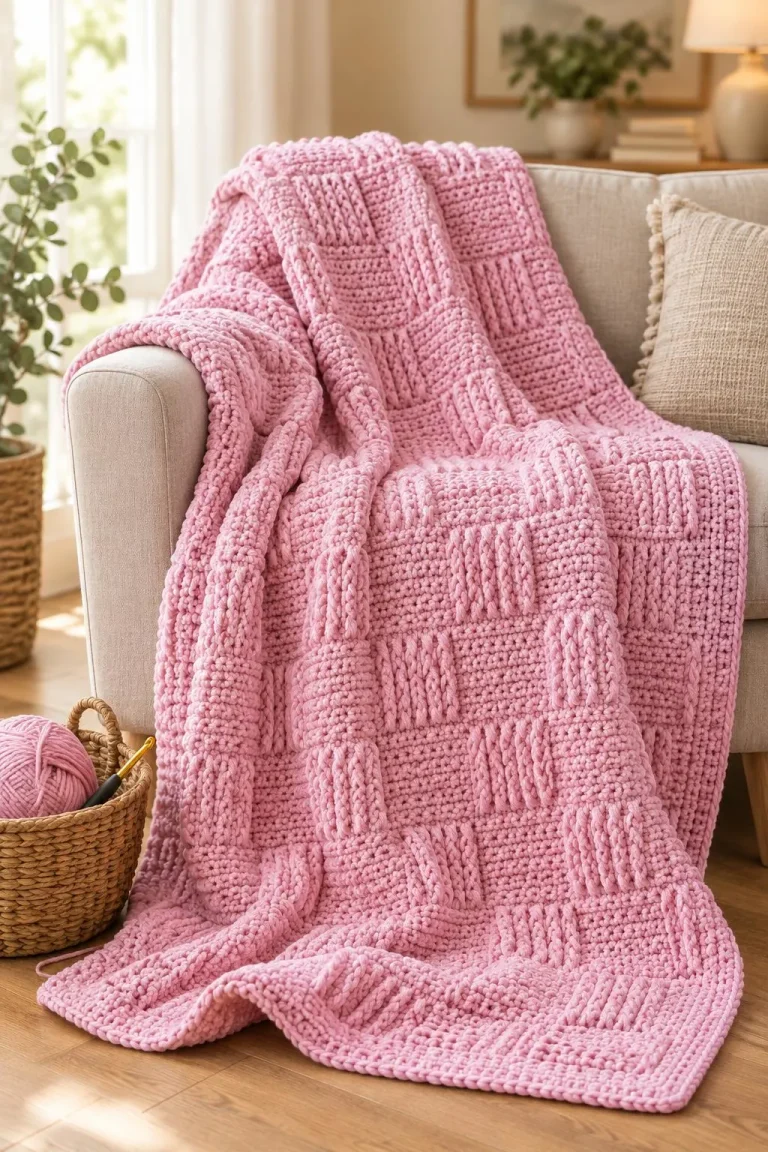
- Crochet Textured Stitch Blanket: A Cozy and Timeless Classic
Choosing Yarn for Textured Work
Texture depends heavily on the yarn you use. A smooth, tightly plied cotton shows every stitch crisply, which is ideal when you want the pattern to speak for itself. A softer acrylic blend tends to relax slightly, giving the fabric a plumper feel but sometimes blurring fine details. Matte fibers highlight shadows, while fibers with a gentle sheen catch light on the raised areas.
Consider the purpose of your finished piece before you buy. For dishcloths and coasters, a cotton or cotton blend resists stretching and dries quickly. For a sweater or scarf, a wool blend offers warmth and elasticity that helps a textured stitch drape well. Whatever fiber you choose, make a small swatch in your intended yarn first, because the same stitch can look noticeably different in a lighter or heavier weight.
Understanding the Stitch Families
Many textured squares rely on a few stitch families that repeat in different arrangements. Post stitches, which wrap around the stitches of the previous row, create raised ridges that run horizontally or vertically. Clusters gather several stitches into one group, producing bumps that give the fabric depth. Open mesh patterns use chain spaces to create small windows, lightening the overall weight of the piece.
Learning to recognize these families is more useful than memorizing each square. Once you understand how a post creates a ridge or how a cluster pushes a bump forward, you can read an unfamiliar pattern and predict its appearance. You will also see why some textures work well in the round and others are easier to produce in flat rows.
Color Choices That Shape the Final Look
The palette in this collection shows how color can change perception. Bright turquoise and lime green feel energetic and fresh, making them suitable for kitchen textiles or summer accessories. Hot pink and orange bring warmth and personality, especially when a textured stitch gives those colors room to create shadow.
If you prefer a calmer result, try pairing a single textured stitch in two neutral shades, such as oatmeal and slate gray. The contrast will emphasize the stitch without overwhelming it. For a multi-square project, repeating one stitch in several colors creates rhythm, while mixing stitches within one color family gives a more unified and modern feel.
Putting Swatches to Practical Use
These squares are more than samples. Joined together, they can become a cozy blanket with varied textures, a set of coasters, or a stack of dishcloths that each feel different in the hand. Because the swatches share a common size, they are easy to arrange and connect, and mixing textures adds interest without requiring complicated shaping.
Think about how the finished piece will be handled. A square with deep clusters can trap crumbs or dust, so it may suit decorative pillows better than a daily-use placemat. A flatter, denser ridge pattern is often easier to wipe clean. Matching each texture to its role helps the project last as long as you want it to.
Finishing Your Swatches Neatly
A tidy finish makes a textured square look intentional. Weave in ends carefully, working them along the stitches rather than leaving them loose on the surface. Textured stitches can hide tails well, but a few stray ends can still show up in the open spaces of mesh-style patterns.
Blocking can also make a noticeable difference. Gently dampening the finished square and pinning it to shape helps the edges lie flat and lets the stitch definition settle. Check the yarn label before wetting the fabric, since some fibers react differently to water and heat. A light touch is usually enough to bring out the texture without flattening it.
Bringing the Textures Together
Crochet textured stitch swatches reward curiosity. Each square teaches something about yarn, tension, and the way stitches stack to create surface interest. Whether you use them as a learning reference or as the building blocks of a larger piece, they offer a satisfying path toward more confident design.
For the exact stitch instructions behind these squares, follow the video below and pause whenever a step needs a closer look. Practicing one swatch at a time is a patient, rewarding way to discover your favorite texture.
Follow us on Pinterest and subscribe to the Newsletter so you don’t miss a thing!
Tutorial and photos of this textured stitch swatches by: naztazia.