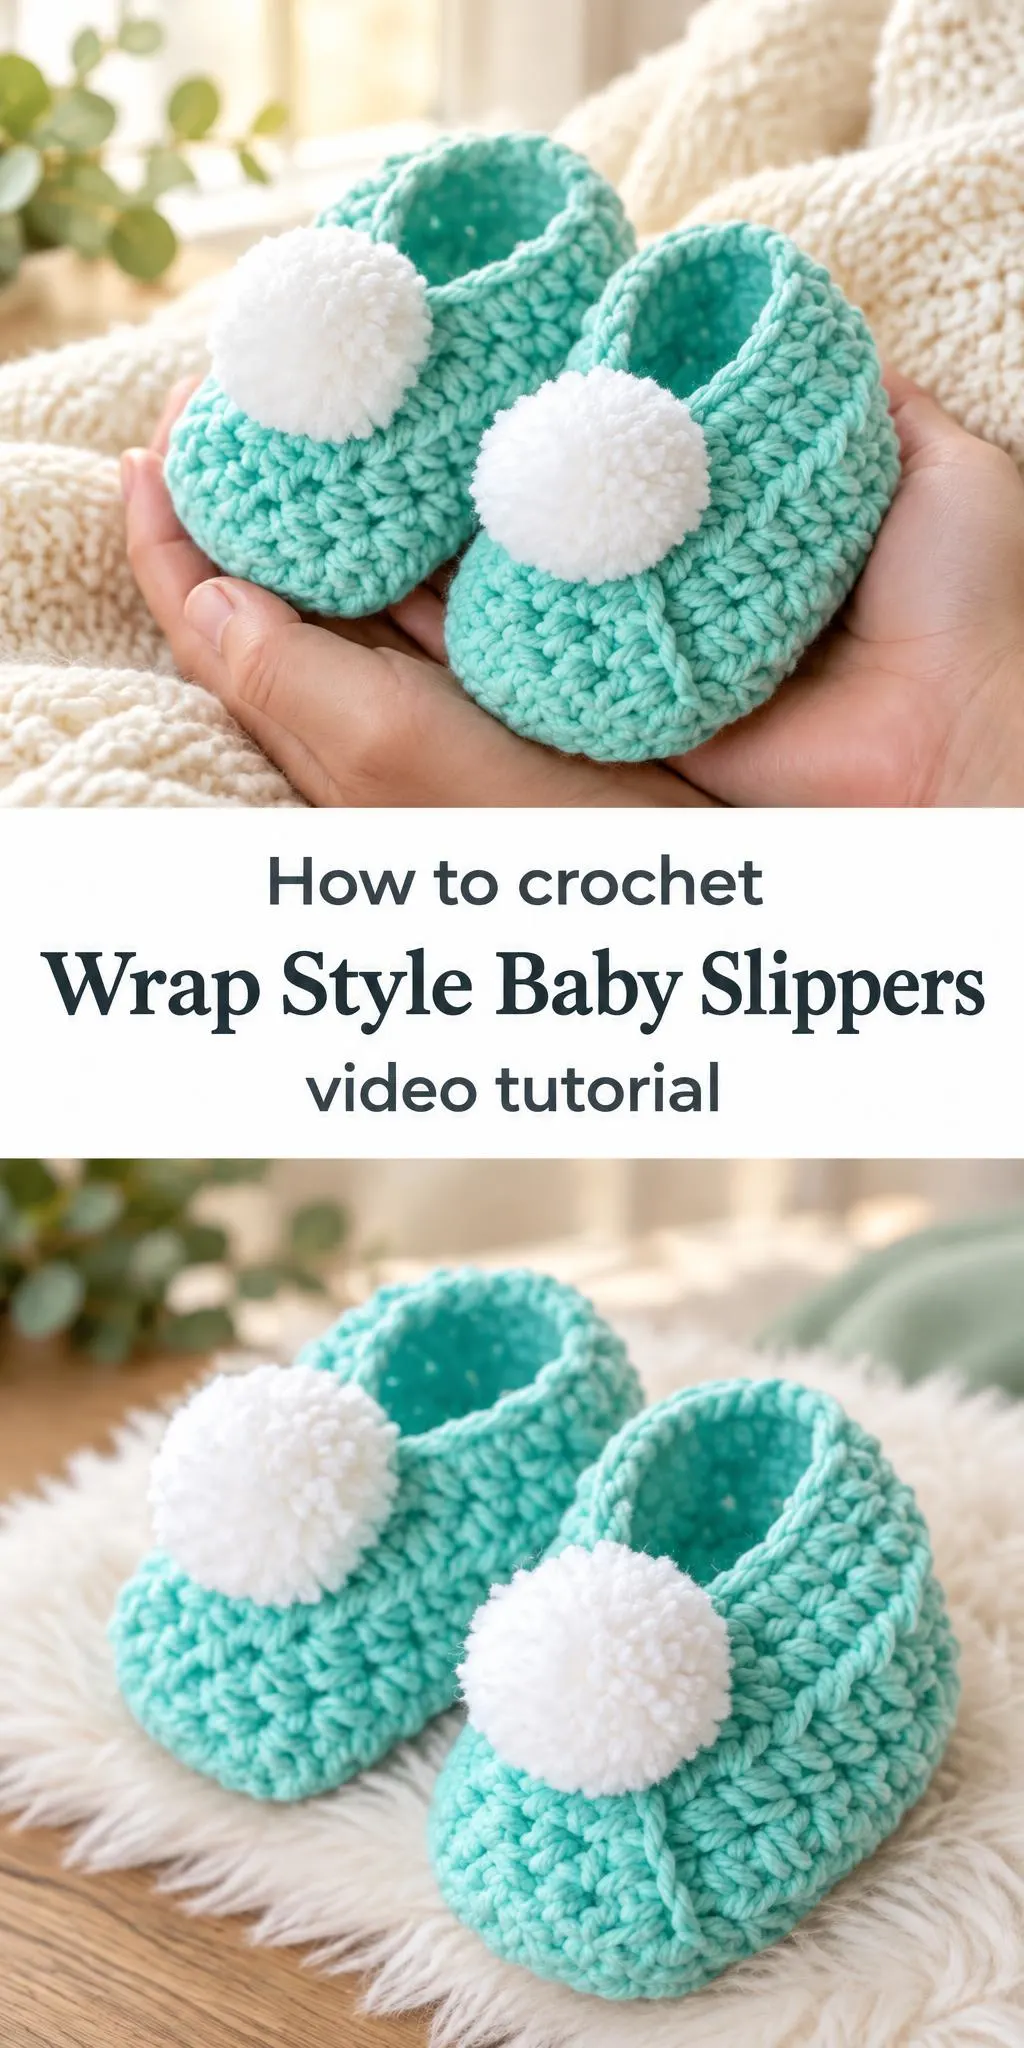
Few projects capture the charm of a handmade gift quite like a pair of crochet wrap style baby slippers. Soft mint yarn and fluffy white pom-poms make these little shoes a sweet choice for a nursery, a baby shower, or a cozy first winter.
In this post
Wrap Style Baby Slippers at a Glance
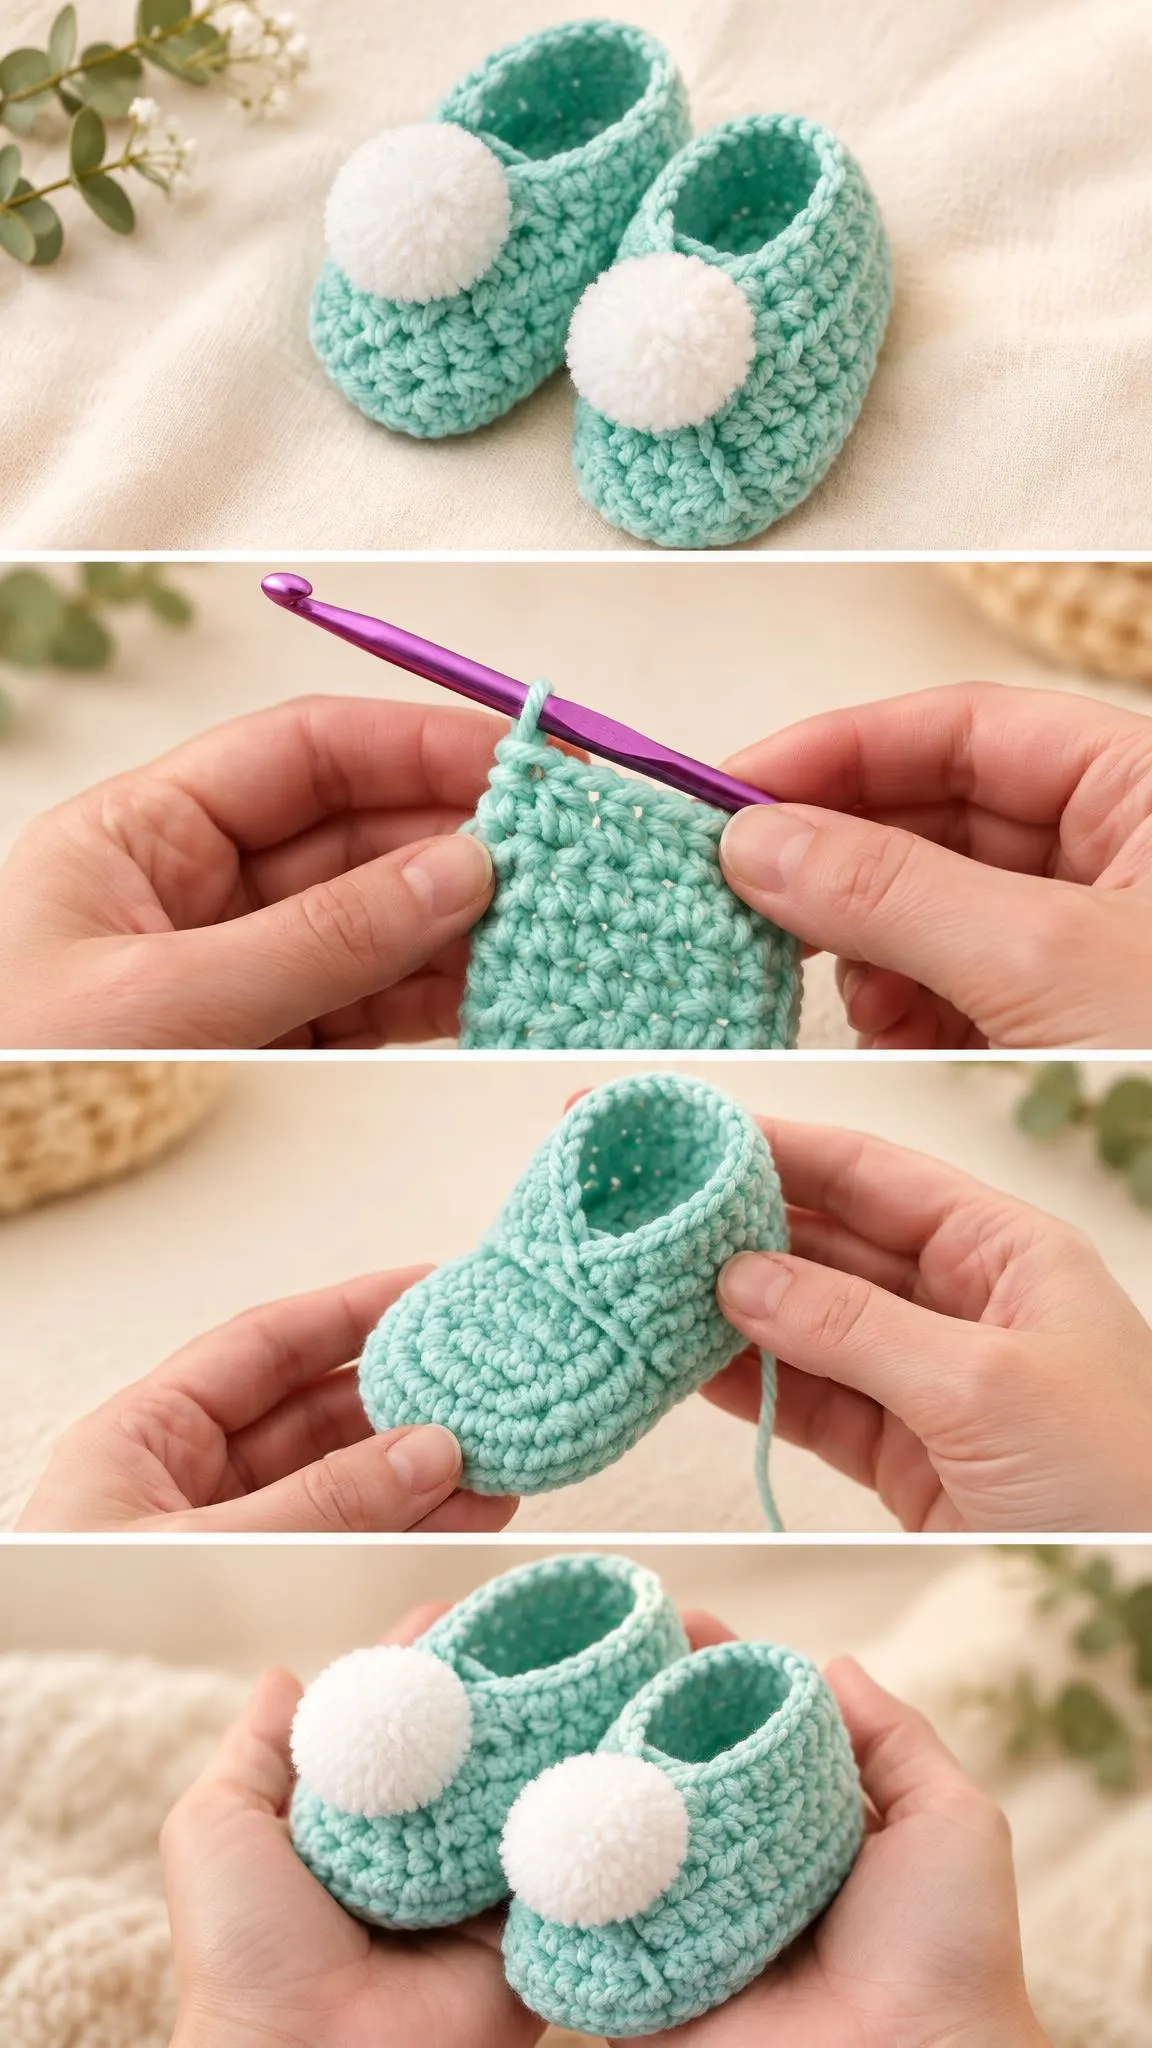
The Wrap Style Baby Slippers are built around a simple, wraparound silhouette that cradles a baby’s foot without feeling bulky. The body of each slipper curves up toward the ankle, and the open top gives a clear view of the stitch work along the edge. Two white pom-poms sit near the front of the slippers, adding a playful focal point that contrasts beautifully with the pale mint background.
What makes this design appealing is the balance between structure and softness. The fabric has a visible, textured stitch that reads as sturdy and well defined, yet it still looks gentle against a baby’s skin. The pom-poms are not just decoration; they draw the eye to the front of the shoe and give the set a distinctly whimsical personality.
Beyond their looks, these slippers serve a practical purpose. Soft-soled footwear keeps little feet warm on hardwood floors and during quiet moments on the couch, and a wrap style closes snugly without needing buttons. They also make a thoughtful gift, since the coordinated pair feels special without requiring a large yarn budget.
Baby Slippers Related Posts:
- Crochet Baby Blanket and Bag: A Charming and Versatile Handmade Set
- Crochet Stitchorama Stitch: A Bold and Versatile Textured Design
- Crochet Yarn Pom Poms: A Colorful and Cheerful Handmade Accent
- Crochet Puff Cloud Tote Bag: A Cozy and Elegant Essential
Materials
For a project like this, a soft, washable acrylic or an acrylic blend is a practical choice. Acrylic keeps its color well, resists pilling reasonably, and can be laundered easily, which matters for something that will go through frequent wear and cleaning. A light, smooth yarn in a soft mint shade gives the slippers their fresh look, while a fluffy white yarn is ideal for the pom-poms because it wraps into a full, rounded shape.
Choose a hook size that suits your yarn and the fabric you want. A slightly smaller hook produces a firmer, denser fabric that holds its shape and resists stretching, which is helpful for footwear. A slightly larger hook creates a softer, more flexible surface. Test a small swatch before committing, and remember that the feel of the finished slipper depends as much on your tension as on the hook you choose.
You will also need a yarn needle for weaving in ends and, if you make the pom-poms by hand, a pom-pom maker or stiff cardboard and sharp scissors. A pair of stitch markers can help you keep track of the sides of each slipper, and a few small pins are useful for shaping the pieces before finishing.
Understanding the Textured Body
The main surface of these slippers has a dense, slightly raised texture that catches the light and gives the fabric depth. This kind of look usually comes from a stitch family that builds height and grouping rather than a flat, smooth row. Textured stitches create warmth because the pockets of air within the fabric trap heat, which is a nice quality for baby accessories.
Texture also affects how the slipper fits. Dense stitches make the sole and sides firmer, which helps the shoe keep its shape when a little one is moving. If you prefer a lighter touch, you can work with a looser tension or a slightly larger hook, but keep an eye on how stretchy the fabric becomes, since footwear needs enough structure to stay on.
Shaping the Wrap
The wrap portion is what gives this design its character. The fabric rises around the top of the foot and then folds or curves inward, so the slipper hugs the ankle. To achieve a neat result, pay attention to how many stitches you add or decrease as you work up each side. Gradual shaping looks smoother than abrupt changes, and it keeps the opening comfortable and secure.
The Pom-Pom Detail
The two white pom-poms are the most eye-catching feature of the set. Positioned at the front, they add softness and a touch of fun. When making pom-poms, wind the yarn generously so the finished ball is dense and full. A sparsely wound pom-pom looks thin and can shed quickly, so take your time with this step.
Attach each pom-pom firmly. Thread a strand of yarn through the center of the pom-pom and use it to stitch the ball onto the slipper, pulling the stitches through the fabric so the ball sits flat and secure. Check the attachment regularly during the finishing stage, because loose pom-poms are a potential hazard for babies and should be fastened with real care.
Styling and Gifting
These slippers suit a wide range of outfits. Pair them with soft pastel sleepers and a matching hat for a coordinated look, or let the mint color stand alone against a plain white or cream onesie. The white pom-poms repeat the brightness of a crisp white outfit, creating a clean, cohesive set.
For gifting, presentation makes a difference. A small tissue-lined box or a cloth gift bag keeps the pom-poms from being crushed, and a tag with the baby’s name and birth date adds a personal touch. Pairing the slippers with a coordinating rattle or a pastel blanket turns them into a complete welcome set.
Consider the nursery color scheme as well. Mint and white work especially well with soft gray, pale yellow, or gentle pink accents. The slippers can also be displayed on a shelf or in a basket as a decorative item before the baby is old enough to wear them.
Finishing for a Clean, Safe Result
Weaving in ends carefully is essential for baby accessories. Trim the yarn tails neatly and thread them back through several stitches in a zigzag pattern, so they stay hidden and secure. Loose ends can unravel, and small tails can be a concern around young children.
Check the seams and edges as you work. Even shaping on both slippers helps the pair match, so compare them side by side before finishing. A light blocking, where you gently shape the slippers and let them dry flat, can help the fabric settle into an even form. Follow the care instructions for your chosen yarn when washing, and avoid high heat, which can distort acrylic fibers.
Finally, take a moment to inspect the pom-poms and every attachment point. Tug gently on each one to confirm it holds, since a secure finish is far more important than a quick one when the finished slippers are for a baby.
Making these slippers is a rewarding way to spend an afternoon, and the result is a small piece that carries real warmth. Soft mint, fluffy white, and a neat wrap shape come together into something both practical and sweet. Follow the video below for the detailed steps, and pause or rewatch any section that feels tricky. Your finished pair will be a treasure for a little one’s first steps.
Follow us on Pinterest and subscribe to the Newsletter so you don’t miss a thing!
Tutorial and photos of this wrap style baby slippers by: Jayda InStitches.