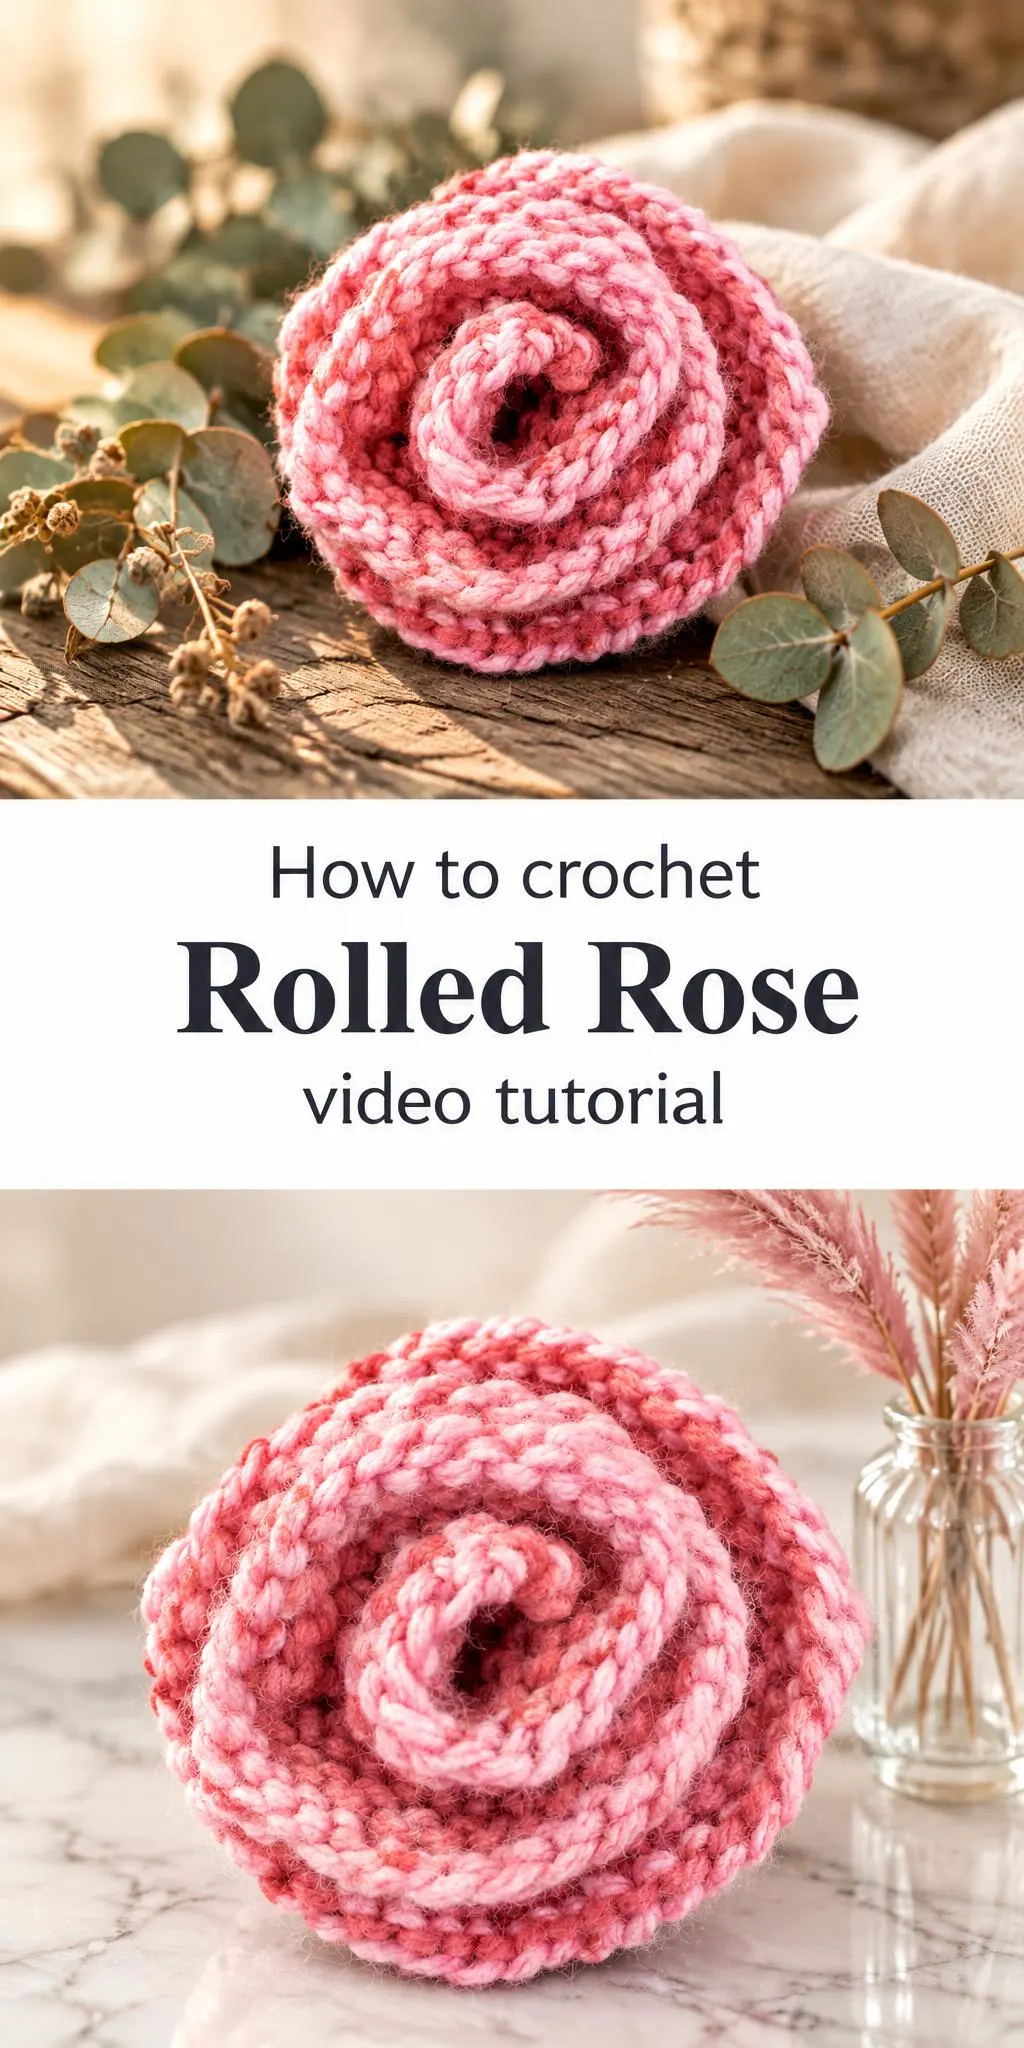
The crochet rolled rose is a soft, spiraling blossom that brings a touch of romance to almost any project. Whether you want a decorative accent for a hat, a bag, a gift box, or a handmade bouquet, this small flower offers a lot of charm for a modest amount of yarn.
In this post
Why the Rolled Rose Is Such a Lovely Project
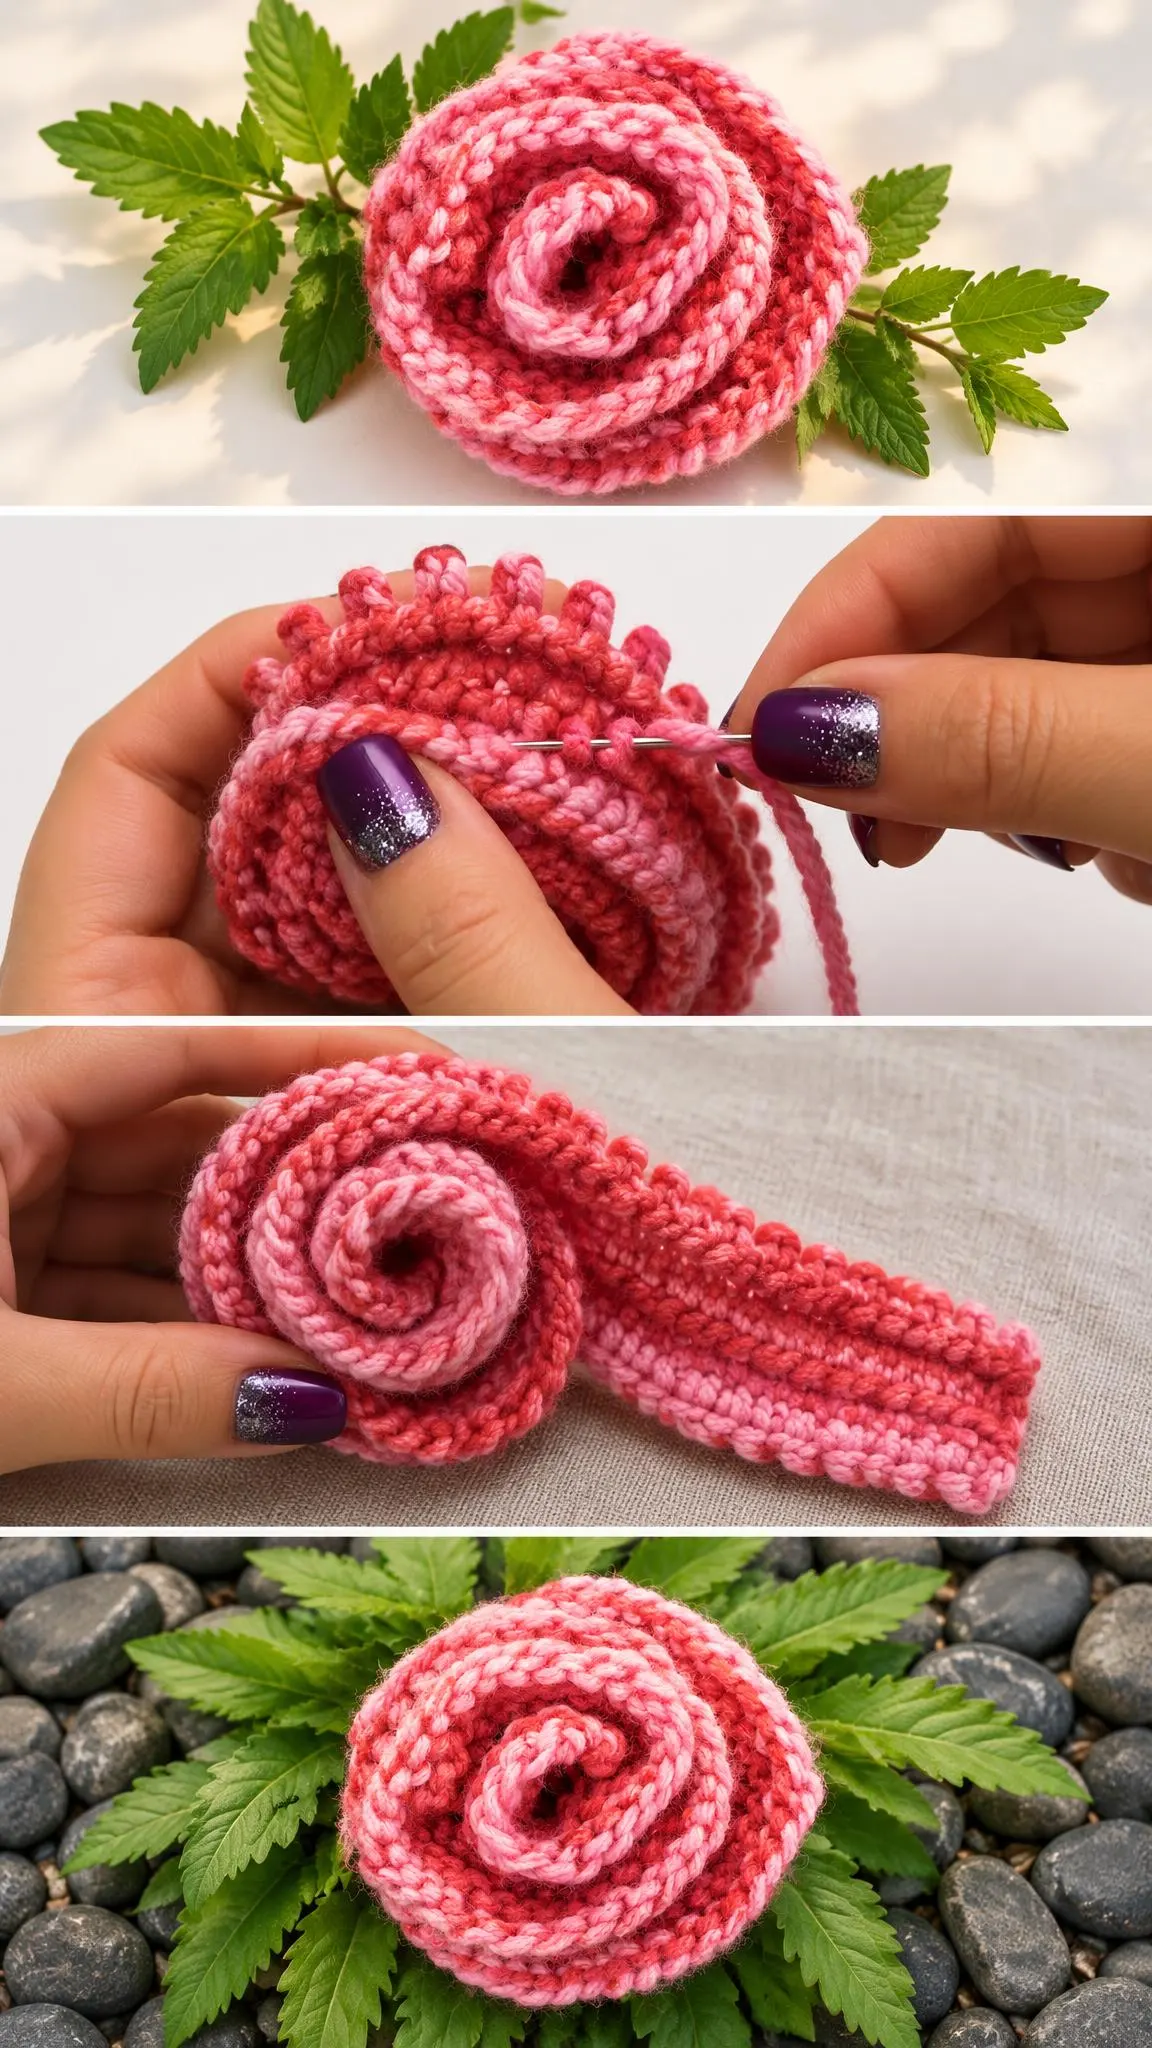
The rolled rose is built from a single strip of fabric that is coiled tightly into the center and then allowed to open outward. The result is a flower with a dense, rounded heart and looser, ruffled petals that seem to unfurl as you look at them. Because the spiral is formed by the fabric itself rather than by separate petals sewn together, the shape feels organic and natural. Small variations in tension give each rose its own personality, which is part of the appeal.
Beyond its looks, this blossom is wonderfully versatile. A single rose can dress up a headband or a winter hat, while a cluster of them can transform a plain tote or a cushion into something special. Many crafters also enjoy making several in different sizes and colors to create a bouquet that never wilts. Because each rose is relatively quick to make, it is an encouraging project for those who want a satisfying result in a short session.
Rolled Rose Related Posts:
- Crochet Oh My Stars Scarf: A Cozy and Stylish Handmade Accessory
- Crochet Stitchorama Stitch: A Bold and Versatile Textured Design
- Crochet Amigurumi Plushies: A Cute and Charming Handmade Companion
- Crochet Zigzag Stitch Pattern: A Striking and Eye-Catching Textured Design
Choosing Materials for Your Rose
Yarn choice has a strong effect on how your rose will look and feel. A smooth, lightly textured worsted-weight yarn gives crisp stitch definition, which shows off the spiral clearly. A softer, slightly fuzzy yarn creates a gentler, more romantic bloom, though it can soften the outline of the coils. Cotton yarn holds its shape well and suits accessories that will be handled often, while wool blends offer warmth and a little more give. The hook should be chosen to suit your yarn and the density you want. A slightly smaller hook produces a firmer rose that holds its form, while a larger hook creates a looser, airier flower. Sewing needles and a few matching threads are also useful for securing the coils and attaching the finished rose to a base.
Understanding the Spiral Construction
How the Coil Forms the Center
The heart of the rolled rose depends on tight, consistent coiling. Many crocheters begin by working a small, dense piece that is rolled from one end, keeping the edge firm as it spirals. Holding the work with steady tension helps the center stay compact and prevents it from opening too early. Stitching the coil in place at its base, often with a few discreet stitches, keeps everything secure as you build the outer layers.
Shaping the Outer Petals
Once the core is established, the outer rounds are typically worked to allow the fabric to flare. Increasing the number of stitches in each round encourages the edge to ripple and open, which gives the petals their soft, layered look. If you want a tighter bloom, work the outer rounds with fewer increases; for a more open rose, add them more generously. Pausing to gently stretch and arrange each layer as you go helps you see how the flower is developing and lets you adjust before it sets.
Styling and Using Your Finished Rose
A single rose makes a striking statement when placed thoughtfully. Pin one to the side of a knit beanie in a complementary shade, or attach it to a plain headband for a feminine touch. On a bag strap or hair clip, the rose adds focus without overwhelming the design. Consider the color palette as well. Soft blush and cream create a gentle, romantic effect, while deep berry and burgundy feel bold and rich. Pairing a rose in a muted tone with a crisp white or charcoal accessory gives the eye a clean place to rest.
Arrangements of several roses offer another way to enjoy the design. Grouping three or five flowers in varied sizes creates a natural-looking bouquet that can sit in a jar, a basket, or a small ceramic vase. Mixing rose colors within a single tonal family, such as coral, peach, and rose, produces a cohesive display. Adding a few leafy green accents or a simple stem gives the arrangement more structure.
Handmade roses also make thoughtful gifts. Attach one to a gift tag, a wrapped package, or a card, and you have a keepsake that lasts far longer than cut flowers. For a seasonal touch, choose colors that match the occasion, such as warm reds for winter gatherings or pastel shades for spring celebrations.
Finishing Touches for a Polished Blossom
Neat finishing makes a noticeable difference. Weave in loose yarn ends carefully on the back of the rose, taking the tail through several stitches so it cannot work loose. Gently reshape the petals with your fingers, easing out any flattened areas so the flower looks evenly full. If the rose will be attached to something that is worn or handled, reinforce its base with a few extra stitches or a small button or backing disc sewn underneath.
Before attaching your rose, consider how it will be cared for. Acrylic and wool blends typically respond well to gentle hand washing and flat drying, while cotton holds its shape best with careful handling. Check the yarn label for washing guidance, and remove the rose from garments where possible before laundering to protect its form.
Making a crochet rolled rose is a rewarding way to explore spiral shaping and playful color. Each flower you finish will carry its own character, shaped by your tension, your yarn, and your choices. Pause whenever a stage feels tricky, and take the time to arrange each layer until it looks just right. The video below walks through the process step by step, so keep it close as you begin your own blossom.
Follow us on Pinterest and subscribe to the Newsletter so you don’t miss a thing!
Tutorial and photos of this rolled rose by: naztazia.