A crochet striped beanie is one of those rare projects that feels both quick to finish and genuinely useful all winter long. Its bold bands of color make it eye-catching, while its simple construction keeps it approachable for crafters at most skill levels.
In this post
Why the Striped Beanie Deserves a Place in Your Queue
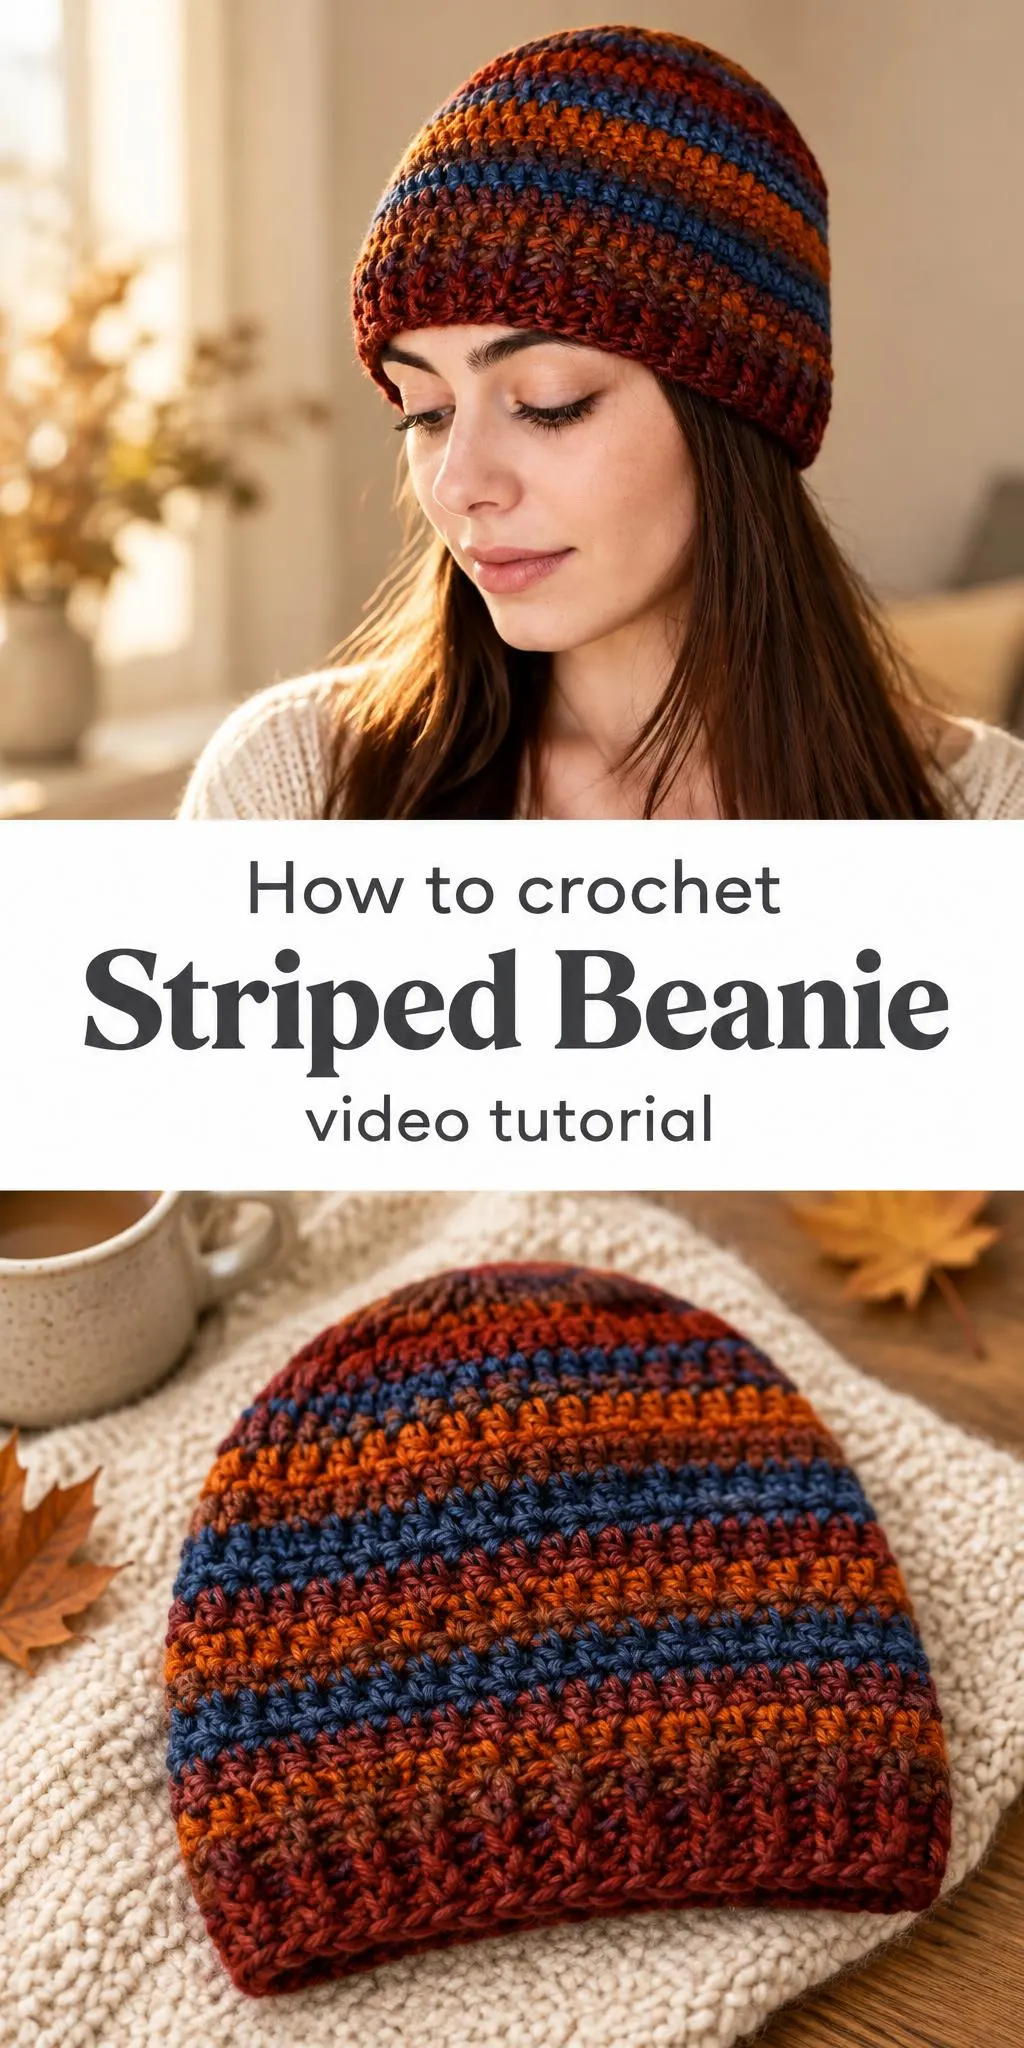
Look closely at this beanie and you will notice how the design works with its colors rather than against them. Rich rust, plum, deep teal, and warm ochre rotate around the body of the hat in even bands. The result is a piece with movement and warmth, without any need for complicated motifs or added embellishment. Each stripe catches the light a little differently, so the hat seems to change character depending on where you wear it.
The fitted, close-hugging shape is equally appealing. A snug crown and a gently rolled brim sit comfortably on the head and cover the ears well, which makes this style practical for cold walks, commutes, and outdoor weekends. Because the silhouette is so versatile, the beanie works just as well with a casual jacket as it does with a heavy wool coat. It is the kind of accessory you reach for almost every day once it is finished.
Striped Beanie Related Posts:
- Crochet Butterfly Appliqué: A Cheerful and Colorful Handmade Accent
- Crochet Oh My Stars Scarf: A Cozy and Stylish Handmade Accessory
- Crochet Textured Stitch Blanket: A Cozy and Timeless Classic
- Crochet Book Cover with Picture Frame: A Charming and Personalized Handmade Accessory
Choosing Materials for a Striped Beanie
For a hat like this, you might choose a worsted-weight or medium-weight yarn that offers good stitch definition and a comfortable amount of warmth. Variegated or self-striping yarns are especially well suited to this project, because the color changes create the striped effect automatically. Wool blends are a sound choice, since they retain warmth and resist stretching out of shape. Acrylic blends are another option if you prefer something easy to wash and that holds up to frequent wear.
When selecting a hook, aim for one that produces a fabric that feels firm but not stiff. A slightly smaller hook than the yarn label suggests will give a denser fabric that blocks wind more effectively. Keep a tapestry needle nearby for weaving in ends, and a stitch marker can help you track the beginning of each round as the stripes progress.
Understanding the Stripes and Texture
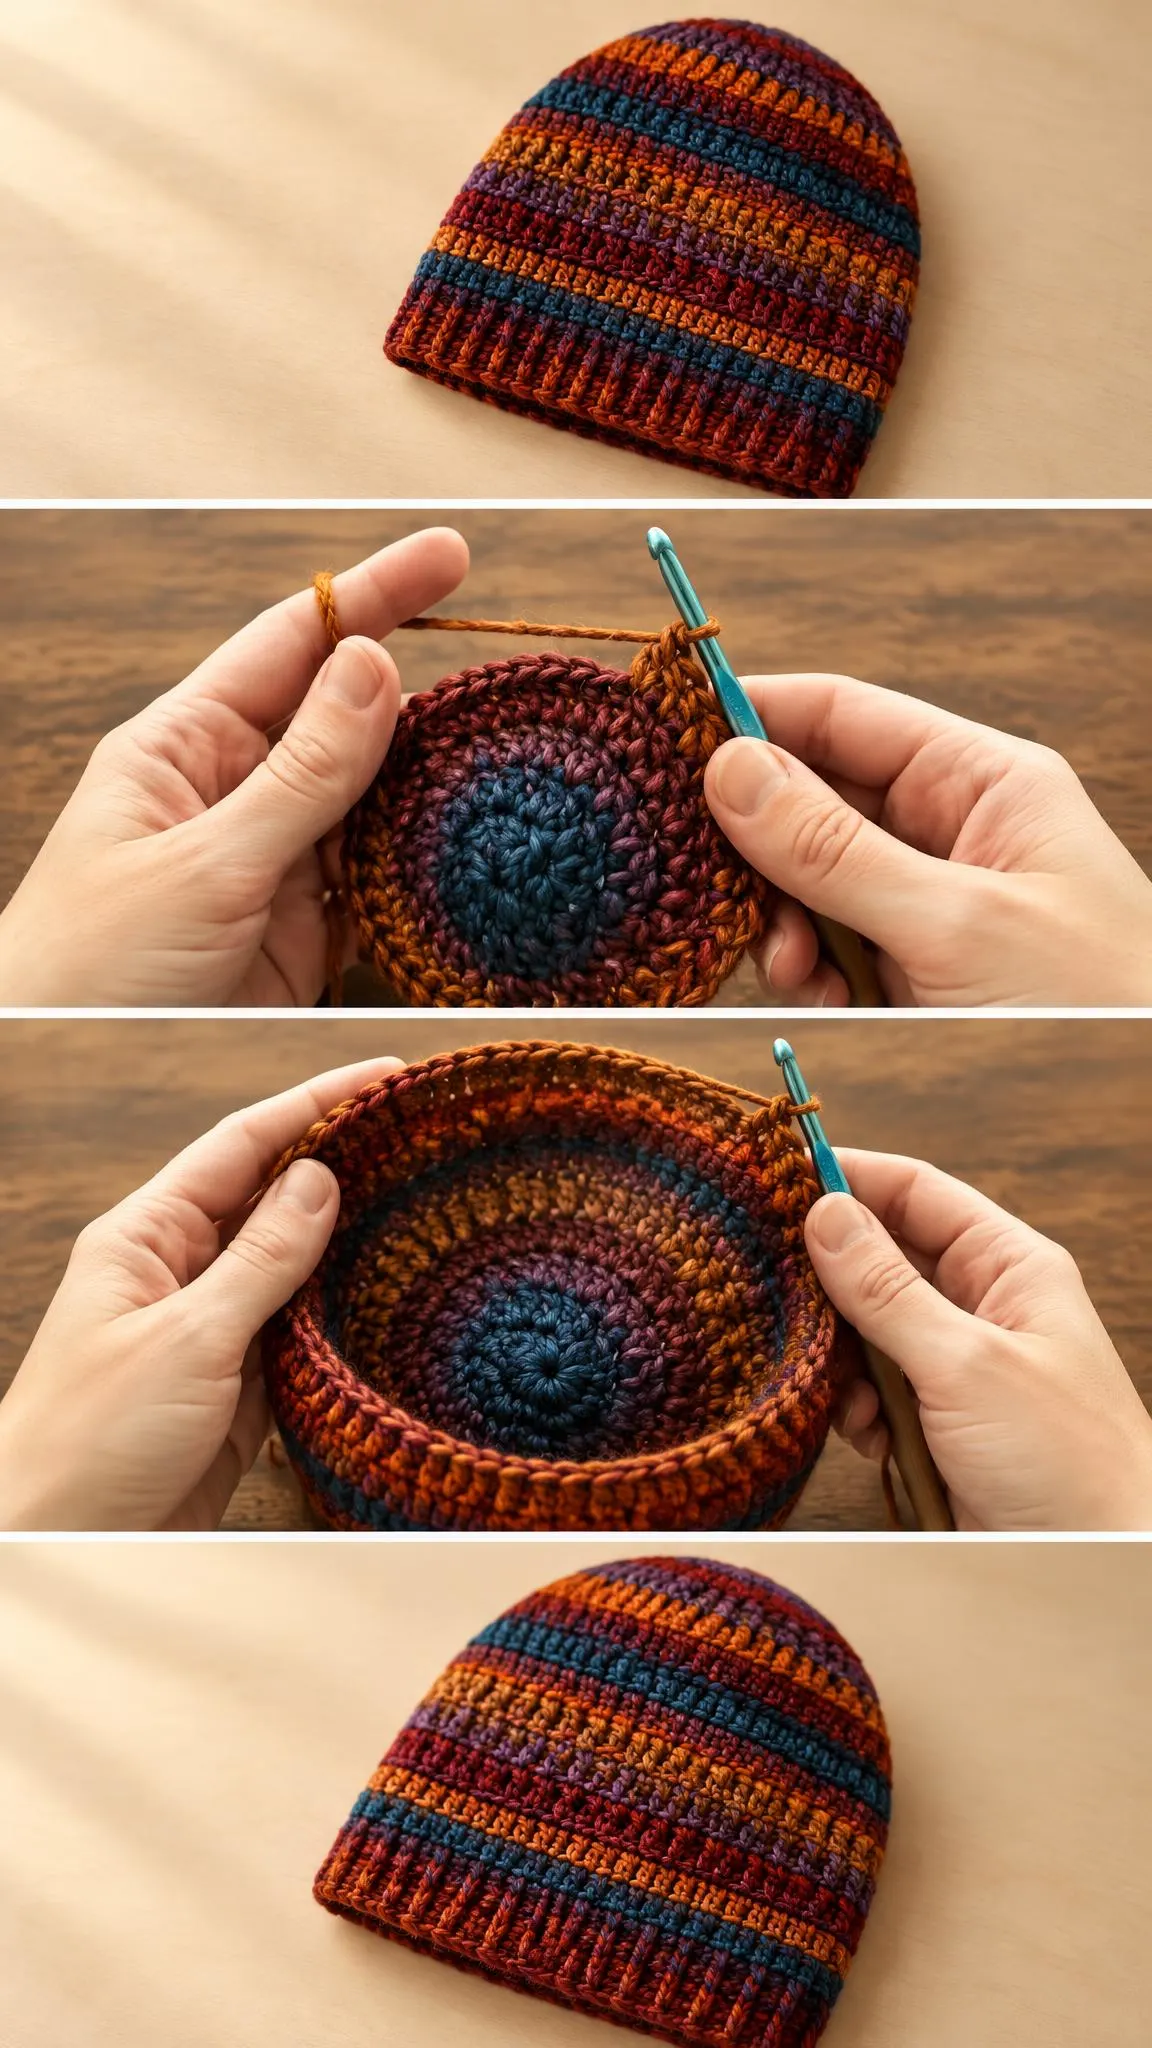
The stripes in this beanie come from the way the color changes move through the yarn. Working in the round, each band of color becomes a ring that wraps the head. When the yarn shifts from one shade to another, the stitches above and below it can look slightly different, which adds subtle depth to the surface. If you want the stripes to feel crisp, you can work a few rounds in one shade before changing, so the boundaries stay clear.
Working Consistent Tension
Even tension matters a great deal in this type of project. Stripes that are worked too loosely can appear wavy or uneven, while overly tight rounds may pull the fabric and make the brim curl. Try to keep the yarn moving smoothly through your fingers, and check your work periodically by stretching it gently across the crown to see whether it feels balanced.
Shaping and Fit
A beanie depends on its shaping to look polished. The brim should sit snugly around the forehead without pinching, while the crown needs enough room to cover the top of the head comfortably. Working evenly through each round, and gradually adjusting the stitch count as you move toward the top, helps the hat rise in a smooth dome. Trying the piece on as you go is one of the simplest ways to ensure a good fit.
Consider the intended wearer as well. A beanie for a child needs a much smaller circumference than one for an adult, and a looser or more relaxed fit can suit a slouchy style. Taking a few moments to measure a favorite hat you already own can give you a helpful reference point.
Styling Your Crochet Striped Beanie
This hat pairs beautifully with neutral clothing that lets its colors stand out. A charcoal or cream sweater, dark denim, and simple boots create a balanced outfit where the rust and teal bands become the focal point. For a cozier, earthy look, try layering the beanie over a chunky scarf in a complementary tone, such as oatmeal or deep brown. The warm palette also suits autumn walks, cabin weekends, and cool-weather travel.
Think about occasions too. The beanie feels relaxed enough for errands and casual outings, yet it can complete a thoughtful gift basket for a friend who loves handmade goods. Pairing it with a pair of matching mittens or a simple scarf turns it into a complete winter set that is easy to present.
Finishing Touches and Care
Weave in all loose ends carefully, running them along the inside of the stripes so they are hidden from view and less likely to loosen with wear. A neat finish keeps the hat looking fresh and prevents stray ends from catching on hair or clothing. Blocking the finished beanie gently can also even out the stitches and help the brim settle flat.
When it comes to care, follow the recommendations on your yarn label. Wool often benefits from hand washing in cool water and lying flat to dry, while acrylic blends may tolerate gentle machine cycles. Avoid high heat, which can felt wool or distort the shape. Storing the hat folded rather than hung will help it keep its outline over time.
For exact pattern details, including the stitch sequence and round-by-round instructions, follow the video below. Pause whenever you need to, and rewatch the shaping sections as you work, since small adjustments make a meaningful difference to the final fit.
A striped beanie is a satisfying project that rewards careful color choices and steady tension, and it leaves you with a hat you will reach for again and again.
Follow us on Pinterest and subscribe to the Newsletter so you don’t miss a thing!
Tutorial and photos of this striped beanie by: Katy’s Crafted & Co..