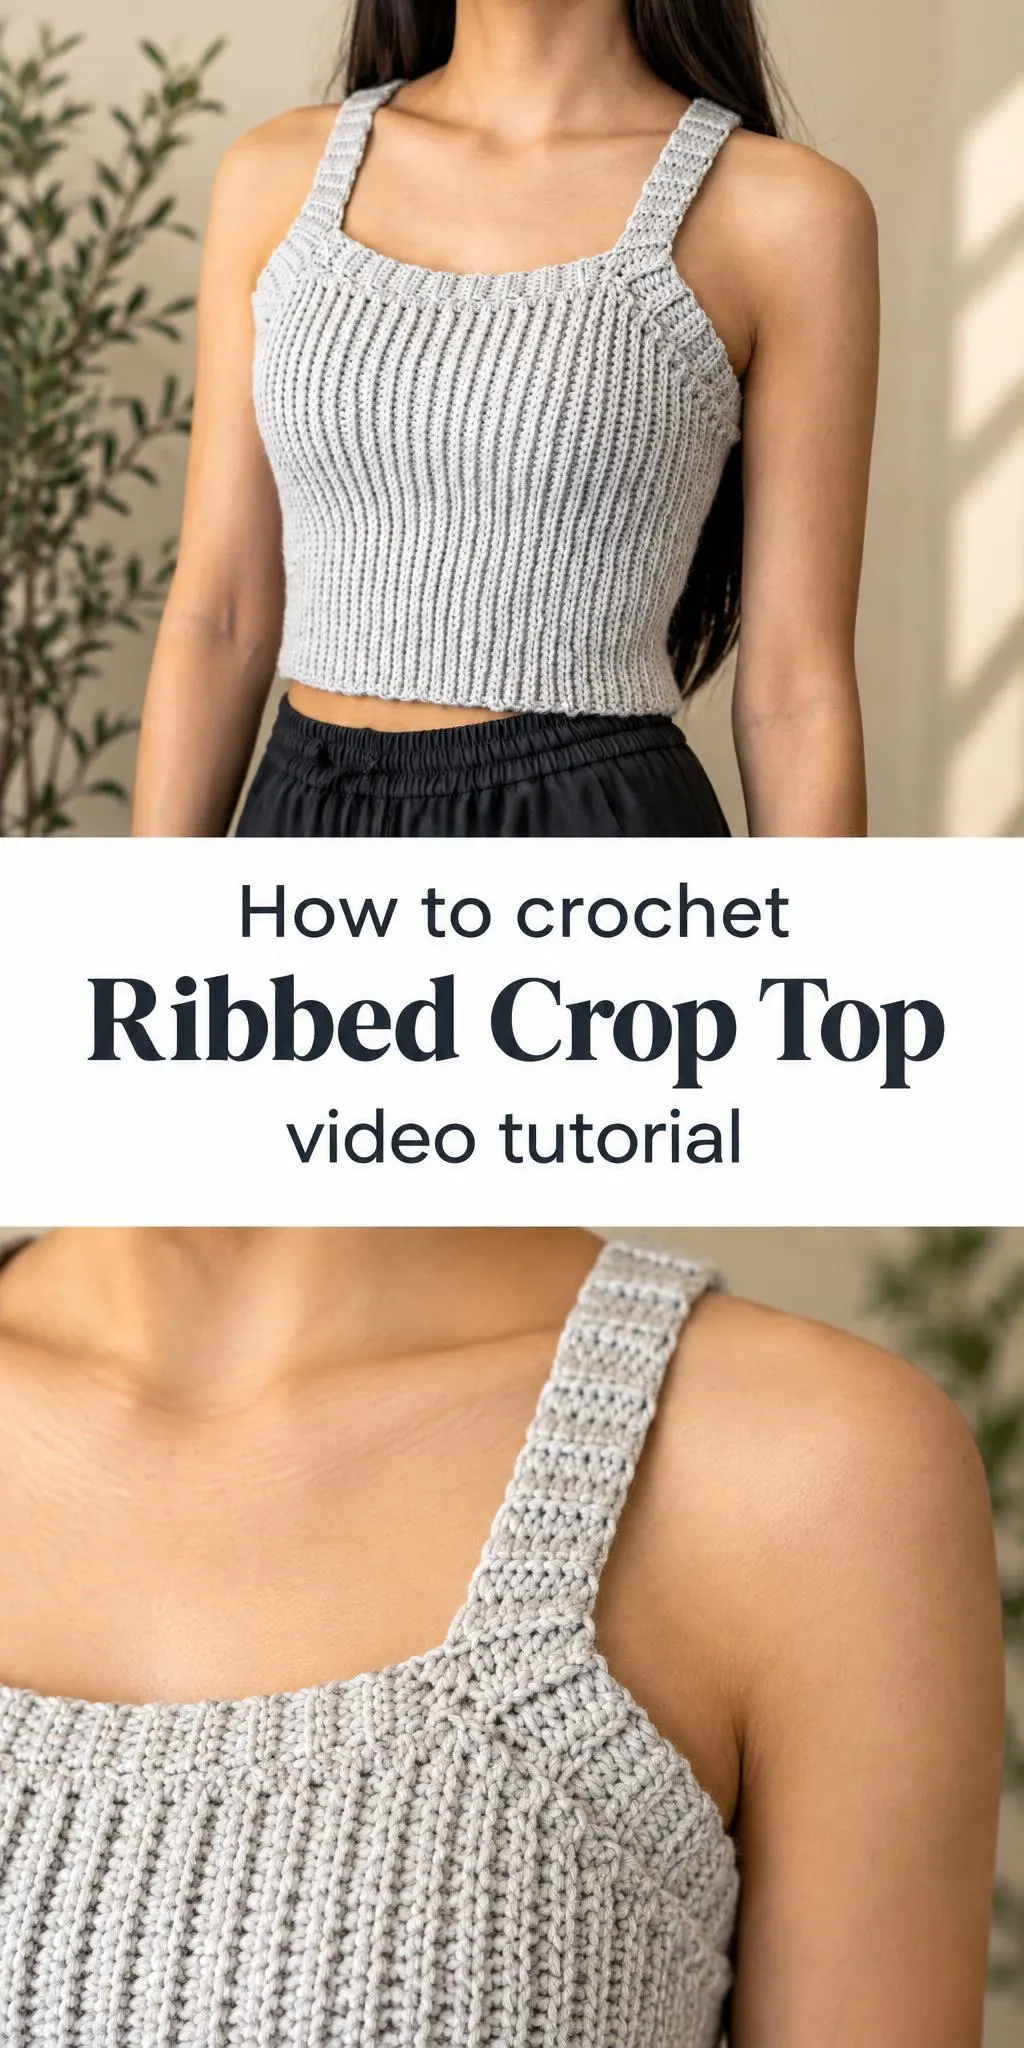
A ribbed crop top is one of those crochet projects that earns its place in a wardrobe quickly. Worked in a crisp, vertical rib, it offers clean lines, a fitted silhouette, and a texture that looks polished with almost any bottom.
In this post
Why the Ribbed Crop Top Is Worth Making
The defining feature of this design is its ribbing, which runs in continuous vertical columns from the hem up to the bust. Those raised ridges catch the light softly, giving the fabric a subtle sense of dimension without any busy motifs. The effect is structured yet relaxed, so the top reads as deliberate rather than casual.
Beyond its looks, a crop top like this is genuinely practical. It layers easily under an open shirt or a denim jacket, and it pairs as comfortably with wide trousers as with a pleated skirt. Because the body is short and close-fitting, it works well for warmer months and for the kind of outfit where you want a fitted torso with a bit of air around the waist.
Crop Top Related Posts:
- Crochet Tunic Blouse: A Chic and Airy Handmade Staple
- Crochet Butterfly Appliqué: A Cheerful and Colorful Handmade Accent
- Crochet Market Bag: A Practical and Eco-Friendly Essential
- Crochet Zigzag Stitch Pattern: A Striking and Eye-Catching Textured Design
Materials
For a top with this kind of ribbed texture, a smooth, cotton-blend or mercerized cotton yarn is a sensible choice. Cotton holds stitch definition well, so each rib stands out clearly, and it drapes without stretching out of shape as quickly as some synthetics might. A mid-weight yarn tends to suit a close-fitting garment, since it gives enough structure to keep the outline neat while still feeling light against the skin.
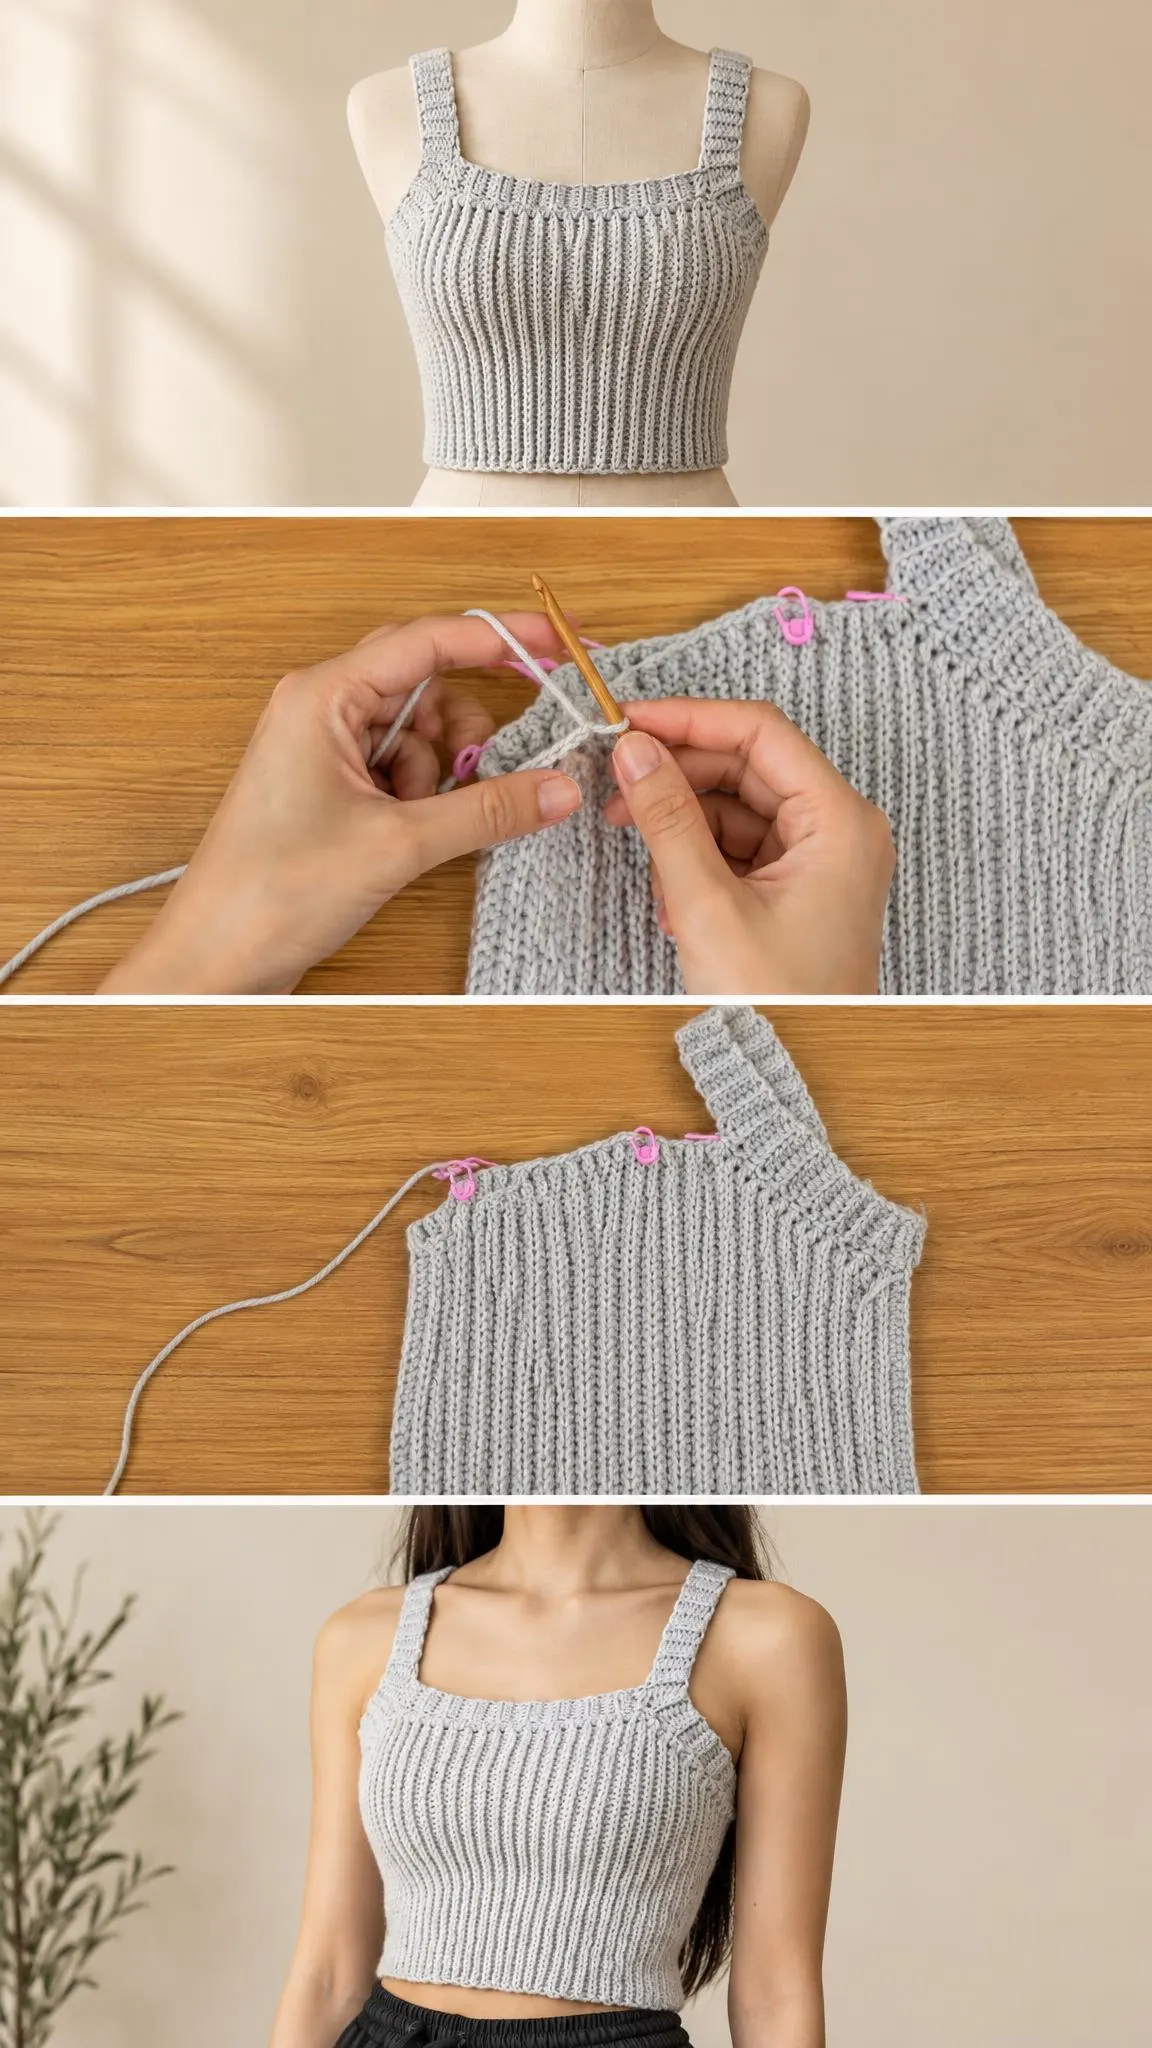
You will also want a hook sized to the yarn so the fabric feels firm but not stiff. If your stitches look loose and gappy, try a smaller hook; if the fabric feels tight enough to resist the body, go a size up. A set of stitch markers helps keep your place along the neckline and armholes, and a tapestry needle is useful for weaving in ends neatly at the end.
Understanding the Ribbed Texture
Ribbing in crochet is usually built by alternating front and back post stitches, which pull the fabric forward and back to create raised columns. The result looks similar to knitted rib, but the rhythm is set by how you place each post stitch. Working consistently matters more than working quickly, because even small variations in tension show up as uneven ridges across the bodice.
Pay attention to how the ribs travel up the body. In a fitted top, the columns guide the eye vertically and can make the torso look longer and more defined. Keeping your tension steady from hem to bust ensures the ridges stay parallel, which is what gives the garment its tidy, engineered appearance.
Some crocheters find it helpful to count repeats regularly, especially on a garment that needs to fit a specific bust and waist. Checking your work every few rounds lets you catch drift early, before it becomes difficult to correct.
Shaping the Neckline and Straps
The neckline and straps shape how the top sits on the body, so they deserve careful attention. A square or softly scooped neckline frames the collarbones and keeps the focus on the upper chest. Straps that are slightly wider than a thin spaghetti strap give the garment more visual weight and help it hold its position on the shoulders.
Ribbing around the neckline and armholes gives these edges a clean finish that echoes the body of the top. When you work these borders, keep the ribbing consistent with the body so the transition looks seamless. Adjusting the number of stitches along the neckline is one way to tailor the fit, since a slightly narrower opening can keep the top snug without digging in.
Take time to try the piece on as you go. Straps that look right on the table can feel different once they are on the shoulders, and small adjustments early on save frustration later.
Styling the Finished Top
This crop top shines in relaxed, everyday outfits. Pair it with high-waisted black trousers and simple sandals for a balanced look where the knit texture provides the interest. The fitted torso and drawstring waistband in the photographed styling create a clean line from top to bottom, which is a good principle to keep in mind whenever you wear a cropped piece.
For a softer, more feminine outfit, try the top with a flowing midi skirt in a neutral tone such as oatmeal or taupe. The ribbed texture adds definition against the fabric’s movement. In cooler weather, layer it under an oversized cardigan or a long-sleeved button-up left open, so the crop length still shows and the outfit stays intentional.
Color choice changes the mood considerably. A pale heather grey, as seen in the reference styling, feels calm and versatile, while a deeper shade such as sage green or dusty blue adds warmth. Stick to one or two accent colors in your accessories so the knit remains the focal point.
Finishing and Care
Good finishing turns a handmade top into one you will want to wear often. Weave in all ends carefully along the inside of the garment, working them through the back of the stitches so they remain hidden and secure. Loose tails can work their way out after a few washes, so this step is worth taking slowly.
Blocking helps the ribs settle evenly and lets the neckline and straps relax into their final shape. Lightly dampen the finished piece, gently shape it on a flat towel, and allow it to dry fully before wearing. Check the fiber label of your yarn first, since some blends require gentler treatment than others.
When washing, use lukewarm water and a mild detergent, and avoid wringing the fabric, which can stretch the ribs out of alignment. Laying the top flat to dry preserves its shape and keeps the crop length consistent over time.
Bring Your Own Ribbed Crop Top to Life
A ribbed crop top rewards patient, rhythmic work with a garment that looks refined and feels comfortable to wear. Its clean vertical texture, fitted silhouette, and easy versatility make it a welcome addition to almost any wardrobe.
For the exact stitch sequence, sizing, and step-by-step construction, follow the tutorial video below and pause whenever you need to match your work to the rib pattern. Take your time with the ribbing, check your fit as you go, and enjoy watching a simple yarn become a piece you will reach for again and again.
Follow us on Pinterest and subscribe to the Newsletter so you don’t miss a thing!
Tutorial and photos of this ribbed crop top by: TCDDIY.