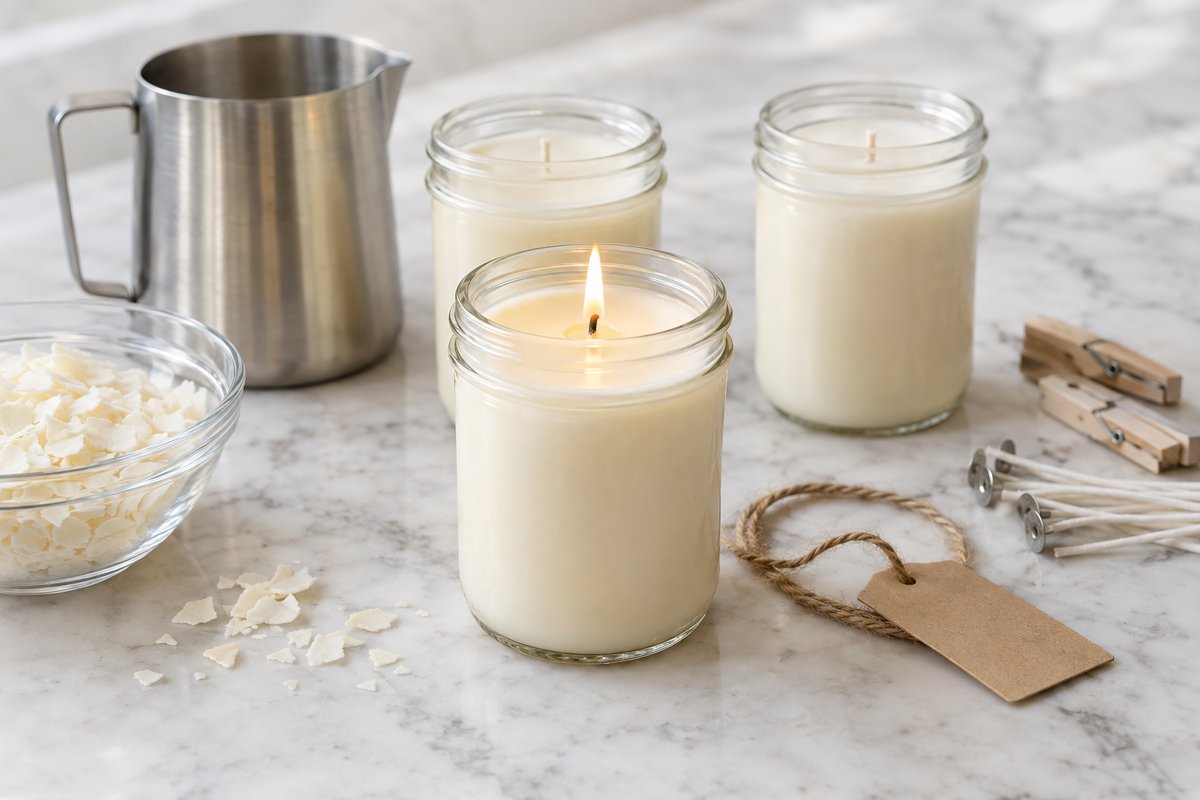
Mason jar soy candles are hand-poured candles made from soy wax flakes, a cotton or wood wick and a plain 8 oz (240 ml) canning jar. They burn cleaner and slower than paraffin, cost about $4 each once the supplies are in the house, and the jar can be washed out and refilled when the candle is gone. The process is mostly weighing and waiting: melt, scent, pour, cure. A batch of three takes about an hour of hands-on time and is ready to light in two weeks.
In this post
What you need
The quantities below make three 8 oz candles. Soy wax is lighter than water, so an 8 oz jar holds about 6 oz (170 g) of wax with 1/2 inch (1.3 cm) of headspace.
Materials
| Item | Quantity for 3 candles | Approximate cost |
|---|---|---|
| Container soy wax flakes (464-type blend) | 18 oz / 510 g, plus 1 oz for topping up | $4-5 (a 10 lb / 4.5 kg bag is $35-45) |
| 8 oz regular-mouth mason jars with lids | 3 | $3 (a 12-pack is $12-15) |
| Pre-tabbed cotton wicks, 6 inch (15 cm), sized for a 2.5-3 inch jar (CD 12, ECO 10 or HTP 104), or a 0.5 inch / 13 mm medium wood wick | 3, plus spares | $1 (a 100-pack is $8-12) |
| Wick stickers or hot glue | 3 | under $1 |
| Candle fragrance oil | 1.1-1.8 oz / 31-51 g at 6-10% load | $3-5 (a 4 oz bottle is $8-15) |
| Kraft labels or tags | 3 | under $1 |
Tools
- Stainless steel pouring pitcher (4 lb / 2 kg, with spout and handle, $10-15) or a clean metal can
- Saucepan that holds the pitcher with 2 inches (5 cm) of water
- Digital kitchen scale reading in grams or tenths of an ounce
- Kitchen thermometer reading to at least 200°F (93°C)
- Wick centering bars or three wooden clothespins
- Silicone spatula, paper towels and parchment for the counter
- Scissors or wick trimmer; a heat gun or hair dryer for tidying tops (optional)
Everything is sold by online candle suppliers and craft stores; jars and clothespins come from any supermarket. The first batch costs roughly $40-60 in supplies, but most of that is wax and fragrance that will make twenty more candles, so the running cost settles at $3.50-5 per candle, against $15-30 for a comparable soy candle in a shop.
Before you start
Choose a container soy wax, not a pillar wax. Container blends (the 464 type is the common one, melt point around 113-119°F / 45-48°C) cling to glass; pillar blends shrink away from the jar. Use candle fragrance oil made for soy, with a listed flash point and maximum load. The 464-type wax holds up to 10% fragrance by weight; 6-8% gives a clean burn with good scent. Perfume and most essential oils do not belong in a candle, for reasons covered in the FAQ.
Check the jars for chips and hairline cracks and set any damaged jar aside; heat finds the weak point. Genuine canning jars are made to survive boiling-water baths, which is why they suit candles.
Safety at the stove. Melt wax in a double boiler, never directly on the burner or in the microwave. Soy wax scorches above 200°F (93°C), and wax spilled onto a gas flame will ignite. Keep a pan lid nearby, never use water on a wax fire, keep children and pets out of the kitchen, and wear an oven mitt on the hand that holds the pitcher.
Timing. Allow about 90 minutes: 20 minutes of melting, 30-40 minutes of cooling, and the rest for pouring and cleanup. The candles then need 24 hours to set and 1-2 weeks to cure before they are lit or given away, so a December gift batch should be poured in mid-November.
Mason jar soy candles, step by step
Step 1: Prepare the jars and set the wicks
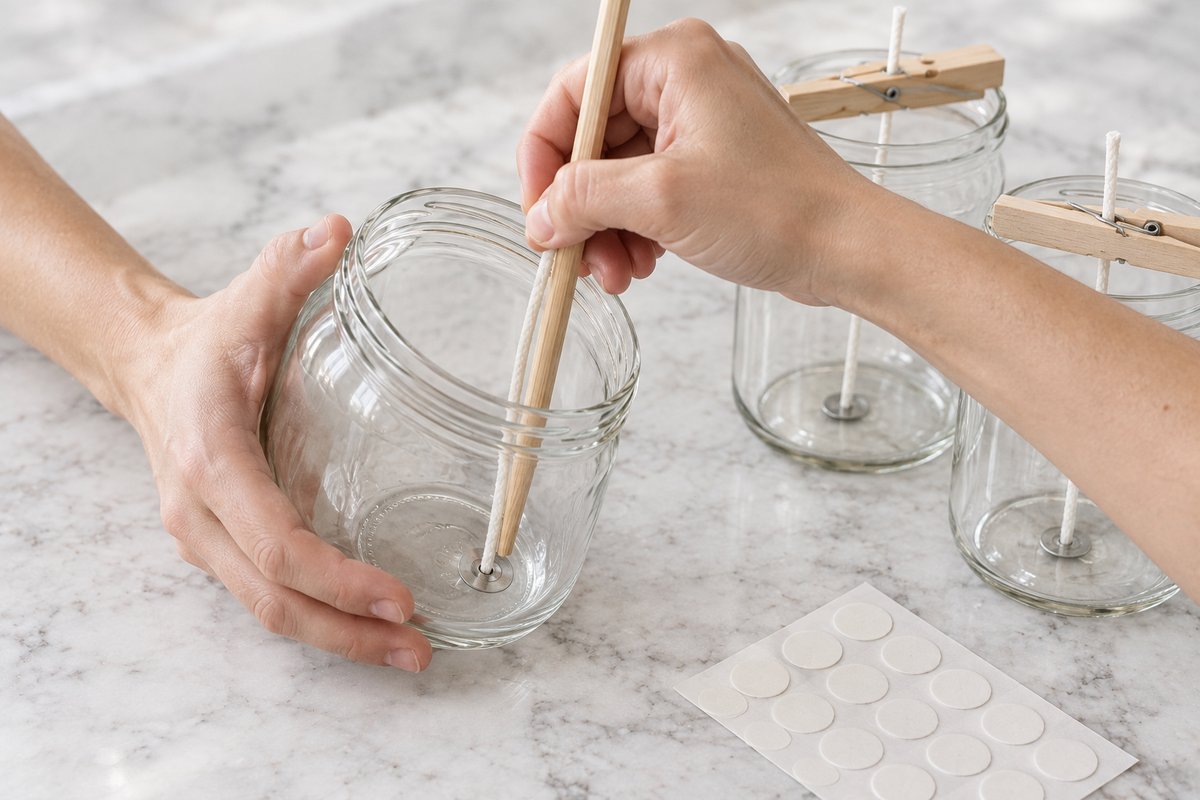
Wash the jars in hot soapy water and dry them completely; moisture under the wax causes bubbles and poor adhesion. Press a wick sticker onto the metal tab of a wick, then use a chopstick to push the tab firmly onto the exact center of the jar bottom; a pea-sized dot of hot glue works too. Clip a wooden clothespin or slide a centering bar across the mouth so the wick stands straight up through the middle, because a leaning wick burns one side of the jar only. Finally, warm the jars in an oven at its lowest setting, about 150-170°F (65-75°C), for ten minutes while the wax melts; warm glass gives a smoother finish.
Step 2: Weigh the wax
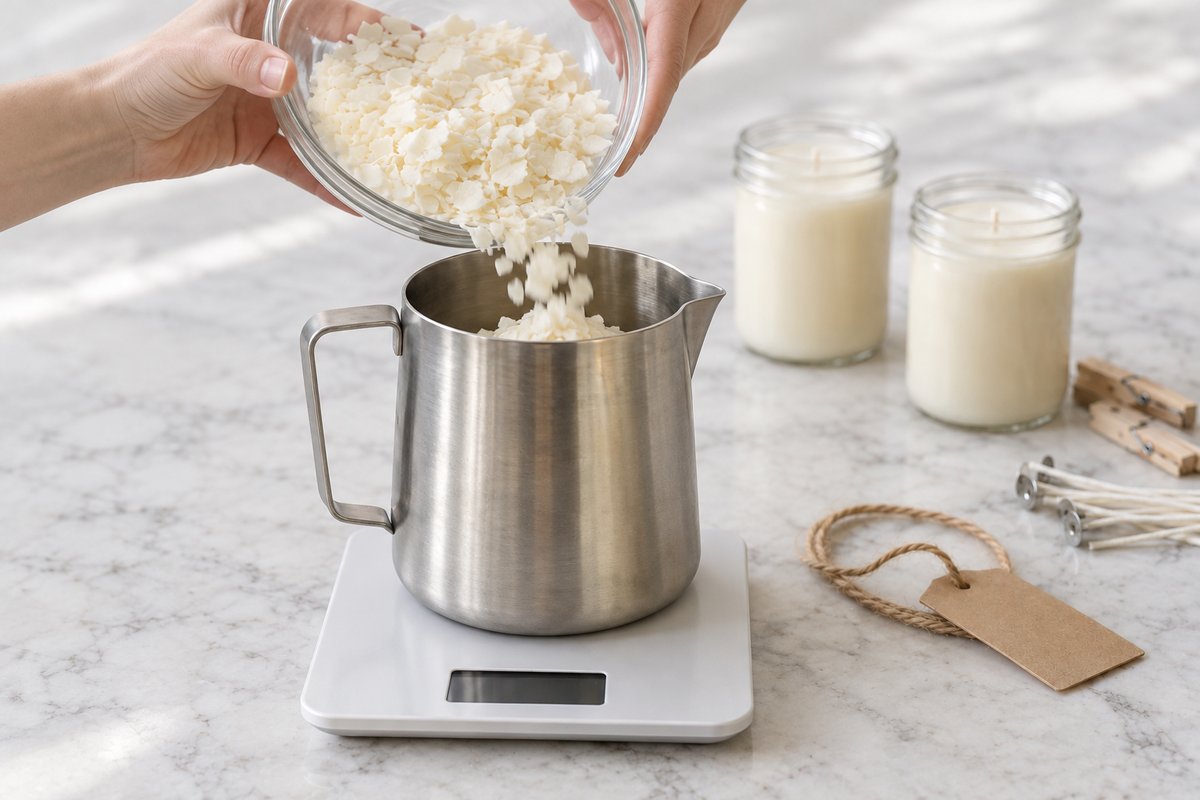
Candle recipes work by weight, not volume, because flakes pack loosely and fragrance oils vary in density. Set the pouring pitcher on the scale, zero it, and add 18 oz (510 g) of soy wax flakes for three jars, plus an extra ounce (30 g) for what clings to the pitcher and for a small top-up later. For other jar sizes, allow 0.75 oz of wax for every fluid ounce of jar capacity. Write the wax weight down; the fragrance amount in Step 4 is calculated from it. The flakes mound above the rim at this stage and collapse as they melt.
Step 3: Melt in a double boiler to 185°F (85°C)
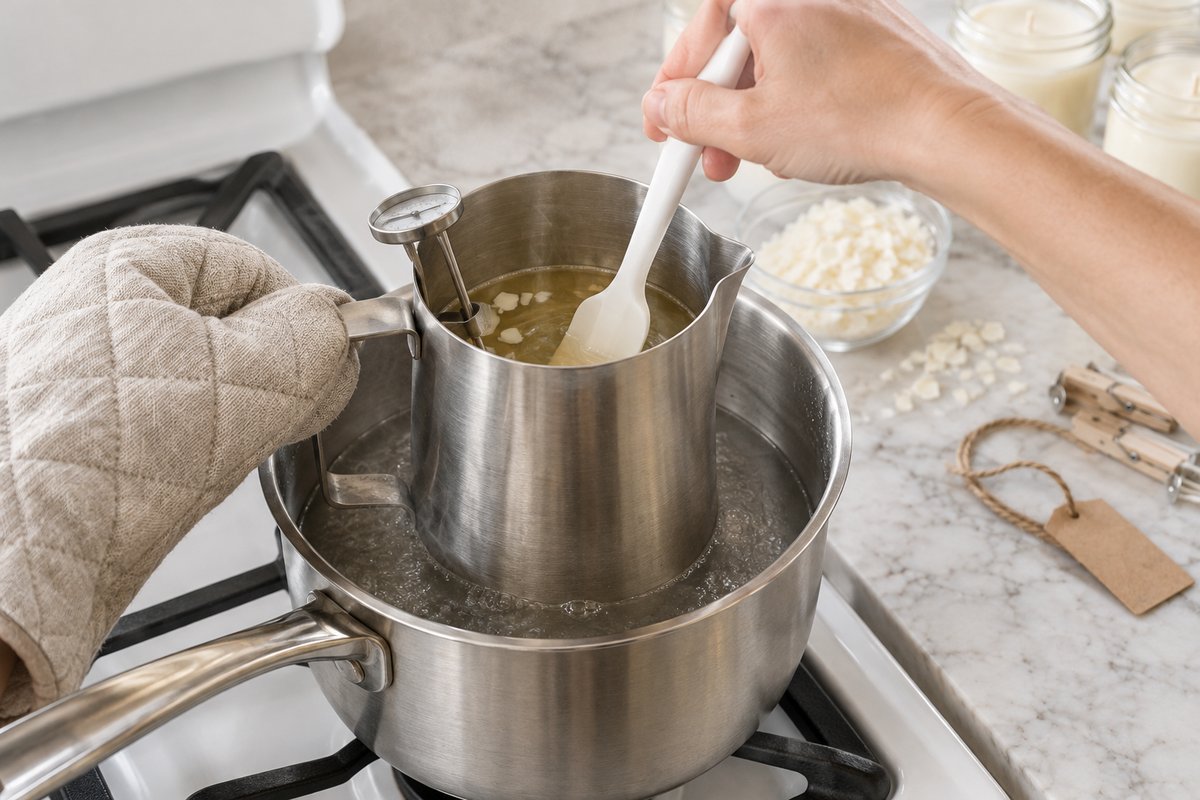
Pour 2 inches (5 cm) of water into the saucepan, set the pitcher in it and bring the water to a gentle simmer over medium heat. The flakes turn translucent at the edges first and are fully liquid in 15-20 minutes. Stir every few minutes, and keep the thermometer probe in the center of the wax, not touching the metal. Take the wax to 185°F (85°C): hotter than it needs to melt, but at that temperature the wax has no residual crystal structure, so the fragrance binds evenly. Do not let it pass 200°F (93°C), and top up the water if it boils low.
Step 4: Weigh and add the fragrance oil at 180-185°F
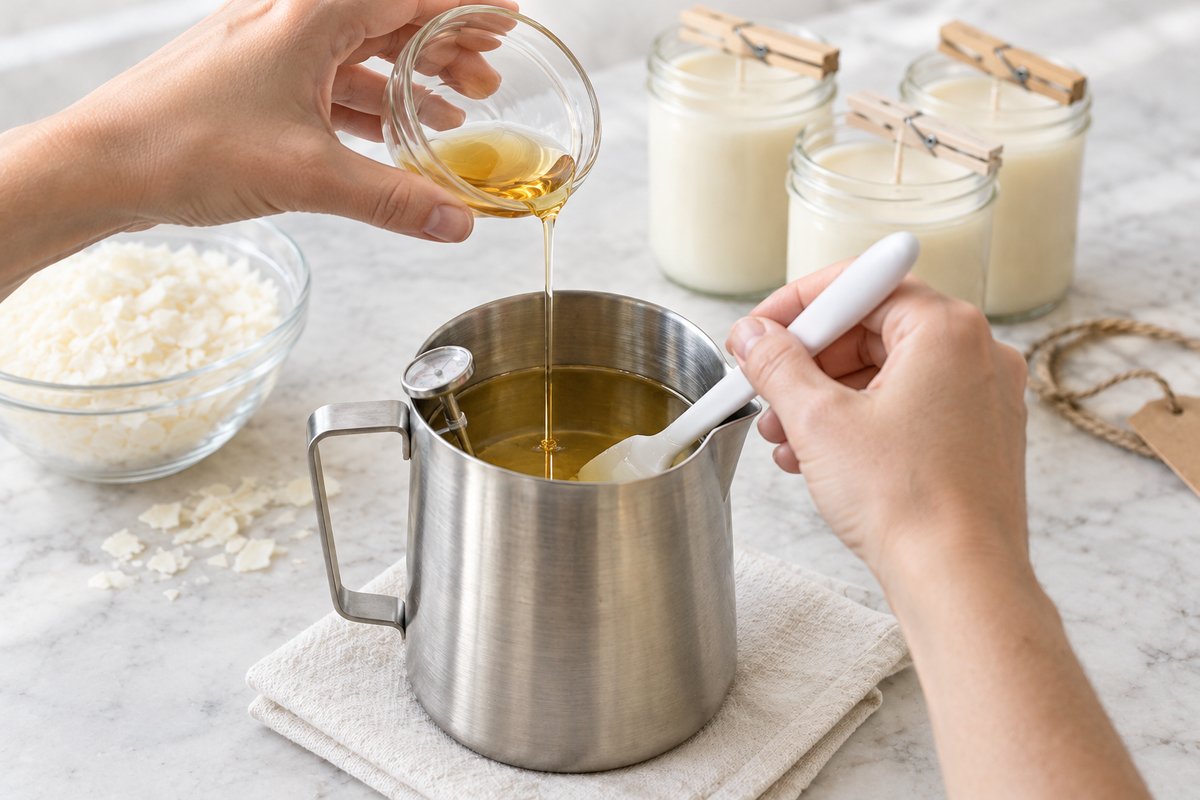
While the wax heats, weigh the fragrance oil in a small glass bowl on the zeroed scale. The load is a percentage of the wax weight: for 18 oz (510 g) of wax, 6% is 1.1 oz (31 g), 8% is 1.45 oz (41 g) and 10% is 1.8 oz (51 g). Start at 8%. Lift the pitcher onto a folded towel, confirm the wax reads 180-185°F (82-85°C), pour in the oil and stir gently for a full two minutes, scraping the sides and bottom. Oil added to cooler wax does not bind; it sweats out as droplets or sinks, and the scent is lost.
Step 5: Cool the wax to pouring temperature
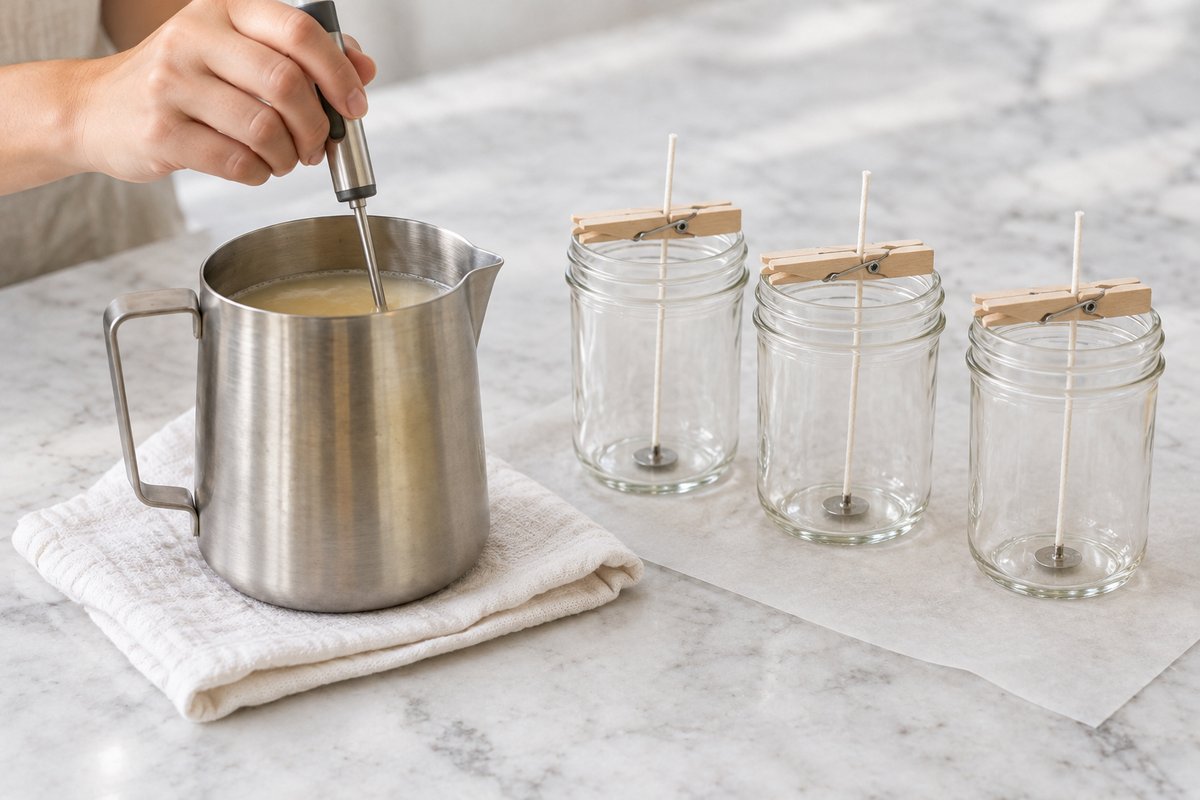
Leave the pitcher on the towel and let the wax cool to about 135°F (57°C), stirring slowly every few minutes. This takes 25-40 minutes depending on the room, and it is the step most people rush. Wax poured too hot shrinks more as it sets, which is the main cause of sinkholes, cracked tops and wet spots on the glass. As it cools, the wax turns faintly opaque and thickens at the edges; that is the cue. Take the jars out of the oven in the last five minutes so they are warm, not hot, and line them up on parchment with their clothespins in place.
Step 6: Pour and center the wicks
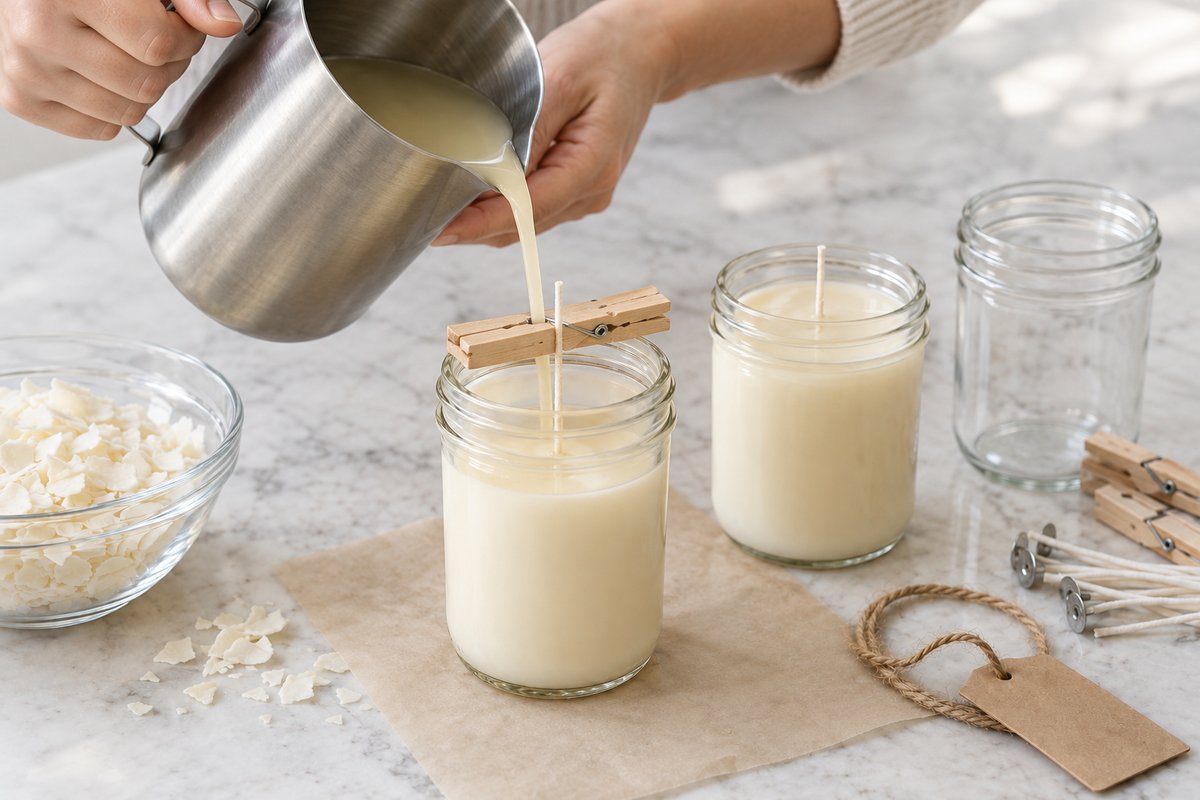
Pour slowly into each jar, aiming beside the wick rather than onto it, until the wax sits 1/2 inch (1.3 cm) below the rim, about 6 oz (170 g) per jar. Keep roughly an ounce back for the top-up in Step 7. Straight away, straighten each wick so it runs dead center through the clothespin; the tab can shift during the pour. Wipe drips from the rim while they are soft, then leave the jars alone, side by side, away from drafts and cold windows. Do not move them or put them in the fridge to speed things up; slow, even cooling gives a smooth top.
Step 7: Set, top up and cure
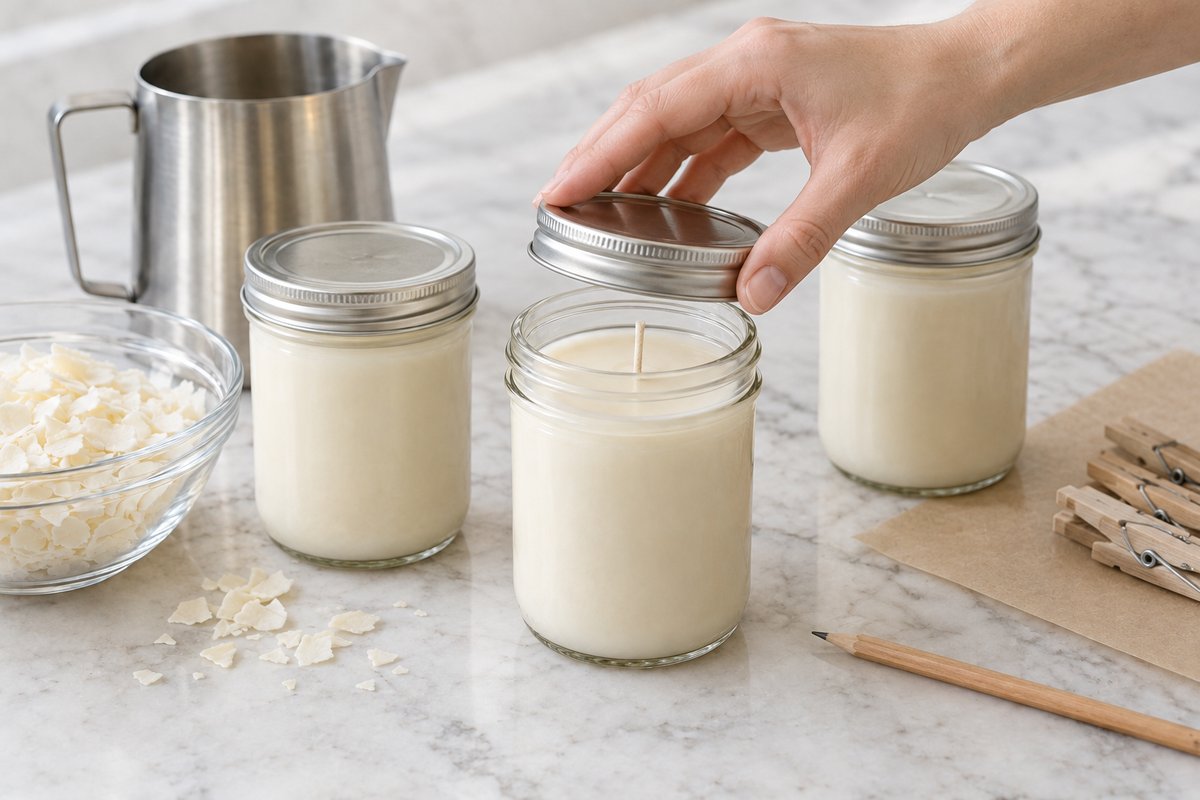
The candles turn opaque within an hour and are firm in 4-6 hours, but leave them a full 24 hours. If a dip has formed around the wick, re-melt the reserved wax to 135°F (57°C) and pour a thin layer to level it, or warm the surface briefly with a heat gun on low. Remove the clothespins, put the lids on and pencil the pour date on each. Now the cure: store the jars at room temperature for 1-2 weeks while the fragrance binds fully into the crystallizing wax. A two-week-old candle smells noticeably stronger when lit than a two-day-old one.
Step 8: Trim the wick and do the first burn
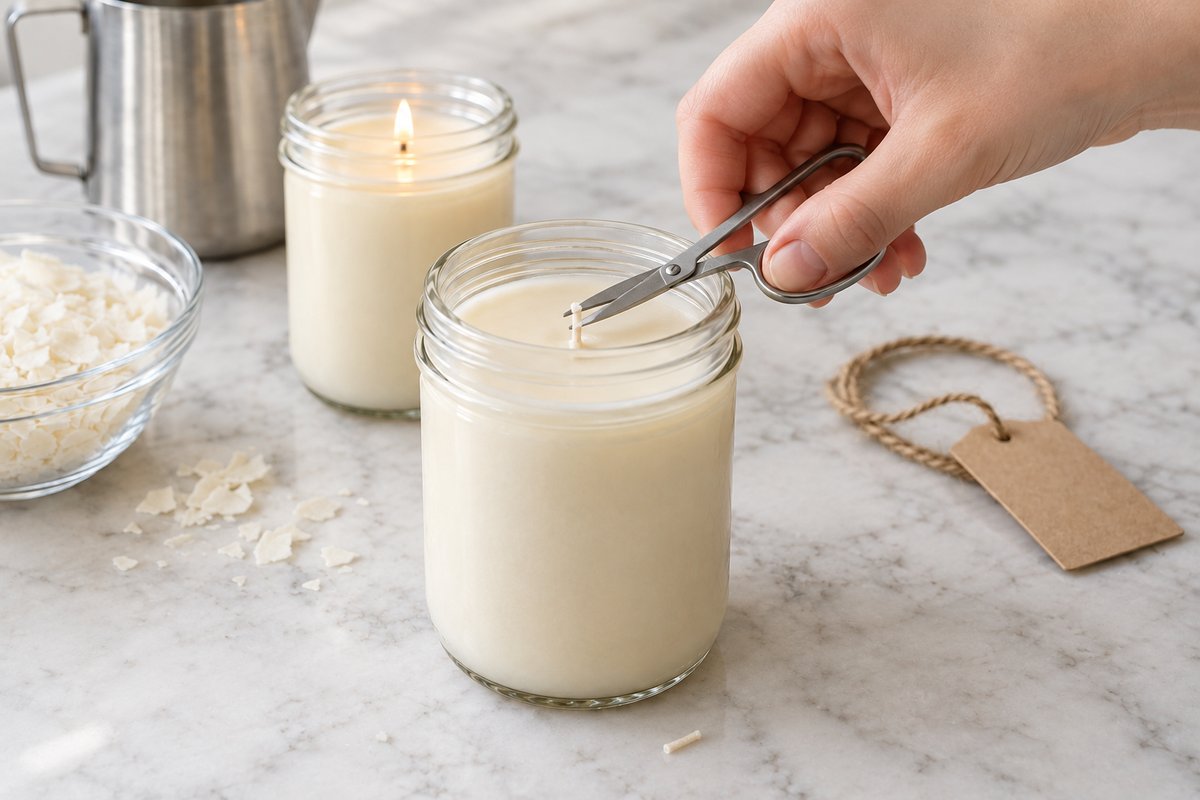
After curing, trim the wick to 1/4 inch (6 mm) above the wax; a long wick makes a tall, smoky flame. Set the candle on a heatproof surface away from drafts, light it, and let the first burn run until the melt pool reaches the glass all the way round, 2-3 hours in a 2.5-3 inch jar. Soy wax has memory: if the first burn is cut short, later burns stop at the same ring and the candle tunnels. Never burn longer than 4 hours at a stretch and never leave it unattended. If the flame smokes or rises above 1 inch (2.5 cm), put it out, let it cool and trim again.
Tips for a better result
- Pour one jar before pouring a dozen. Every fragrance oil behaves slightly differently, and wick sizing in soy is not exact. Cure one candle a week, burn it for three hours and look at the pool: a shallow pool means go up one wick size; a flame over 1 inch, soot on the glass or a pool deeper than 1/2 inch means go down one.
- Wood wicks need patience. Use a medium (0.5 inch / 13 mm) wick in its metal clip, keep it trimmed to 1/8 inch (3 mm), and expect a few tries to light it. One that will not stay lit is usually too long.
- Check the thermometer in boiling water (212°F / 100°C at sea level) before the first batch. A reading 10 degrees off means oil added too cool and a weak scent.
- Keep a batch log: wax weight, oil percentage, pour temperature, wick size and how the top looked the next day. After three batches the log answers most questions.
Troubleshooting
Frosting: white, crystalline patches on the wax
Frosting is natural crystallization and does not affect the burn or scent. It shows most on dyed candles and on candles that cooled quickly. Pour at 135°F (57°C) into warm jars, cool in a draft-free spot and store away from windows. Undyed wax hides it almost completely.
Wet spots: patches where the wax has pulled away from the glass
Wet spots are air pockets between the wax and the jar, caused by the wax shrinking as it cools and losing its grip on cold or dusty glass. They are cosmetic. Warm jars, a cooler pour and slow cooling all help, and warming the outside of a finished jar gently with a hair dryer often re-adheres the wax. A wrap-around label covers the rest.
Sinkholes and cracked tops
A crater around the wick, or a cave hidden under the surface, forms when the top skins over while the wax beneath is still contracting; pouring too hot and cooling too fast make it worse. Poke a skewer into the hollow to release trapped air, re-melt a little wax to 135°F (57°C) and pour a thin layer to level the top. Hairline cracks get the same fix.
Tunnelling: the candle burns straight down the middle
Either the first burn was too short or the wick is too small. Wrap a collar of aluminum foil around the top of the jar, leaving a 1-inch (2.5 cm) opening above the flame, and burn for two hours; the trapped heat melts the ledge back to the glass. Then do a proper full-pool burn, and go up one wick size on the next batch.
Weak scent when lit
Poor hot throw means the oil went in below 180°F (82°C), the candle was lit before it cured, or the load was low. Give the remaining candles another week; on the next batch, raise the load to 9-10% and check the thermometer.
Variations
- Layered scents. Pour the jar in two halves with two complementary oils, letting the first layer firm up for an hour before pouring the second. Vanilla under cedar, or lemon under lavender, work well.
- Coloured wax. Use candle dye chips or liquid dye, never crayons or food coloring, which clog the wick. One chip tints a pound of wax a soft pastel.
- Wood wick crackle. Swap the cotton wick for a medium wood wick in its metal clip for a soft crackling flame.
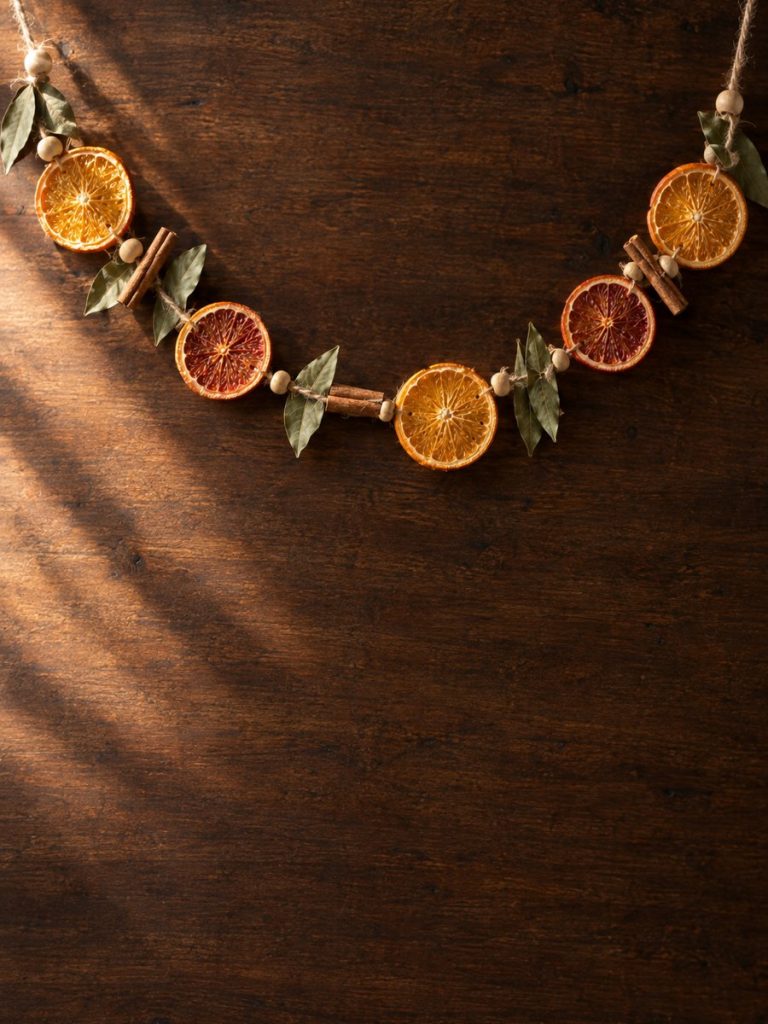
- Botanicals on the jar, not in the wax. A slice from a dried orange slice garland tied to the jar with twine looks lovely. Anything flammable inside the wax near the wick is a fire hazard.
- Mini size. The same method fills 4 oz jelly jars with 3 oz (85 g) of wax and a CD 8 or ECO 6 wick, ideal as party favors.
How to use, store and gift your candles
An 8 oz soy candle burns for roughly 40-50 hours. Trim the wick to 1/4 inch before every lighting, burn on a flat heatproof surface away from curtains and pets, and stop when 1/2 inch (1.3 cm) of wax remains, because the glass gets dangerously hot once the flame nears the base. Snuff the flame with the lid rather than blowing, which sprays wax. Store spare candles with lids on, out of direct sun and below 80°F (27°C); they keep their scent for about a year.
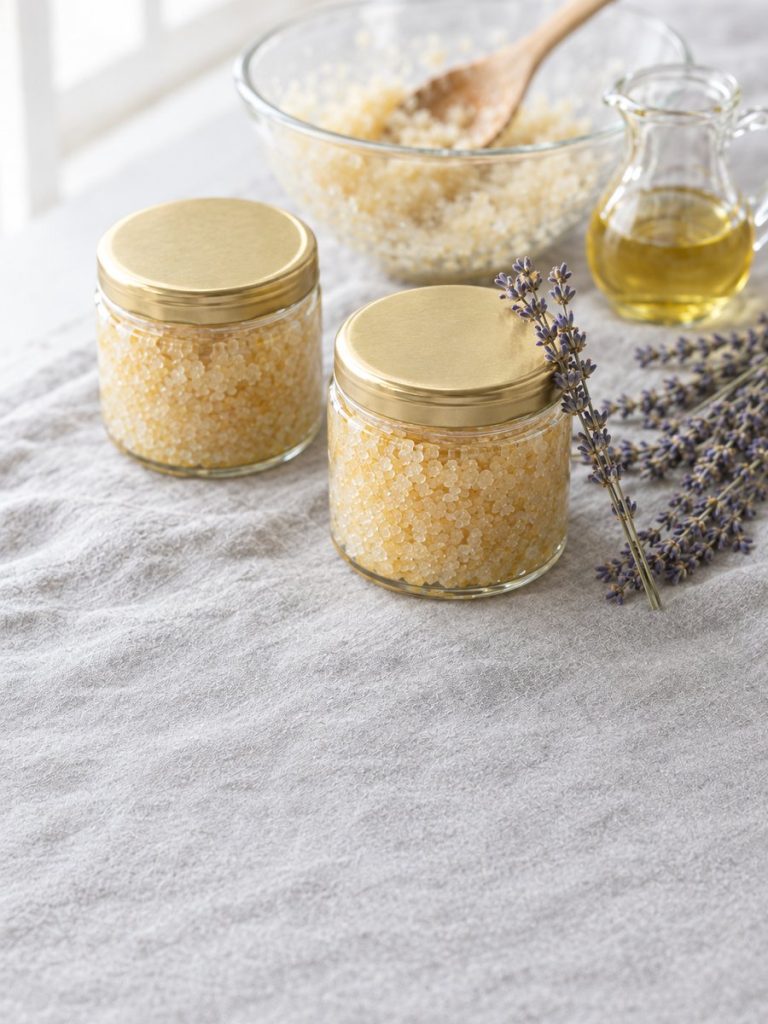
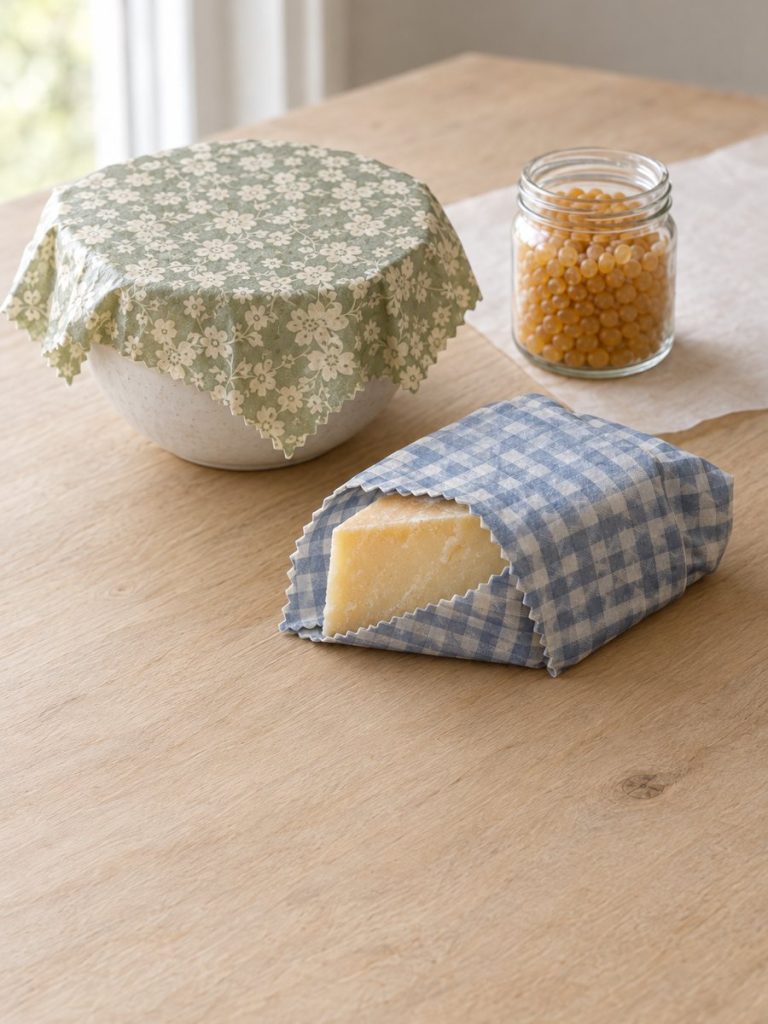
For gifting, a round 2-inch (5 cm) kraft label on the lid and a narrow wrap-around label are enough. Include the scent name, “soy wax, cotton wick”, the burn time and the safety lines: trim wick to 1/4 inch, burn no longer than 4 hours, never leave unattended, keep away from children and pets. Three candles in a kraft box with a jar of homemade sugar scrub or a set of beeswax wraps makes a complete handmade gift for under $15. When a candle is finished, pour hot (not boiling) water into the jar, let the wax float and set, and lift it out.
Frequently asked questions
Can essential oils be used instead of fragrance oil?
They can, but the results disappoint. Essential oils are volatile, so most of the aroma evaporates in the hot wax, leaving a faint scent even at a 10% load. Several have low flash points (citrus oils are around 115-120°F / 46-49°C), the temperature at which their vapor can ignite near a flame, so they should never be added to wax that hot or used in large amounts. Lavender, cedarwood and peppermint hold up best, added at about 150°F (65°C).
What wick size fits an 8 oz mason jar?
A regular-mouth 8 oz jar is about 2.5 inches (6.4 cm) across inside; the wide-mouth version is close to 3 inches (7.6 cm). For soy at that diameter, CD 12, ECO 10 and HTP 104 cotton wicks are the usual starting points, and a medium 0.5-inch wood wick covers both. A test burn settles it.
How much wax does an 8 oz jar take?
About 6 oz (170 g) by weight, filled to 1/2 inch below the rim. The 8 oz on the jar refers to fluid ounces of water, and soy wax is lighter than water, so allow 0.75 oz of wax per fluid ounce of jar.
Is it safe to burn a candle in a mason jar?
Yes, provided the jar is a genuine canning jar with no chips or cracks and the candle is burned sensibly: wick trimmed, no more than 4 hours, never unattended and stopped at 1/2 inch of remaining wax. The glass gets hot, so lift it only once it has cooled.
Why does the candle have to cure for two weeks?
Soy wax keeps crystallizing for days after it looks solid, and the fragrance binds into that structure as it forms. A candle lit after 48 hours throws less scent than the same candle lit after 14 days. One week is the minimum; two is better.
How much does it cost to make a mason jar soy candle?
Roughly $3.50-5 per 8 oz candle once supplies are bought in modest bulk: about $1.30 of wax, $1-1.50 of fragrance oil, $1 for the jar and lid, and under 50 cents for the wick, sticker and label. The initial outlay of about $60-80 makes around 25 candles.
More to make
Candles pair naturally with other simple kitchen crafts for a handmade gift box. Try a homemade sugar scrub, a set of beeswax wraps or a fragrant dried orange slice garland for the same festive table. For the kids, salt dough ornaments use the same low oven, and a macramé plant hanger is a satisfying afternoon of knotting. Prefer yarn to wax? The how to crochet guides start from the very first stitch.