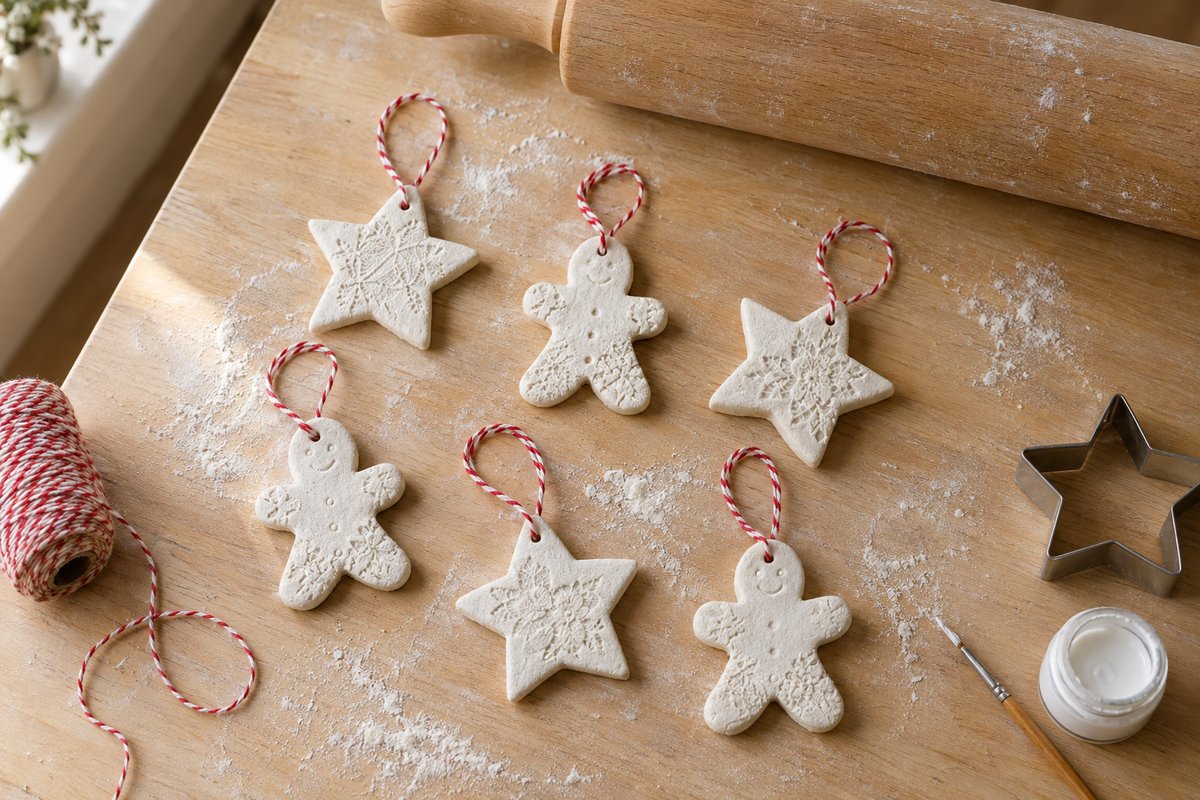
Salt dough ornaments are made from three pantry staples, flour, table salt and water, kneaded into a stiff dough, cut into shapes and dried in a low oven until rock hard. They cost under $2 for a whole batch, take an afternoon from mixing to painting, and keep for years when sealed properly. They are the classic way to turn a child’s handprint, a lace imprint or a tray of stars into tree decorations, gift tags and keepsakes that still look good a decade later.
In this post
What you need
The classic ratio is 2 parts flour to 1 part salt to roughly 3/4 part water by volume. The quantities below make about 20 ornaments of 3 inches (7.5 cm) rolled 1/4 inch (6 mm) thick.
Materials
| Item | Quantity | Notes |
|---|---|---|
| All-purpose (plain) flour | 2 cups / 250 g | Not self-raising |
| Fine table salt | 1 cup / 290 g | Coarse salt leaves a gritty surface |
| Warm water | 3/4 to 1 cup / 180 to 240 ml | Added gradually |
| Acrylic craft paint | 1 to 3 small bottles | White plus accent colors |
| Sealer | Mod Podge or clear acrylic spray | Gloss or matte |
| Baker’s twine or ribbon | About 3 yards / 3 m | 6 inches (15 cm) per ornament |
Tools
- Large mixing bowl and a sturdy spoon
- Rolling pin, plus two 1/4 inch (6 mm) wooden dowels as rolling guides (optional)
- Cookie cutters, 2 to 4 inches (5 to 10 cm)
- A drinking straw for the hanging hole
- Baking sheet lined with parchment paper
- Fine sandpaper, 220 grit, or an emery board
- Small flat paintbrush (1/2 inch / 12 mm) and a fine detail brush
- Lace scraps, leaves or rubber stamps for imprinting
The dough itself costs under $2: about 40 cents of flour and 50 cents of salt. Acrylic paint runs $1 to $2 a bottle at any craft or discount store, and a 4 oz (118 ml) jar of Mod Podge is around $5 and seals several batches.
Before you start
Set aside about 30 minutes of hands-on time for mixing, rolling and cutting, 2 to 3 hours of unattended oven time, then 30 to 60 minutes for painting and sealing once the ornaments are completely cool. Because paint and sealer need to dry between coats, it is easiest to bake one day and decorate the next.
Two safety points matter. First, salt dough is not edible. The finished ornaments look like cookies, but a single one contains roughly 1 tablespoon (15 g) of salt, enough to make a child ill and to poison a dog. Salt toxicity in dogs causes vomiting, tremors and seizures and can be fatal, and dogs are drawn to the smell of flour. Keep raw dough and finished ornaments out of reach of pets and small children at every stage, and hang them high on the tree. Second, use oven mitts for the baking sheet every time it comes out, including the halfway flip.
Preheat the oven to 250°F (120°C) and no hotter: heat is what makes salt dough puff and crack, and a low oven dries it slowly instead of cooking it.
Salt dough ornaments, step by step
Step 1: Mix the dough
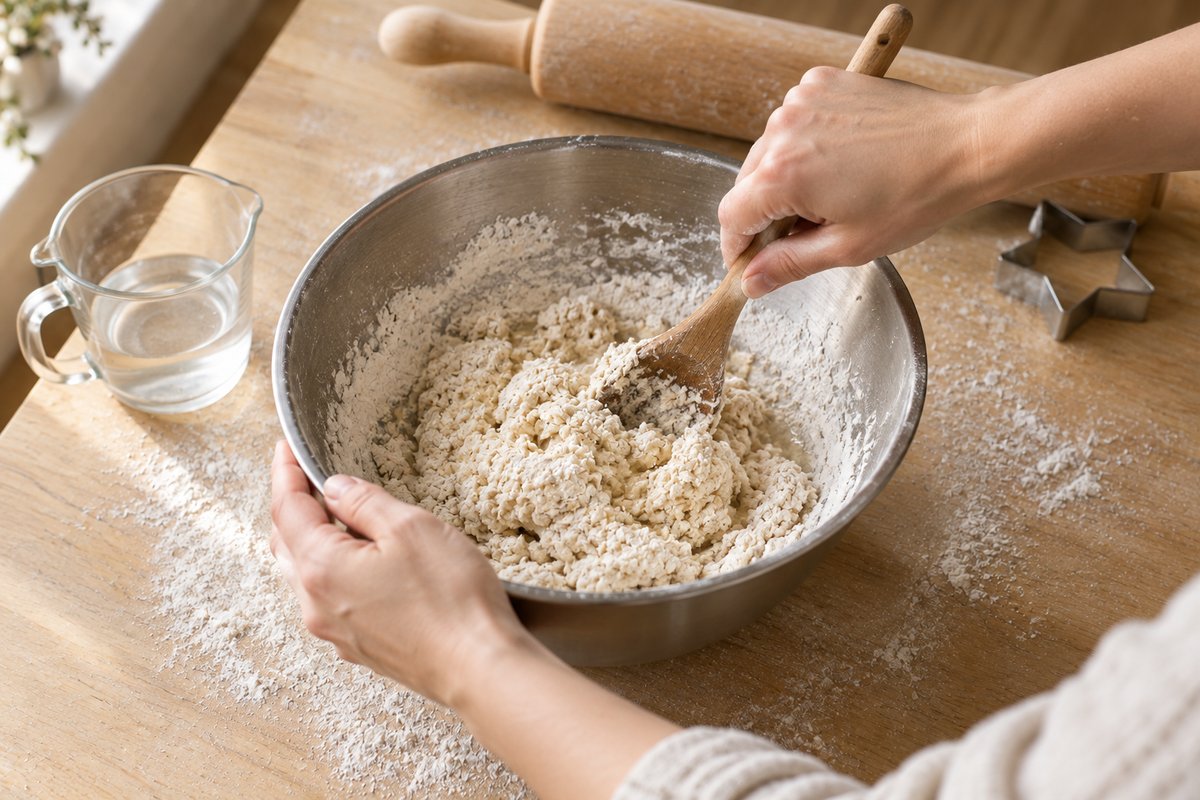
Put 2 cups (250 g) of flour and 1 cup (290 g) of fine table salt in a large bowl and stir them together so the salt is evenly distributed. Pour in 3/4 cup (180 ml) of warm water, which helps the salt dissolve slightly, and stir until the mixture comes together into a shaggy mass. It will look dry and crumbly at this point, and that is correct. Only if loose flour remains in the bottom of the bowl after a minute of stirring should the remaining 1/4 cup (60 ml) go in, a tablespoon at a time. Dough that is too wet is the main cause of ornaments that puff and crack, so err on the dry side.
Step 2: Knead and rest
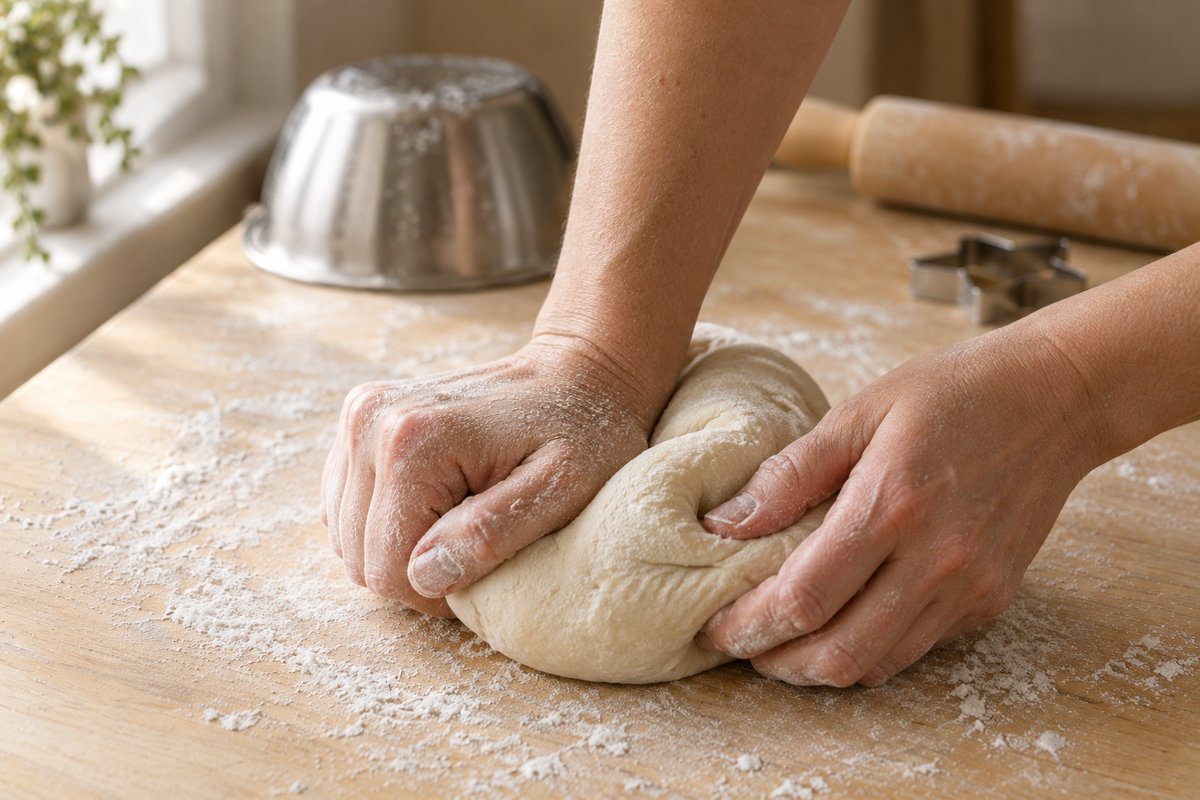
Turn the dough out onto a lightly floured board and knead it for 5 to 10 minutes, pushing it away with the heel of the hand, folding it back over itself and turning it a quarter turn. It starts rough and cracked and gradually becomes smooth, firm and slightly elastic, like modeling clay. Long kneading matters: it works out the air pockets that would otherwise expand into bubbles in the oven. If the dough sticks, knead in a little more flour; if it crumbles, wet the hands and keep kneading. Shape it into a ball, cover it with the upturned bowl and rest it for 10 minutes so the flour finishes absorbing the water.
Step 3: Roll the dough to 1/4 inch
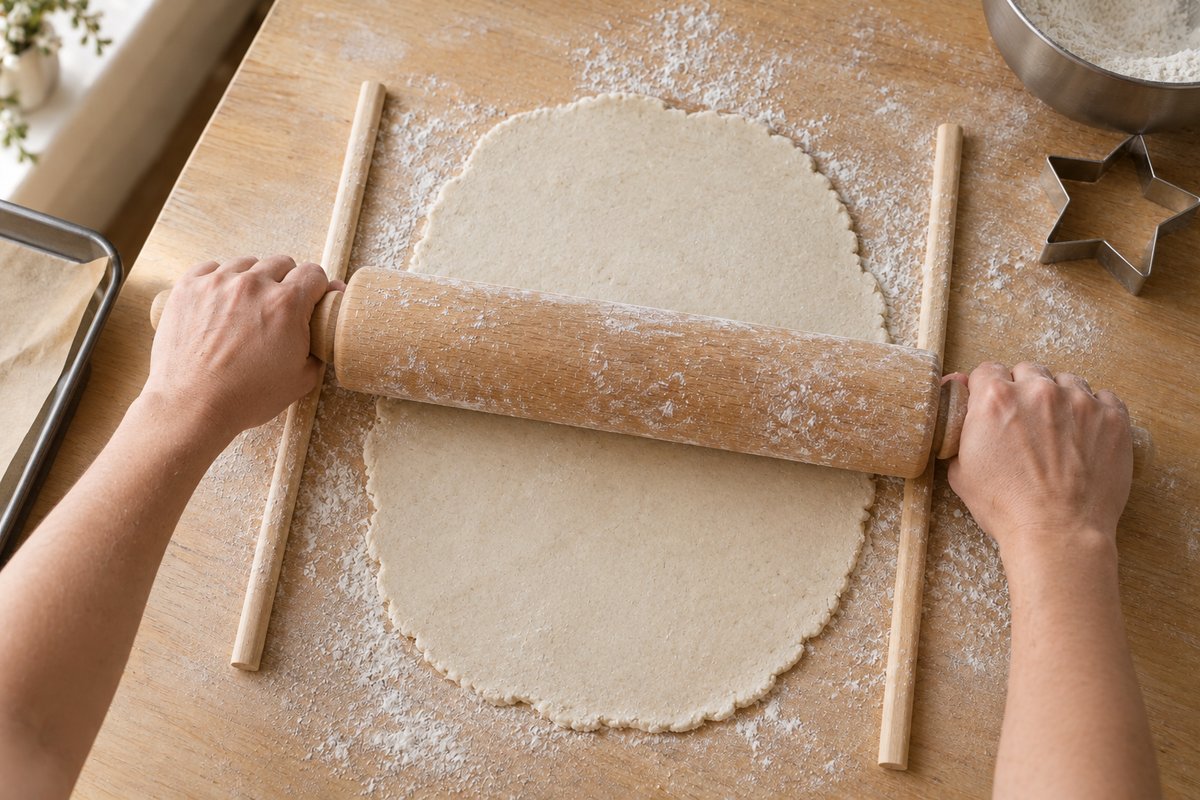
Dust the board and rolling pin with flour and roll the dough out to an even 1/4 inch (6 mm). Thickness is the biggest factor in how the ornaments bake: thinner pieces dry faster but snap easily, and anything over 3/8 inch (1 cm) stays soft in the middle after 3 hours and is far more likely to puff. Two wooden dowels or rolling guides laid either side of the dough keep the pin level. Lift and turn the sheet a couple of times while rolling so it does not stick, dusting underneath with flour if needed. Work with half the dough at a time if the board is small, keeping the rest covered.
Step 4: Cut the shapes and make the hanging hole
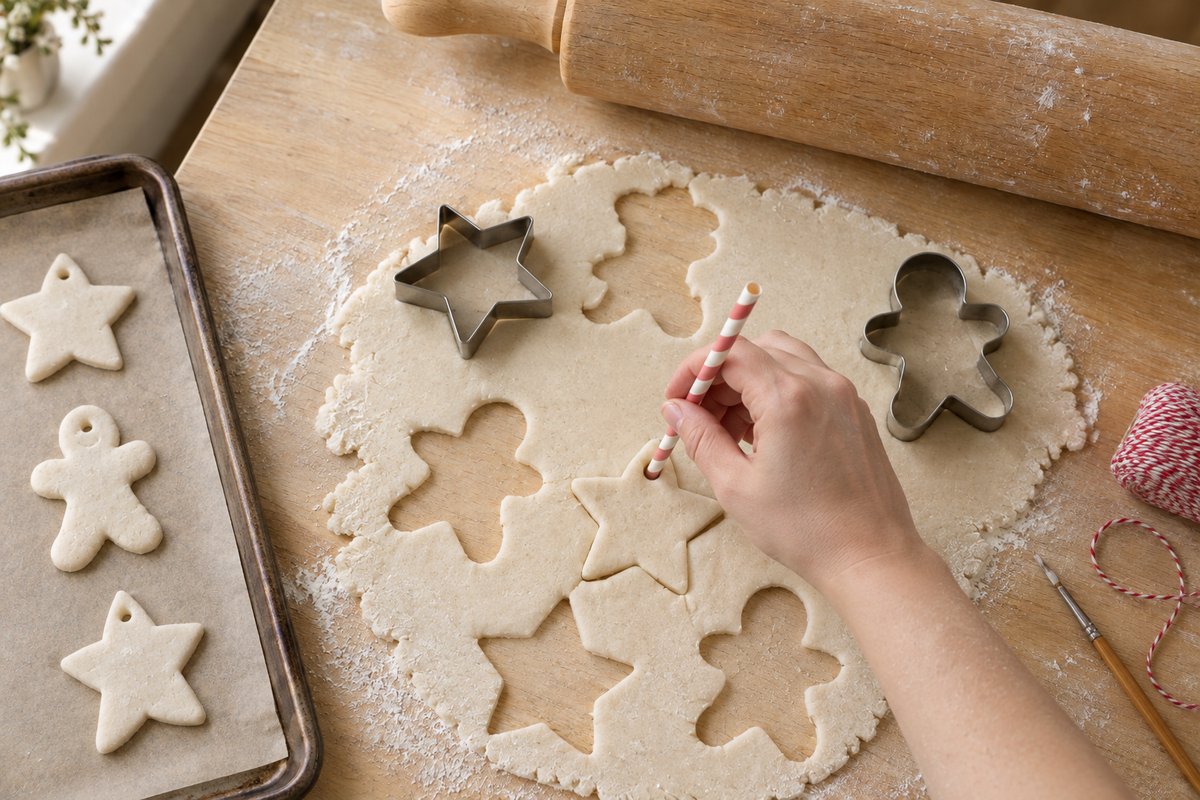
Dip the cutters in flour and press them straight down without twisting, which drags the edges. Cut the shapes close together, lift away the scraps, and move each piece to the parchment-lined baking sheet with a thin spatula, leaving about 1/2 inch (1 cm) between them. Re-knead the scraps, roll and cut again until the dough is used up. While the shapes are still soft, push a drinking straw through each one about 1/2 inch (1 cm) from the top edge to make a clean hanging hole; a straw cuts a plug out, where a skewer only pushes dough aside and the hole tends to close as it dries. Smooth rough edges with a damp fingertip.
Step 5: Add imprints and texture
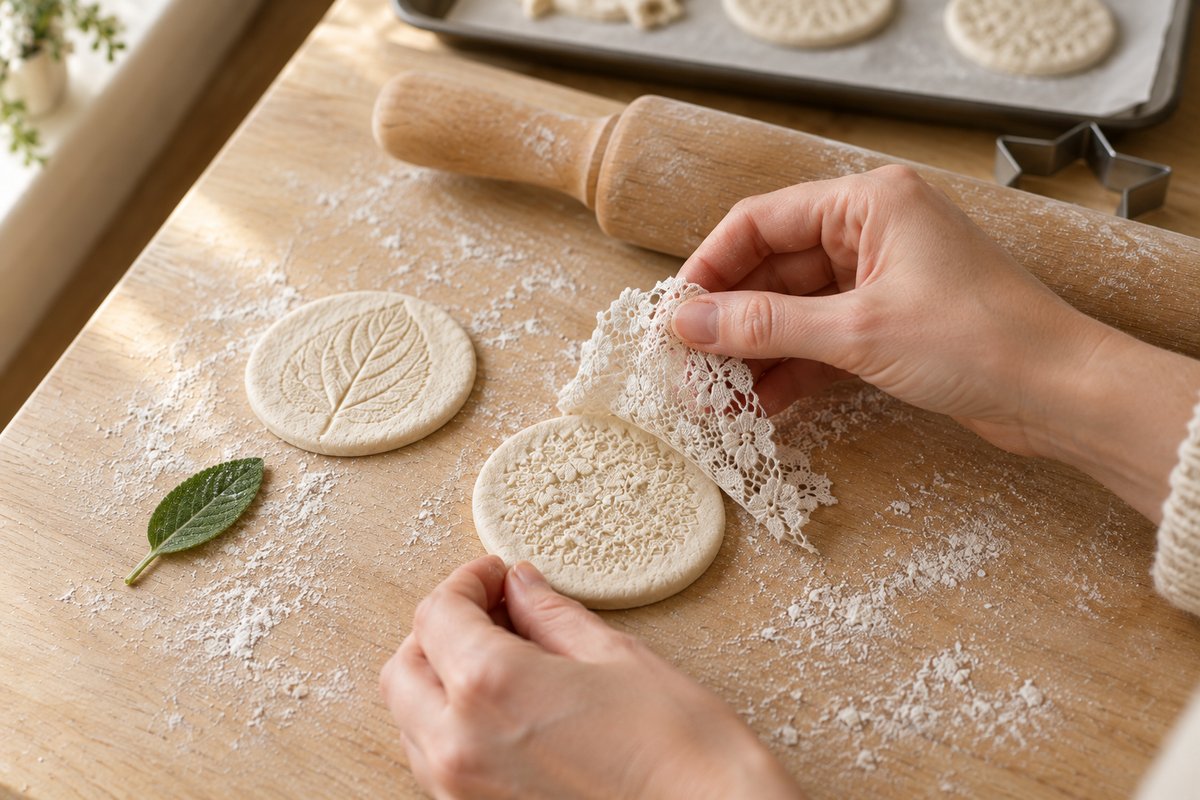
This is the stage for decoration pressed into the dough rather than painted on. Lay a scrap of lace over a shape, roll over it once firmly with the pin, then peel it away to leave a fine pattern. Press a leaf, vein side down, into a circle for a botanical print, or push rubber stamps, buttons or the end of a fork into the surface. For a handprint keepsake, roll a round of dough slightly larger than the hand, press the palm and fingers in evenly, then trim around it with a knife and add the hole. Textures look best pressed about 1/16 inch (1 to 2 mm) deep; shallow marks fade under paint, and very deep ones weaken the ornament.
Step 6: Bake low and slow, or air-dry
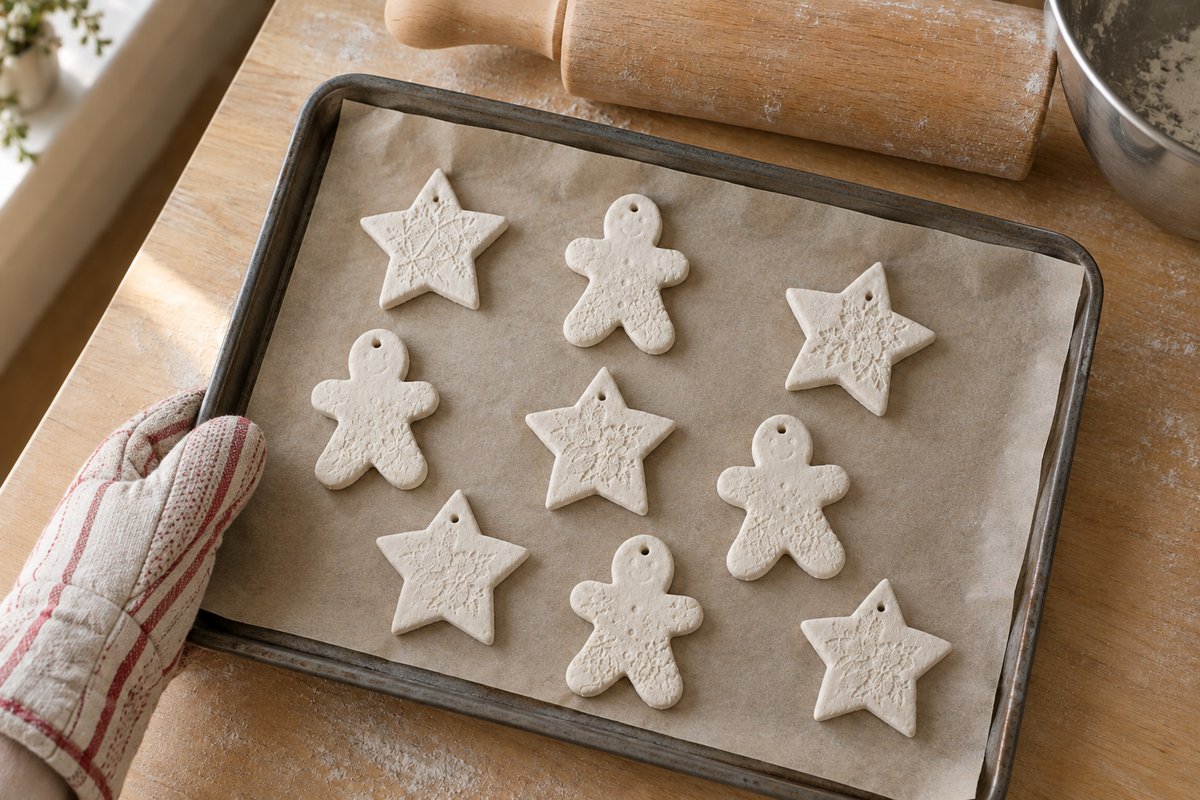
Put the sheet on the middle rack of the 250°F (120°C) oven and bake for 2 to 3 hours. Flip the ornaments with a spatula halfway through so both sides dry evenly and the bottoms do not stay damp. They are done when they are hard all the way through, sound dry when tapped and no longer feel cool or soft in the center; pieces thicker than 1/4 inch may need an extra hour. A little browning on the edges is harmless and sands off. The alternative is to air-dry the ornaments on a wire rack in a warm, dry room for 2 to 3 days, turning them daily; they end up whiter and flatter but need a dry house.
Step 7: Cool, sand and paint
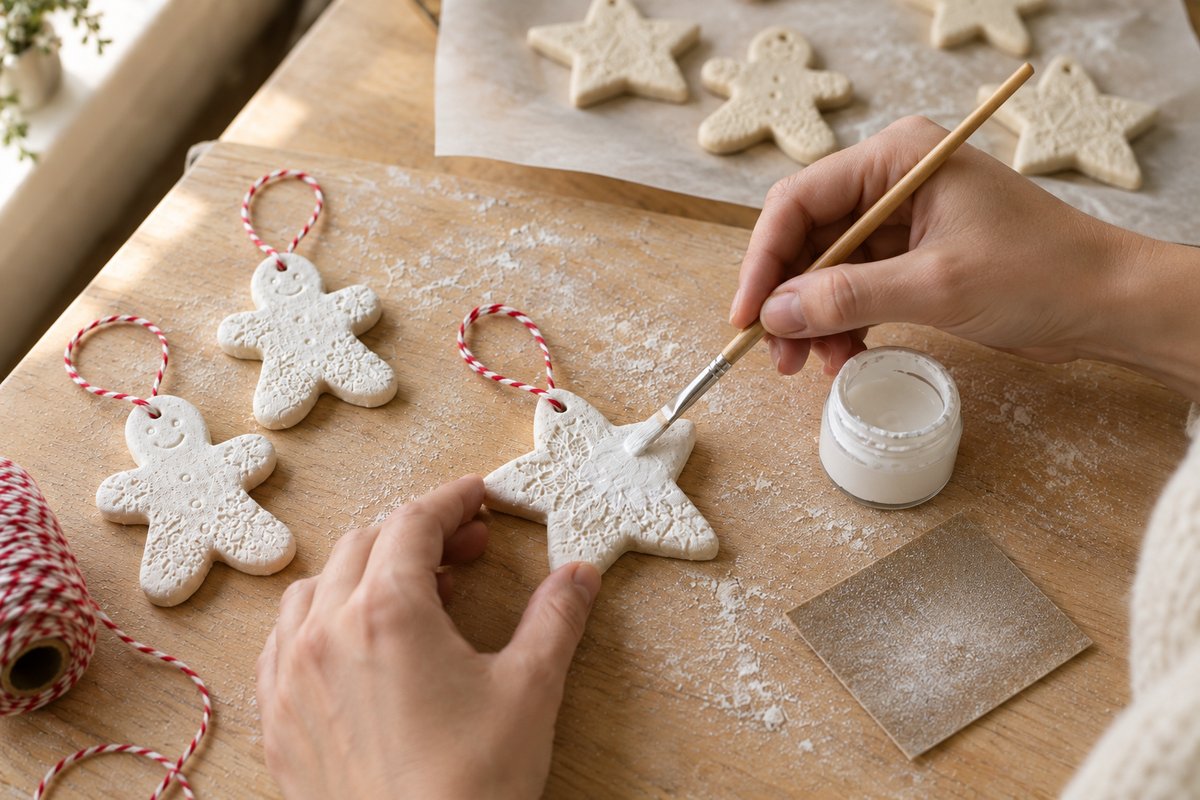
Let the ornaments cool completely on the sheet, at least 30 minutes, because warm salt dough is still slightly soft and paint applied to it blisters. Run 220 grit sandpaper or an emery board lightly around the edges and over any bumps, then wipe off the dust. Acrylic craft paint covers salt dough well and dries in 15 to 20 minutes. Apply two thin coats of white rather than one thick one. For lace and leaf imprints, paint the piece white, let it dry, brush a wash of diluted color over the top and wipe the surface so the color stays only in the grooves. Use the fine brush for names and dots, and paint one side at a time.
Step 8: Seal both sides and hang
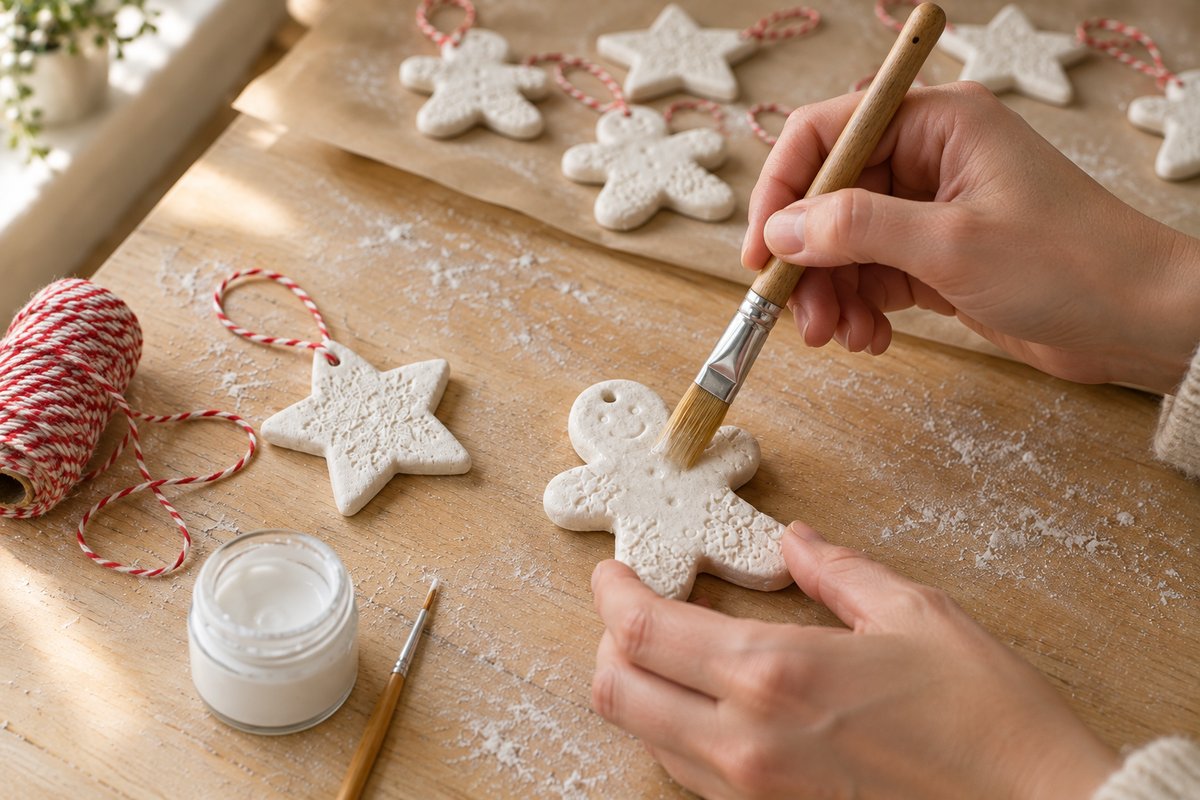
Sealing is not optional. Salt pulls moisture out of the air, and an unsealed ornament softens, goes sticky and eventually crumbles in a humid room or a damp storage box. Brush a thin, even coat of Mod Podge over the front and edges, let it dry for about an hour, then do the back; two coats on each side gives the best protection. Clear acrylic spray works just as well: spray outdoors or in a well-ventilated space, 8 to 10 inches (20 to 25 cm) away, in two light coats per side, 20 minutes apart. Cut 6 inches (15 cm) of twine per ornament, thread it through the hole and tie a loop. Let everything cure overnight before packing or hanging.
Tips for a better result
- Weigh the flour if a scale is available. A packed cup can hold 30 g more than a loose one, which changes how much water the dough needs.
- Keep thickness consistent across the batch, or thin pieces over-brown while thick ones stay soft.
- Write names and dates on the back in pencil before sealing. It stays put under Mod Podge.
- Hang them alongside a dried orange slice garland for a tree that smells as good as it looks.
Troubleshooting
The ornaments puffed up or bubbled
The oven was too hot, the dough was too wet, or air was trapped in it, and steam lifted the surface. Check the oven with a thermometer, as many run 25°F (15°C) hot, use less water next time, and knead the full 5 to 10 minutes. Mildly puffed pieces can be flattened under a heavy book while still warm; badly domed ones are best re-made.
The ornaments cracked
Cracking comes from drying too fast, usually a hot oven, or from dough that was too dry to begin with. Fill hairline cracks with a dab of Mod Podge mixed with flour, let it dry, sand and paint. Bake at 250°F (120°C), not higher, and keep the dough covered while working.
The centers are still soft after 3 hours
The pieces are thicker than 1/4 inch or were not flipped. Return them to the oven for another 30 to 60 minutes, or air-dry them overnight. Centers must be fully dry before sealing or they will rot under the finish.
Variations
- Handprint and footprint keepsakes. Roll a 1/2 inch (1 cm) thick round, press in a baby’s hand or foot, mark the date on the back with a skewer, and bake an extra hour for the thickness.
- Gift tags. Cut small rectangles, stamp a letter into each and tie them to parcels.
- Cinnamon gingerbread ornaments. Replace 2 tablespoons (16 g) of the flour with ground cinnamon for a brown, scented dough, then paint white “icing” details. Scented dough smells edible, so the pet warning matters even more.
- Botanical tiles. Press rosemary or fern fronds into round tiles and leave them unpainted under a matte sealer.
- Glitter and gold. Sprinkle fine glitter onto wet Mod Podge or paint the edges gold before the final sealer coat.
How to use, store and care for it
Sealed salt dough ornaments last for many years and are regularly handed down. They weigh about 1 oz (25 to 30 g) each at 3 inches, so hang them on sturdier branches and out of reach of dogs. Store them between layers of tissue paper in a lidded box with a packet of silica gel, in a closet rather than an attic, garage or basement where humidity swings. Dust them with a soft dry cloth and never wash them. If a piece chips, touch up the paint and add another coat of sealer. For gifting, nestle three or four in a small box with tissue, or tie one as a tag to a jar of homemade sugar scrub or a mason jar soy candle.
Frequently asked questions
What is the best salt dough recipe for ornaments?
The standard 2:1 ratio by volume, 2 cups (250 g) all-purpose flour to 1 cup (290 g) fine table salt, with 3/4 to 1 cup (180 to 240 ml) warm water. It holds crisp edges and imprints and dries hard without special ingredients.
How long do you bake salt dough ornaments?
Bake at 250°F (120°C) for 2 to 3 hours for pieces rolled 1/4 inch (6 mm) thick, flipping halfway. They are ready when they are hard all the way through and sound dry when tapped.
Why do salt dough ornaments puff up?
Steam, from an oven that is too hot or dough that is too wet. Stay at 250°F (120°C), add the water gradually and knead thoroughly to remove trapped air.
Do salt dough ornaments need to be sealed?
Yes, on both sides. Salt absorbs moisture from the air, and an unsealed ornament softens and crumbles in a humid room or a damp box. Two coats of Mod Podge or clear acrylic spray on every surface keeps them hard for years. If one goes sticky later, dry it in a 200°F (95°C) oven for 30 minutes and reseal.
How long do salt dough ornaments last?
Sealed and stored dry, they last for years and often decades. Unsealed ornaments may only survive one season. Add a fresh coat of sealer whenever the surface looks dull or feels tacky.
Are salt dough ornaments safe for kids and pets?
Children can help make them with an adult handling the oven, but the dough and finished ornaments are not edible. The salt content is dangerous to dogs, who are drawn to the smell, and salt poisoning can be fatal. Keep every stage out of reach of pets.
More to make
Once the oven is on low, a dried orange slice garland can share the rack and the same twine. For handmade gifts to go with the ornaments, there are mason jar soy candles, a homemade sugar scrub, reusable beeswax wraps and a macramé plant hanger for beginners. While the ornaments bake, browse the how to crochet guides.