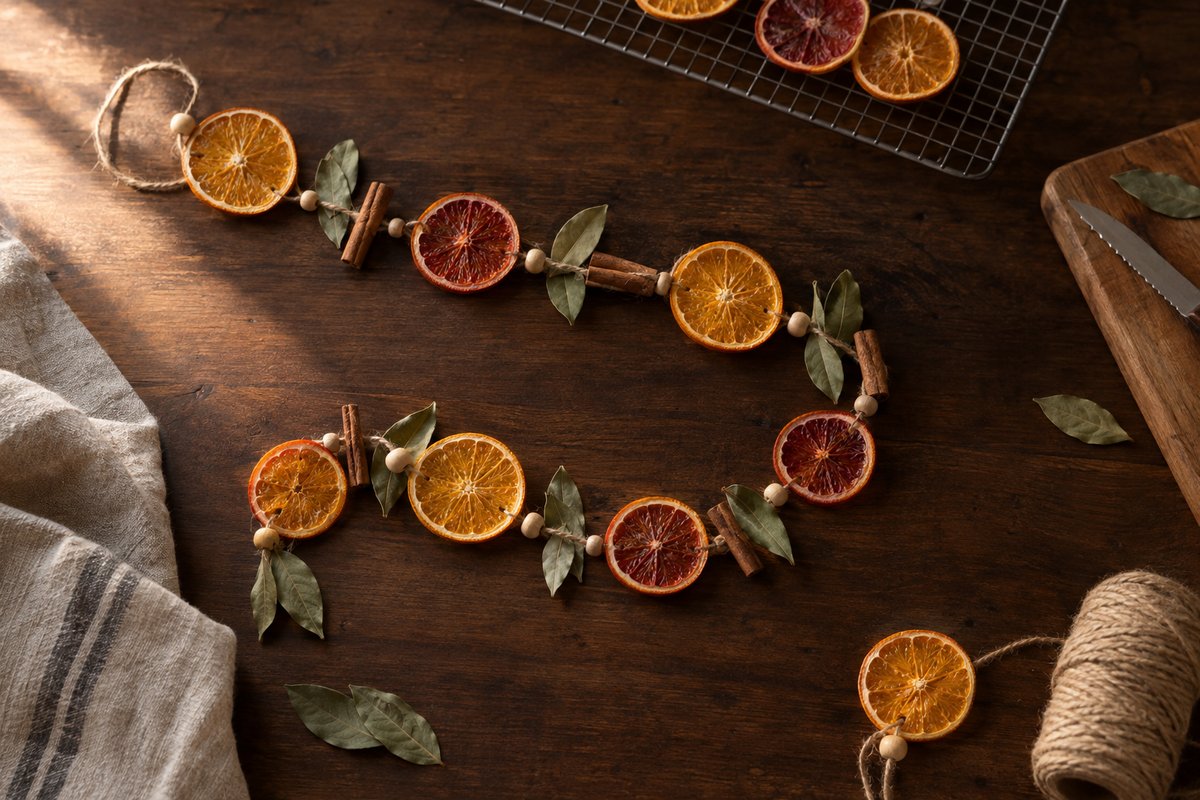
A dried orange garland is a string of oven-dried citrus slices threaded onto jute twine with cinnamon sticks and bay leaves, hung along a mantel, through a Christmas tree or across a window. Properly dried, the slices turn translucent and glow like stained glass when light passes through them, and the whole strand smells faintly of orange and spice for weeks. It costs under $20, needs only a knife, an oven and a needle, and the drying time is almost entirely hands-off. A well-dried garland can be packed away and reused for two or three seasons.
In this post
What you need
The quantities below make one garland about 6 feet (1.8 m) long with 20 to 24 orange slices, enough for a mantel or a 6-foot tree; double everything for a banister. All of it is sold at any supermarket or craft store.
| Material | Quantity | Approximate cost |
|---|---|---|
| Navel oranges, medium (2.5 to 3 in / 6 to 8 cm across) | 4, about 1 lb 12 oz (800 g) | $4 |
| Blood orange, lemon or lime (optional, for colour contrast) | 1 to 2 | $2 |
| Cinnamon sticks, 3 in (7.5 cm) | 10 to 12 | $4 |
| Dried bay leaves, whole | 12 to 16 | $2 |
| Natural jute twine, 2 to 3 mm | 7 ft (2.1 m) from a spool | $3 |
| Wooden beads, 16 to 20 mm with a 4 mm hole (optional) | 12 to 20 | $4 |
| Dried hydrangea heads (optional) | 2 to 3 | $5 or free from the garden |
Tools: a sharp serrated knife (or a mandoline with its guard), a cutting board, paper towels, two rimmed baking sheets, two wire cooling racks that fit inside them, parchment paper, a large-eyed darning needle (size 13 to 16), scissors, and optionally a hand drill with a 1/16 in (1.5 mm) bit for the cinnamon sticks. Without the optional extras the project comes to around $13; with beads and hydrangea, closer to $20.
Before you start
Set aside an afternoon. The active work is about 30 minutes of slicing and threading, but the slices need 3 to 4 hours in the oven and 30 minutes to cool, so plan on 5 hours from first cut to hanging. Drying one day and threading the next also works if the slices rest on a rack overnight, not in a sealed container.
Three safety notes. First, a mandoline is the fastest way to get even slices but also the most common cause of kitchen cuts; use the guard every time and never slice the last inch of the orange on it. Second, 200°F (95°C) is a very low oven, but it is still running for 4 hours: stay in the house, keep the parchment away from the heating element and open the door with a towel. Third, dried fruit is flammable. Keep the garland well away from candles, incandescent bulbs and lit fireplaces, and out of reach of cats and dogs, since citrus oils and cinnamon can upset their stomachs.
If the oven’s lowest setting is 170°F (75°C), the slices take 5 to 6 hours instead. A food dehydrator does an excellent job at 135°F (57°C) for 6 to 10 hours with no flipping. An air fryer works for small single-layer batches: use the lowest setting, ideally 180 to 200°F (80 to 95°C), for 2 to 3 hours, flipping every 30 minutes, because the fan browns edges quickly. The oven method below is the easiest to get right for a whole garland at once.
Dried orange slice garland, step by step
Step 1: Choose and wash the oranges
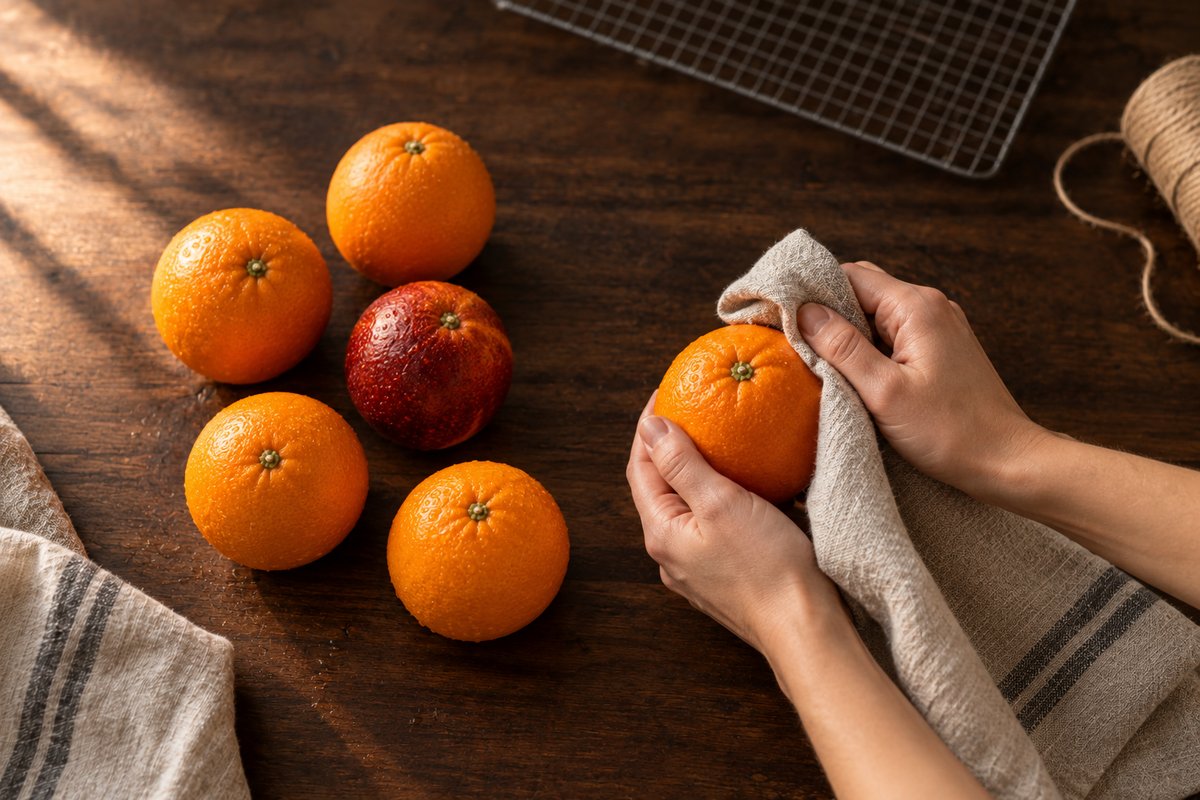
Navel oranges are the best all-round choice: seedless, thin-skinned, bright and cheap in winter. Pick firm, medium fruit 2.5 to 3 inches (6 to 8 cm) across; very large oranges give floppy slices that take longer to dry. Blood oranges dry to a deep ruby with dark red flecks, and lemons and limes work too, though limes often dry to a dull olive. Avoid soft, bruised or overripe fruit, which browns rather than turning amber. Scrub each orange under warm running water to remove any wax coating, then dry it; wax left on the peel stops the edges drying evenly and gives a cloudy finish.
Step 2: Slice evenly to 1/4 inch (6 mm)
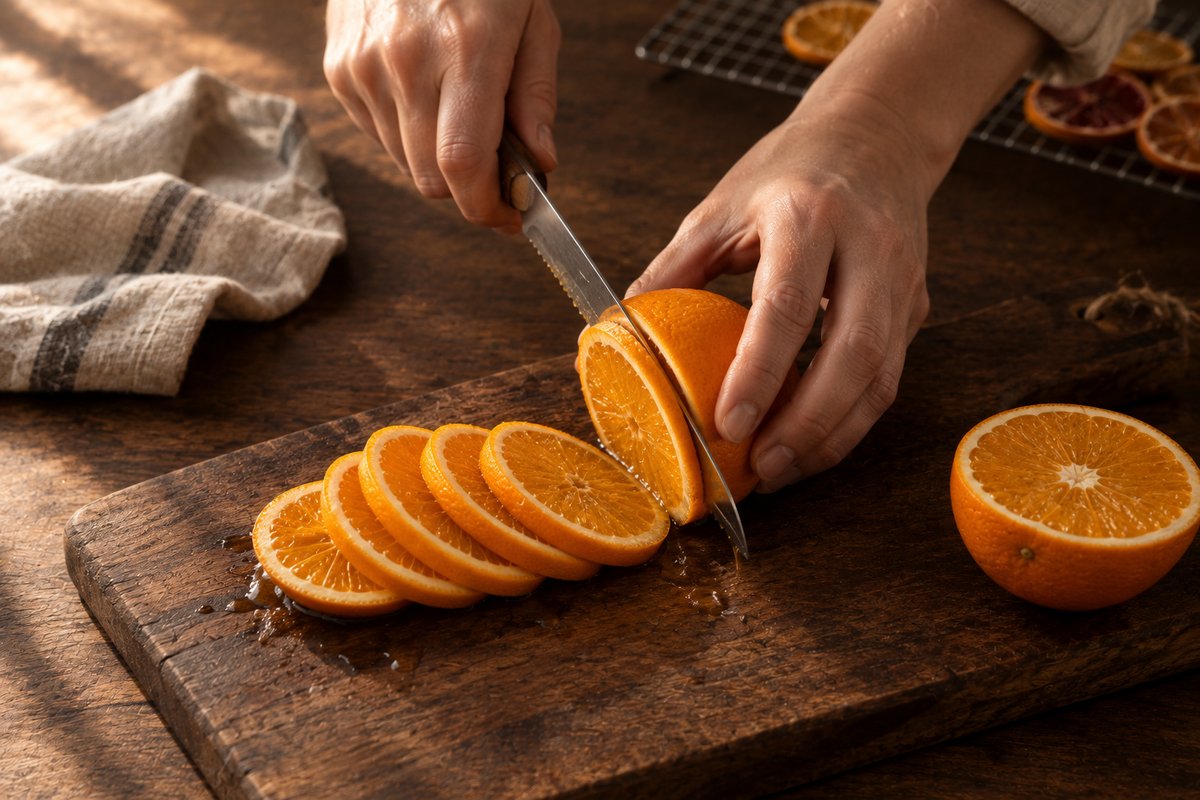
Cut a thin sliver off the stem end so the orange sits flat, then slice across the fruit into rounds 1/4 inch (6 mm) thick. Thickness matters more than anything else: thinner slices scorch and curl, thicker ones stay sticky in the middle and mold later. A serrated knife glides through the peel without squashing the flesh; a mandoline set to 6 mm gives perfectly even rounds. Discard the end pieces and any slice that tears, and flick out seeds from blood oranges or lemons with the knife tip. A medium navel yields 8 to 10 usable slices, so four oranges give 32 to 40 with room to reject imperfect ones.
Step 3: Blot the slices dry
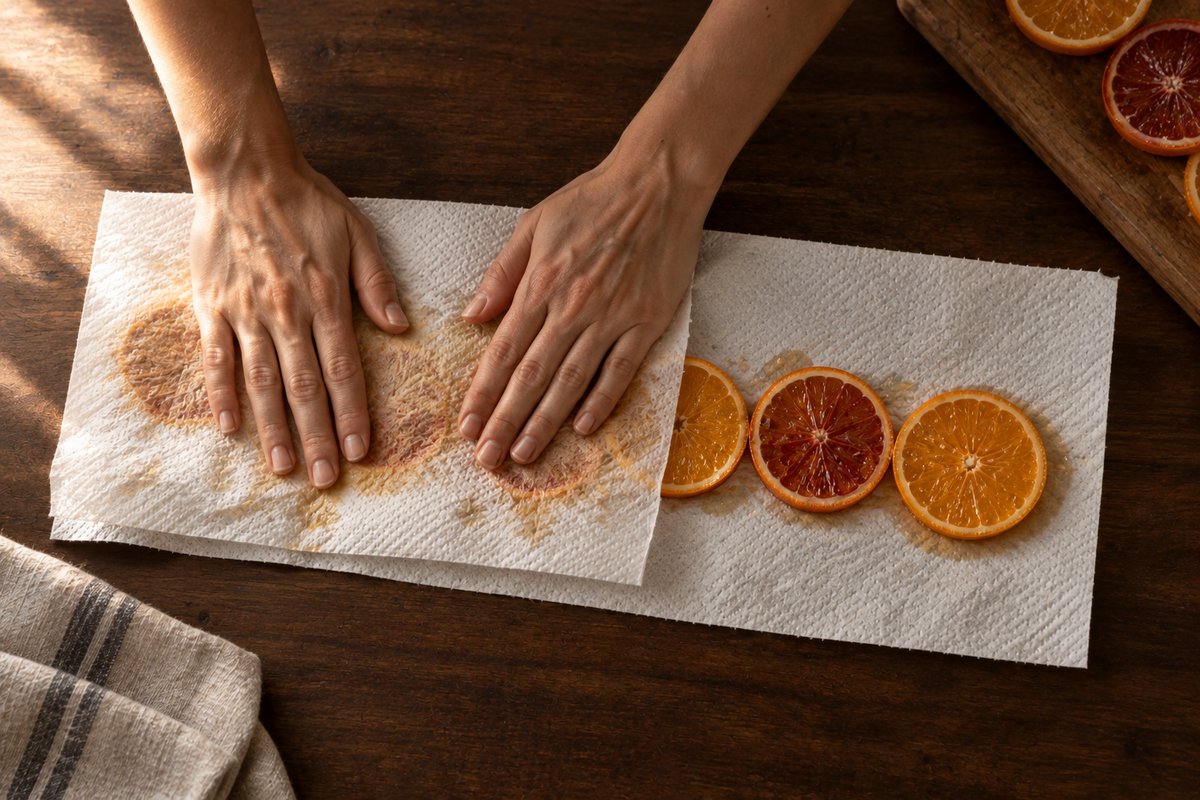
Lay the slices in a single layer on a double thickness of paper towel, cover with another layer and press down firmly with flat palms for about 10 seconds. Move the slices to a dry patch and repeat. Each round should look matte rather than wet. Blotting shortens oven time by up to an hour and stops the sugars pooling and caramelising on the rack, which is what causes brown, sticky edges. Do not wring or twist the slices; gentle, even pressure keeps the segments intact.
Step 4: Dry in the oven at 200°F (95°C)
Heat the oven to 200°F (95°C). Line each baking sheet with parchment, set a wire cooling rack on top and arrange the slices on the rack in a single layer with space between them; the rack lets air reach both sides and the parchment catches drips. Dry on the middle and lower oven racks for 3 to 4 hours. Every hour, flip each slice over, swap the trays between racks and turn them front to back. Flipping is the difference between flat, evenly amber slices and curled, scorched ones. If the oven runs humid, prop the door open 1 inch (2.5 cm) with a wooden spoon for the last hour.
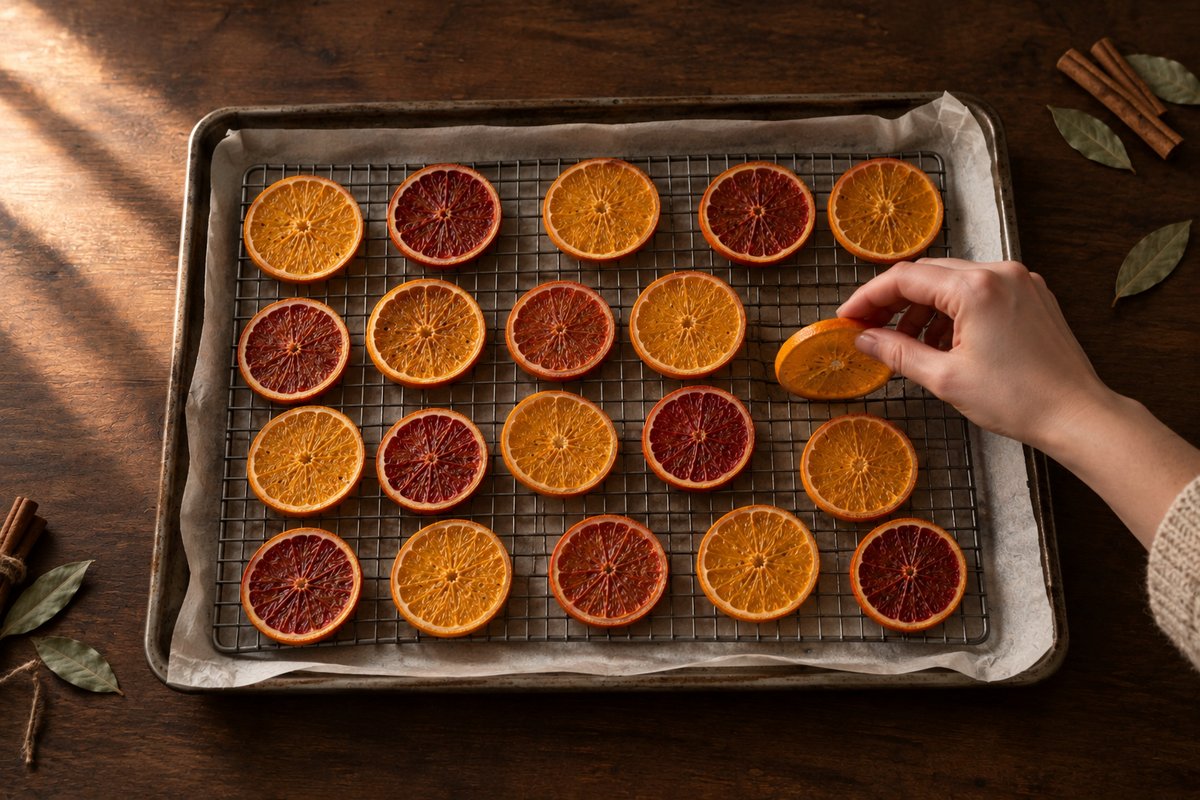
Step 5: Check for doneness and cool completely
At the 3-hour mark, hold a slice up to the light. A finished slice is translucent, with the segments showing clearly like the panes of a window, dry and slightly leathery to the touch, and firm rather than bendy at the centre. Press the middle with a fingertip: if it feels tacky or damp, it is not done. Return underdone slices for another 30 to 60 minutes and pull the finished ones so they do not over-brown; blood orange and thicker rounds usually need the full 4 hours. Cool the slices on the rack for at least 30 minutes, as they firm up noticeably as they cool.
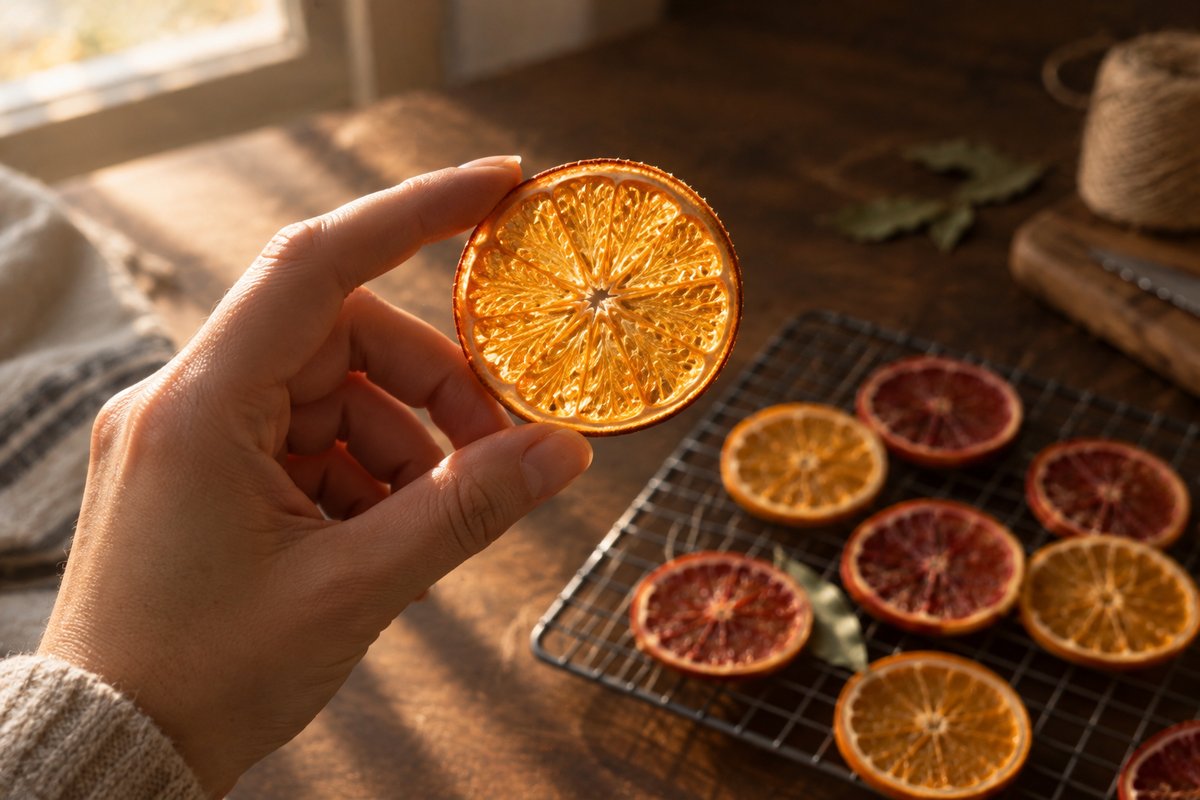
Step 6: Thread the slices onto jute twine
Cut 7 feet (2.1 m) of twine for a 6-foot garland; the extra becomes hanging loops at each end. Tie a loop in one end with an overhand knot. Thread the other end through a darning needle and pass it through each slice about 1/4 inch (6 mm) in from the peel, where the pith is tough enough to hold. Going through the pith rather than the fragile centre stops slices splitting, and threading them warm cracks them, so wait until fully cool. Slide each slice along and leave 1.5 to 2 inches (4 to 5 cm) between slices. For a fuller look, pierce through the centre instead so the slices lie flat against the strand.
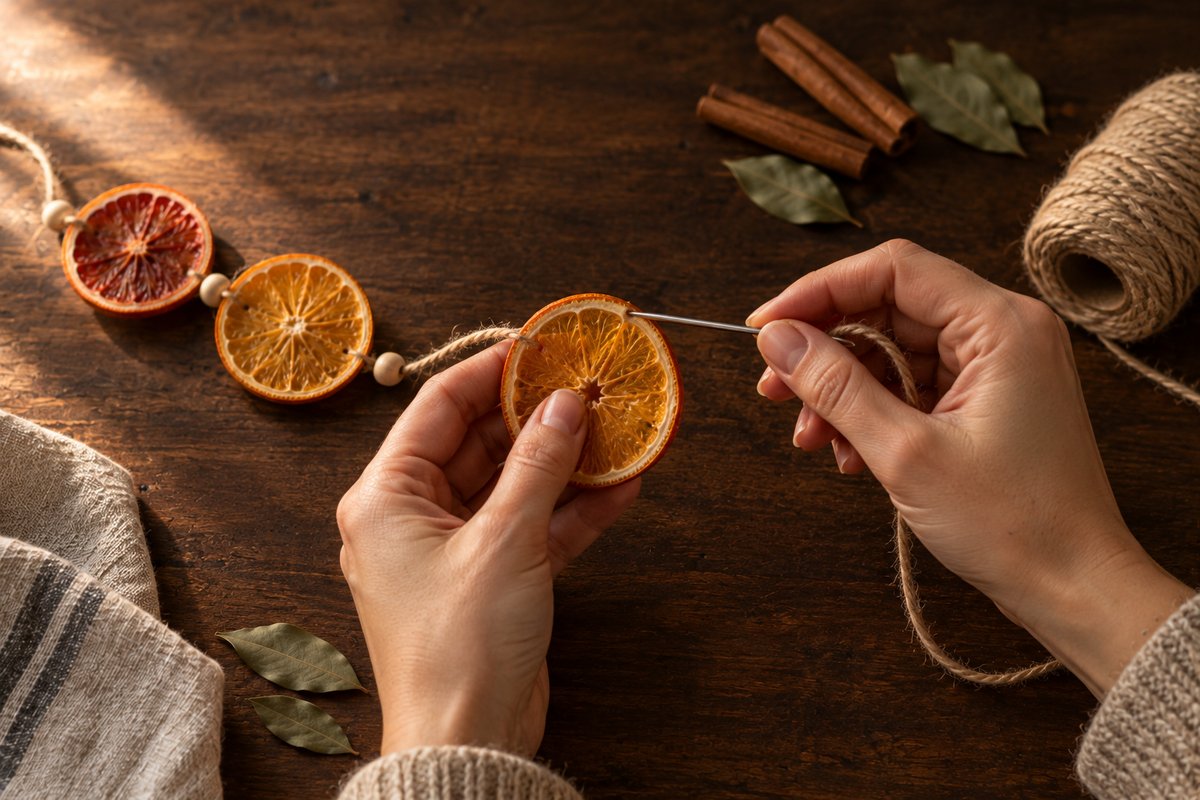
Step 7: Add cinnamon, bay leaves and beads, then hang
Work along the strand adding spacers between slices. Cinnamon sticks can be tied on with a short piece of twine wrapped twice around the stick and knotted at the back, or threaded through a 1/16 inch (1.5 mm) hole drilled across the middle. Bay leaves are easiest pierced through the base with the needle; two or three together look fuller. Wooden beads slide straight on and stop the slices sliding about. A pleasing rhythm is slice, bead, slice, cinnamon, slice, bay leaves, repeat. Finish with a loop at the far end, and hang the garland from two removable adhesive hooks on the mantel, weave it through the tree or stretch it across a window frame.
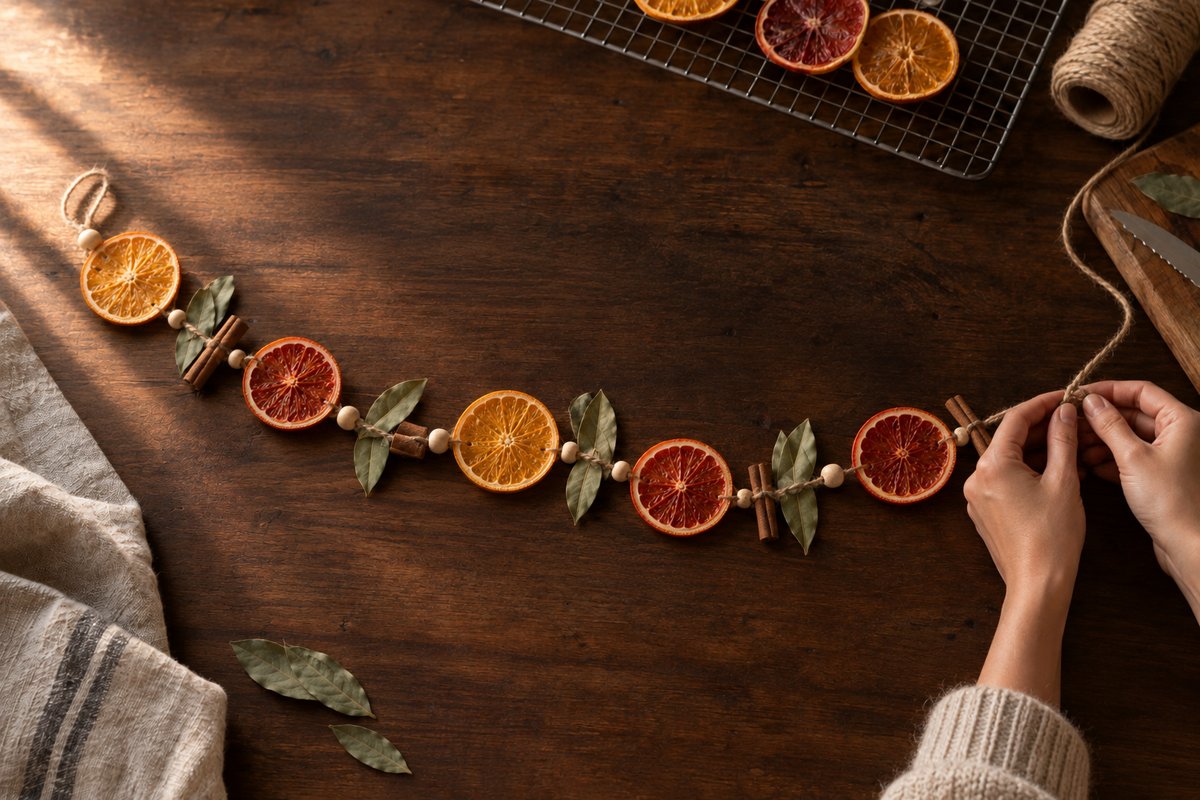
Tips for a better result
- Dry a mixed tray. One blood orange and a lemon among the navels give a spread of amber, ruby and pale gold.
- Never dry slices flat on parchment. Slices sitting directly on paper stick, stay pale underneath and take longer; the rack in Step 4 gives airflow on both sides.
- Brush with clear shellac or matte varnish for a longer life. A thin coat on both sides after drying seals the slice against humidity; let it cure 24 hours before threading.
Troubleshooting
The slices turned brown instead of amber
Either the oven was too hot or the slices were too thin. Check the oven with a thermometer; many run 20 to 30°F (10 to 15°C) above the dial. Keep to 1/4 inch (6 mm), blot well and flip every hour. Browned slices can still go into potpourri.
The centres are still sticky after 4 hours
The slices were cut too thick, were not blotted, or the oven is holding moisture. Return them with the door propped open 1 inch (2.5 cm) and check every 30 minutes. Never thread a sticky slice; it will mold within a week.
The slices curled into cups
Curling comes from drying one side faster than the other. Flip on the hour; if a batch has already curled, sandwich the slices between two sheets of parchment under a second baking sheet for the last 30 minutes to press them flat.
White fuzz or dark spots appeared after a few weeks
That is mold: the slice was not fully dry or the room is humid. Throw the affected slices away rather than wiping or re-drying them, keep the garland away from kitchens, bathrooms and humidifiers, and varnish the next batch if the house is damp.
Variations
- Citrus and evergreen. Tie 4-inch (10 cm) sprigs of fresh pine, cedar or eucalyptus between the slices; replace the greenery every two weeks.
- Fall harvest strand. Swap bay leaves for dried apple rings (same method, 1/4 inch thick, 2 to 3 hours), whole star anise and small pine cones.
- Orange and salt dough ornament garland. Alternate the slices with small salt dough stars or hearts on the same twine for a tree that matches from top to bottom.
- Single-slice ornaments. Thread a 10-inch (25 cm) loop of twine through one slice with a cinnamon stick tied across the front, for the tree or gift boxes.
How to use, store and care for it
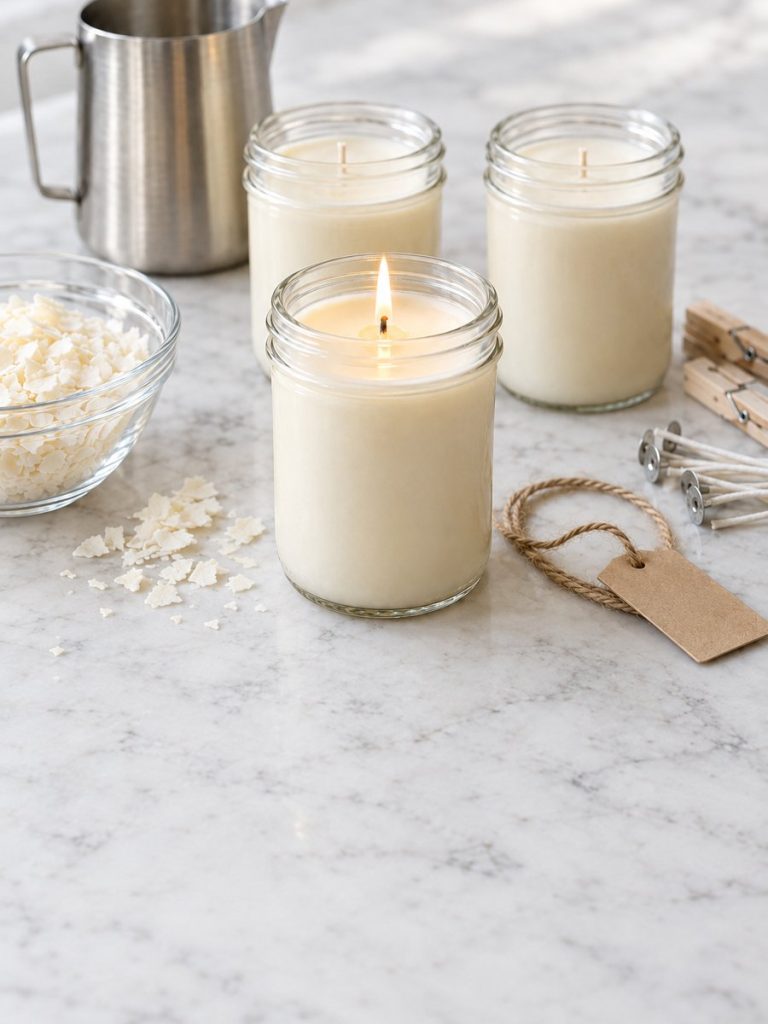
In a dry, heated home a dried orange garland looks its best for six to eight weeks and lasts the whole season; stored properly it keeps for two to three years, though the colour slowly deepens from amber to honey. Humidity is the only real enemy: hang it away from steam, condensation-prone windows and humidifiers, and out of direct sun to hold the colour. Arranged along a mantel with mason jar soy candles it makes a complete display; just keep an 8-inch (20 cm) gap between any flame and the nearest slice.
To store it, wait for a dry day, check every slice for softness or spots, and discard any that are doubtful. Lay the garland in a shallow box or large zip-top bag with two silica gel packets, separate layers with tissue paper so the cinnamon does not scratch the slices, and keep it in a closet inside the house rather than a garage or attic where temperatures swing. Before hanging it again, give the slices 10 minutes at 200°F (95°C) to crisp up and refresh the scent.
Frequently asked questions
How long does a dried orange garland last?
Hung in dry indoor air it stays bright for six to eight weeks and presentable for a full season. Packed away with silica gel in a cool, dry closet, it can be reused for two or three years. Humidity, direct sun and underdried slices are what shorten its life.
Why are the dried orange slices sticky?
Sticky slices are underdried, almost always because they were cut thicker than 1/4 inch (6 mm) or were not blotted. Put them back at 200°F (95°C) with the door propped open and check every 30 minutes. A slice is done when the centre is dry to the touch and the whole round is translucent.
Can orange slices be dried in a dehydrator or air fryer?
Yes. A dehydrator at 135°F (57°C) takes 6 to 10 hours and gives the most even colour with no flipping. An air fryer on its lowest setting, around 180 to 200°F (80 to 95°C), takes 2 to 3 hours for a single layer flipped every 30 minutes, but only holds 8 to 10 slices and browns the edges easily.
Do dried orange slices go moldy?
They can, if moisture is left in the centre or the room is humid; fully dried slices hung in a heated home very rarely do. Check that every slice passes the fingertip test before threading, keep the garland away from kitchens and bathrooms, and remove any slice that shows white fuzz straight away.
Are dried orange slices safe to eat?
Plain oven-dried slices with nothing added are edible, and spare ones can go into mulled wine or tea. Once they have been hung for weeks, threaded with twine or coated with varnish, treat them as decoration only.
How many oranges does a garland need?
A medium navel orange gives 8 to 10 slices at 1/4 inch (6 mm). A 6-foot (1.8 m) garland uses 20 to 24 slices, so four oranges is plenty with spares; a 12-foot (3.6 m) banister garland needs 7 to 8 oranges and two oven batches.
More to make
While the oven is busy, start a batch of salt dough ornaments for the tree or pour a few mason jar soy candles for the mantel. For gifts, a jar of homemade sugar scrub and a set of beeswax wraps pack well in the same box, and a macramé plant hanger uses the jute twine already on the table. For a hook instead of a needle, the how to crochet guides start from the first stitch.